Rock Shrimp & Chorizo Nachos

One of my favorite things about football season (besides the football) is the food!  Apparently, I have passed this trait on to our kids.  One of their favorite things is having “snacks for dinner”.  This stems from Sunday afternoons watching football on the couch together… surrounded by meatballs, pizza, wings, potstickers, seared tuna, pigs in a blanket, and spinach dip.  The return of football has prompted requests for “snacks for dinner” so we decided to kick off the season with something new and delicious!

This is one of those great ‘clear the fridge’ or ‘clear the pantry’ concepts!  Whatever you have on-hand and whatever you like is what you should use.  So, you will see what WE used, but you can alter this to suit your own taste.

Rock Shrimp & Chorizo Nachos:

  • Tortilla Chips
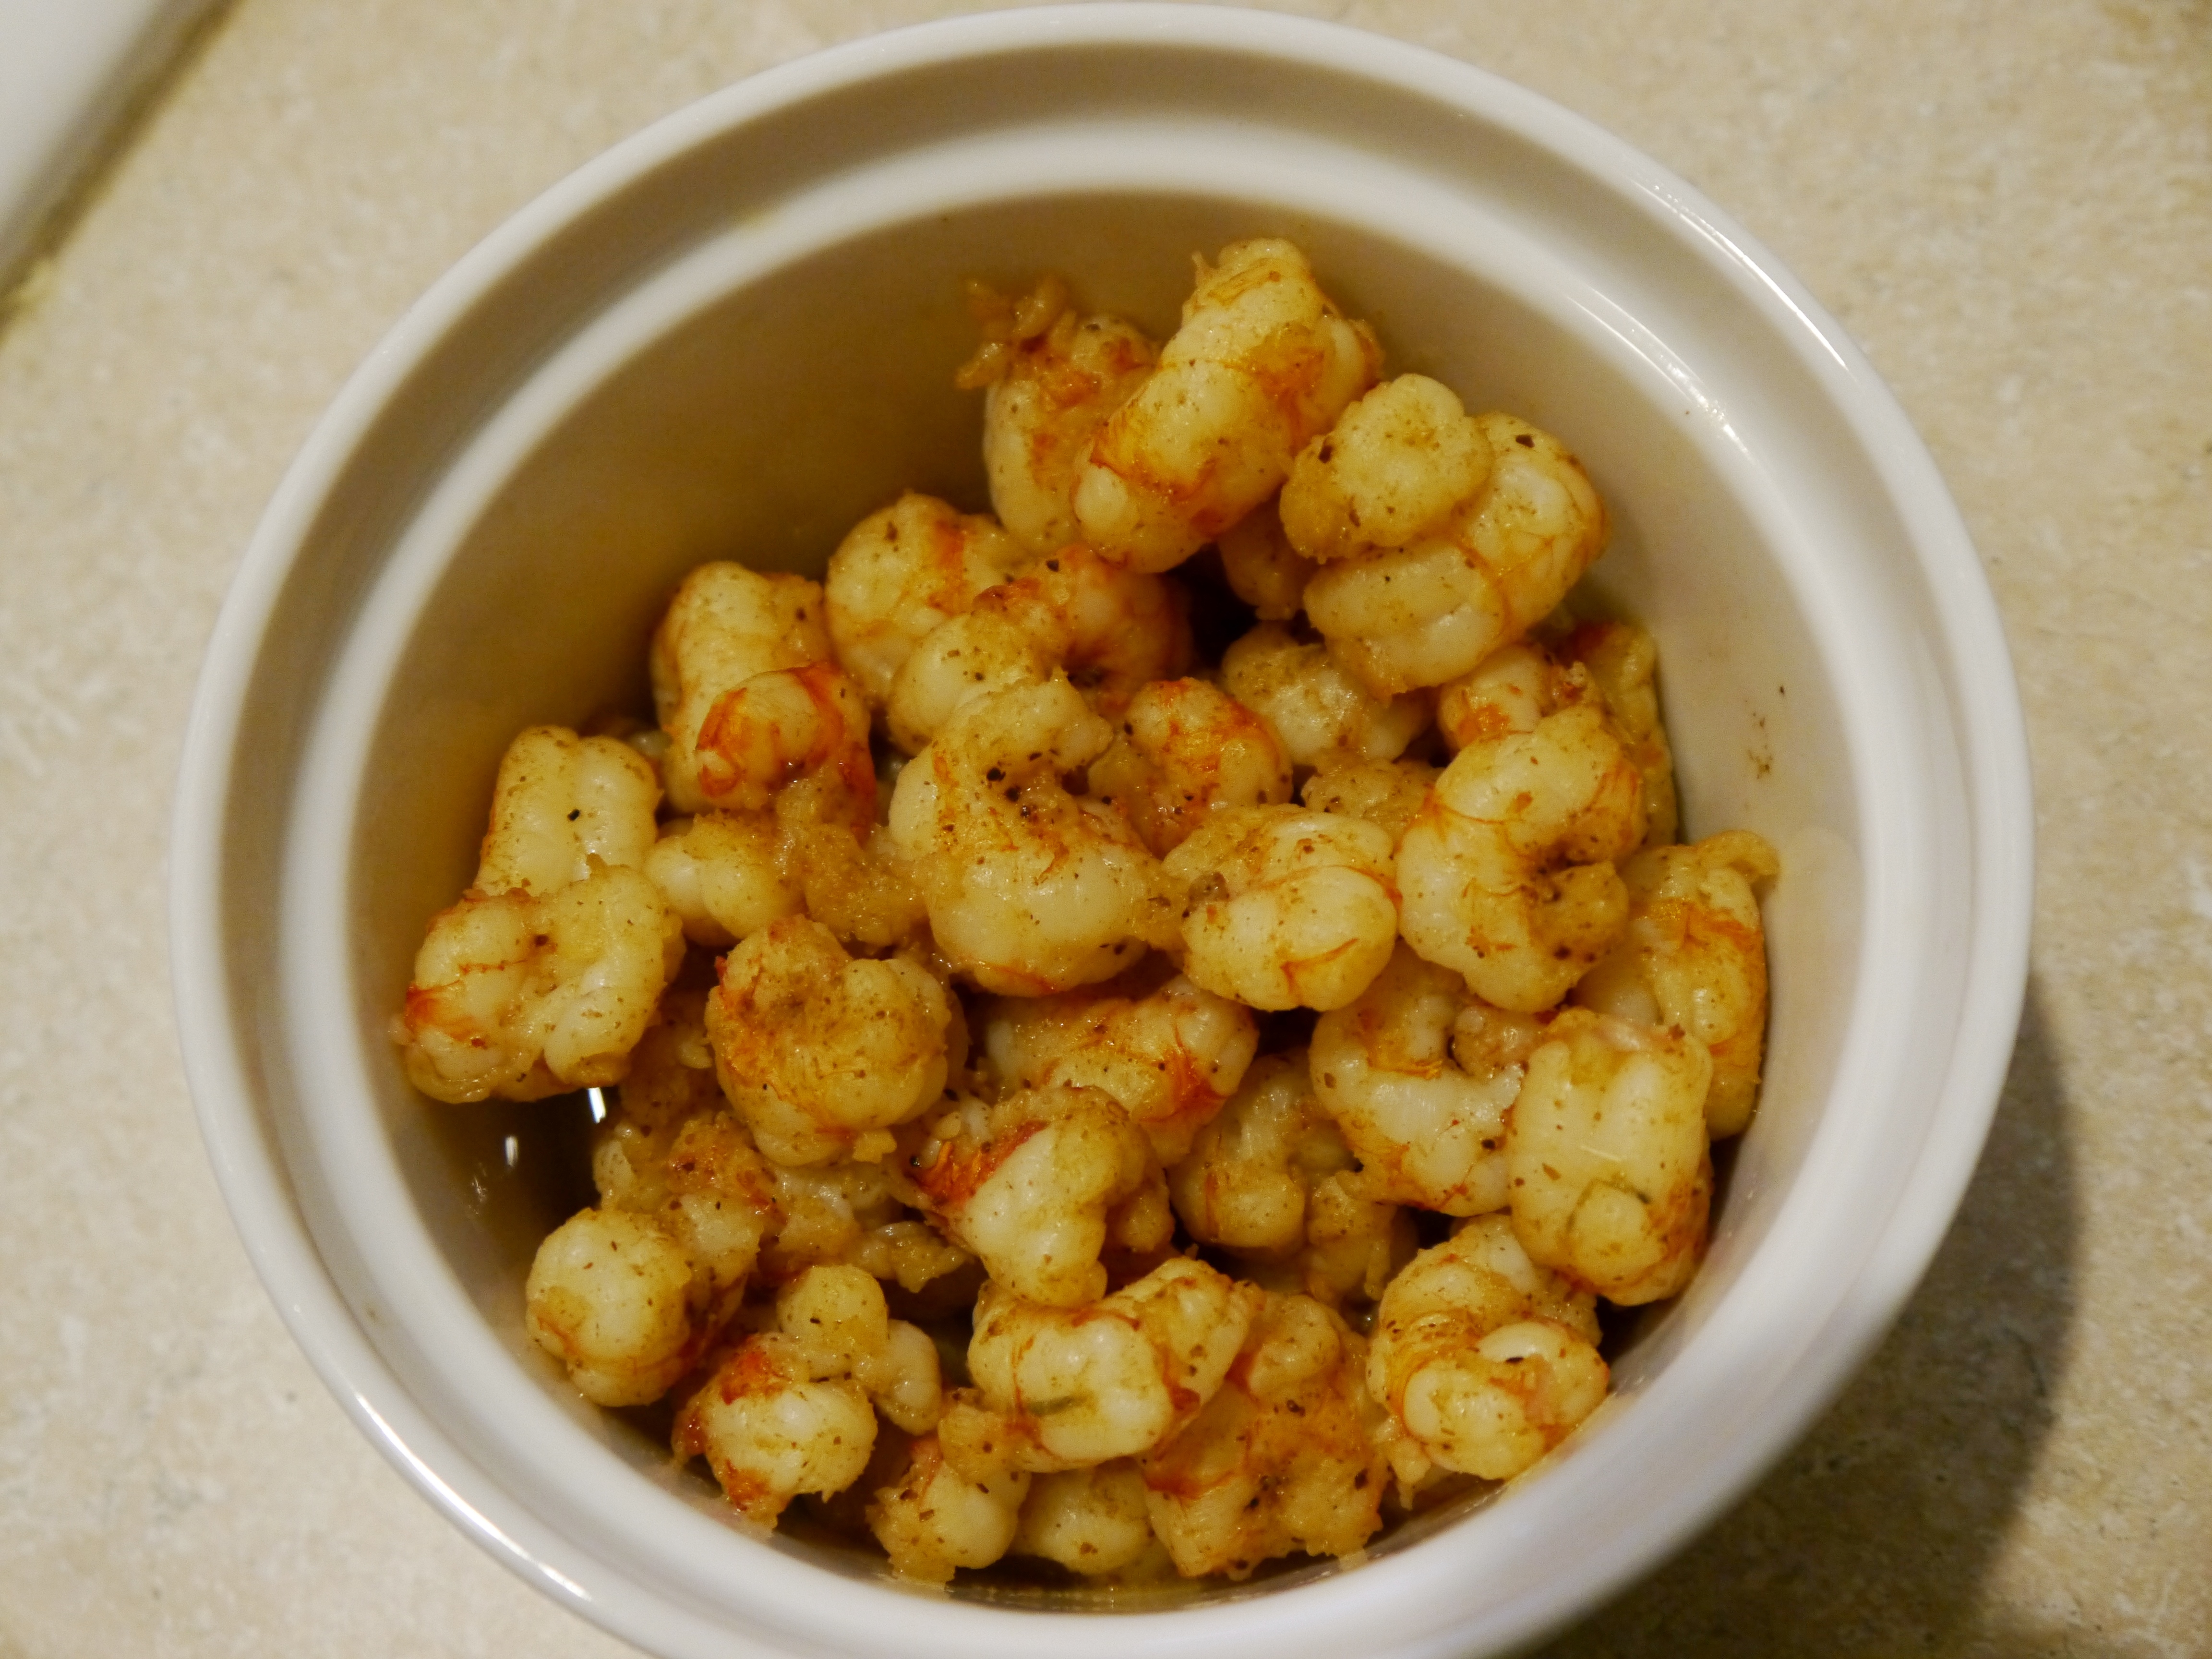
  • Rock Shrimp  (I used 3/4 lb for 4 people)
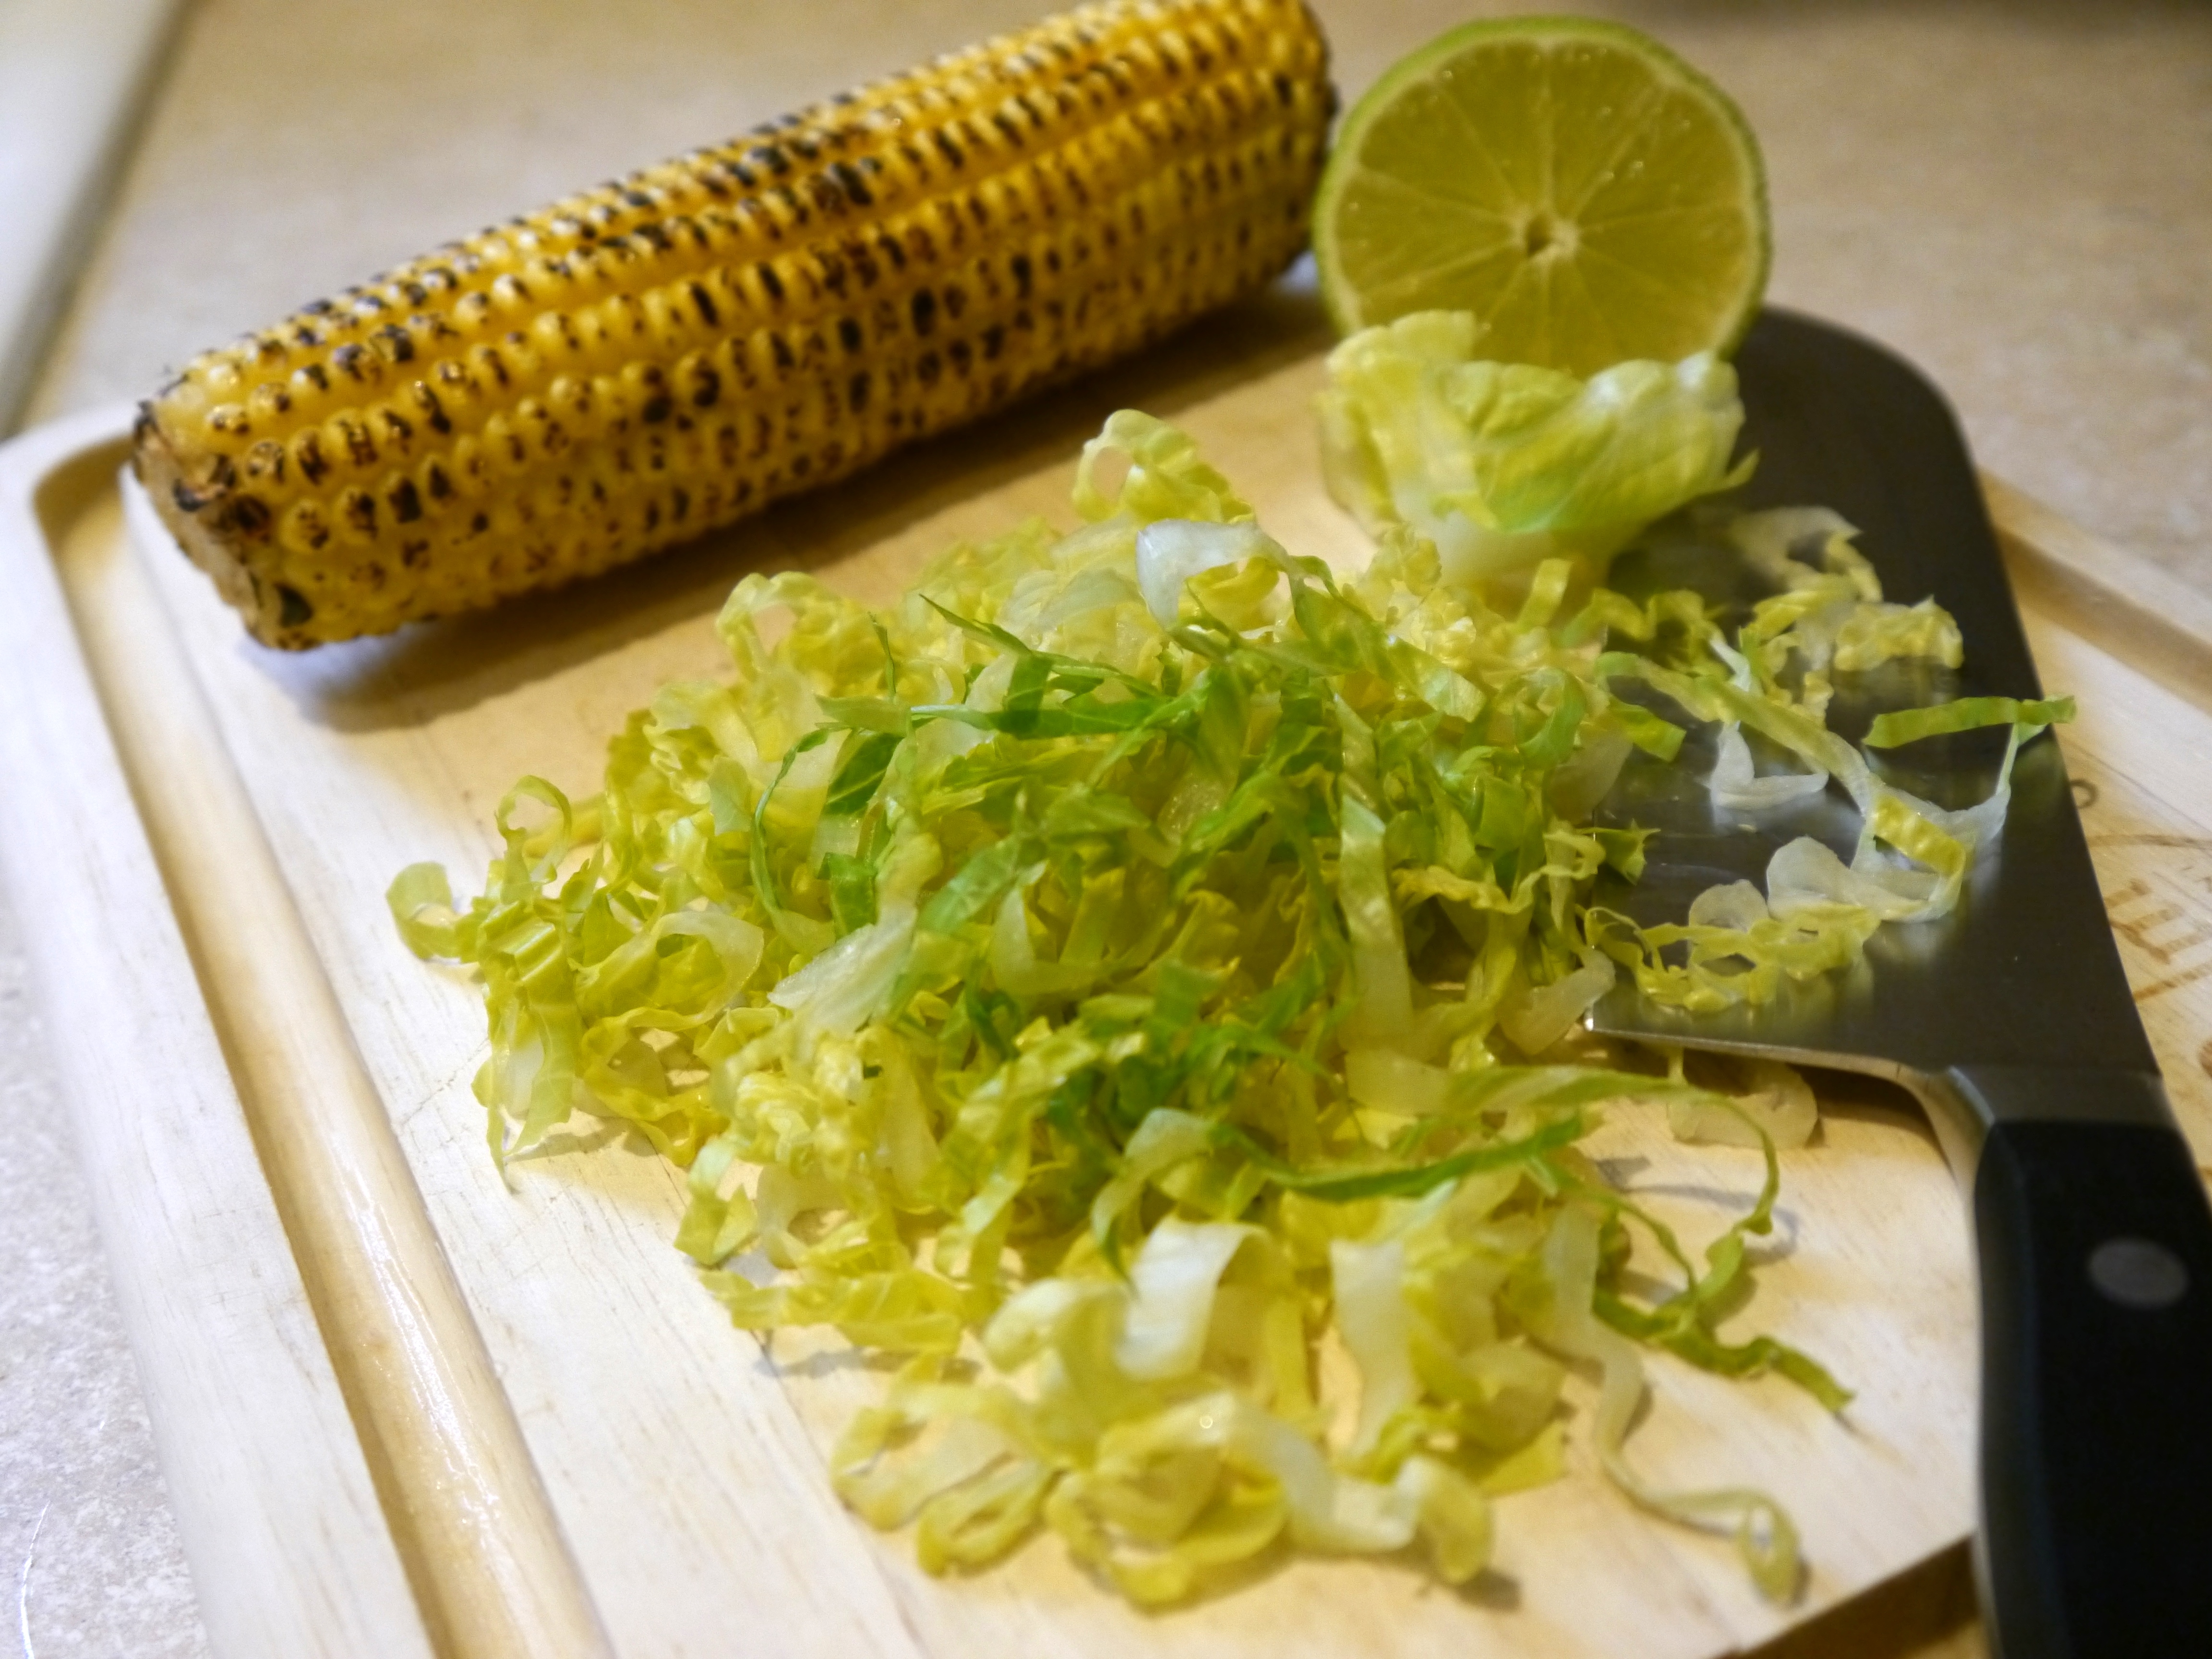
  • Corn
  • Black Beans
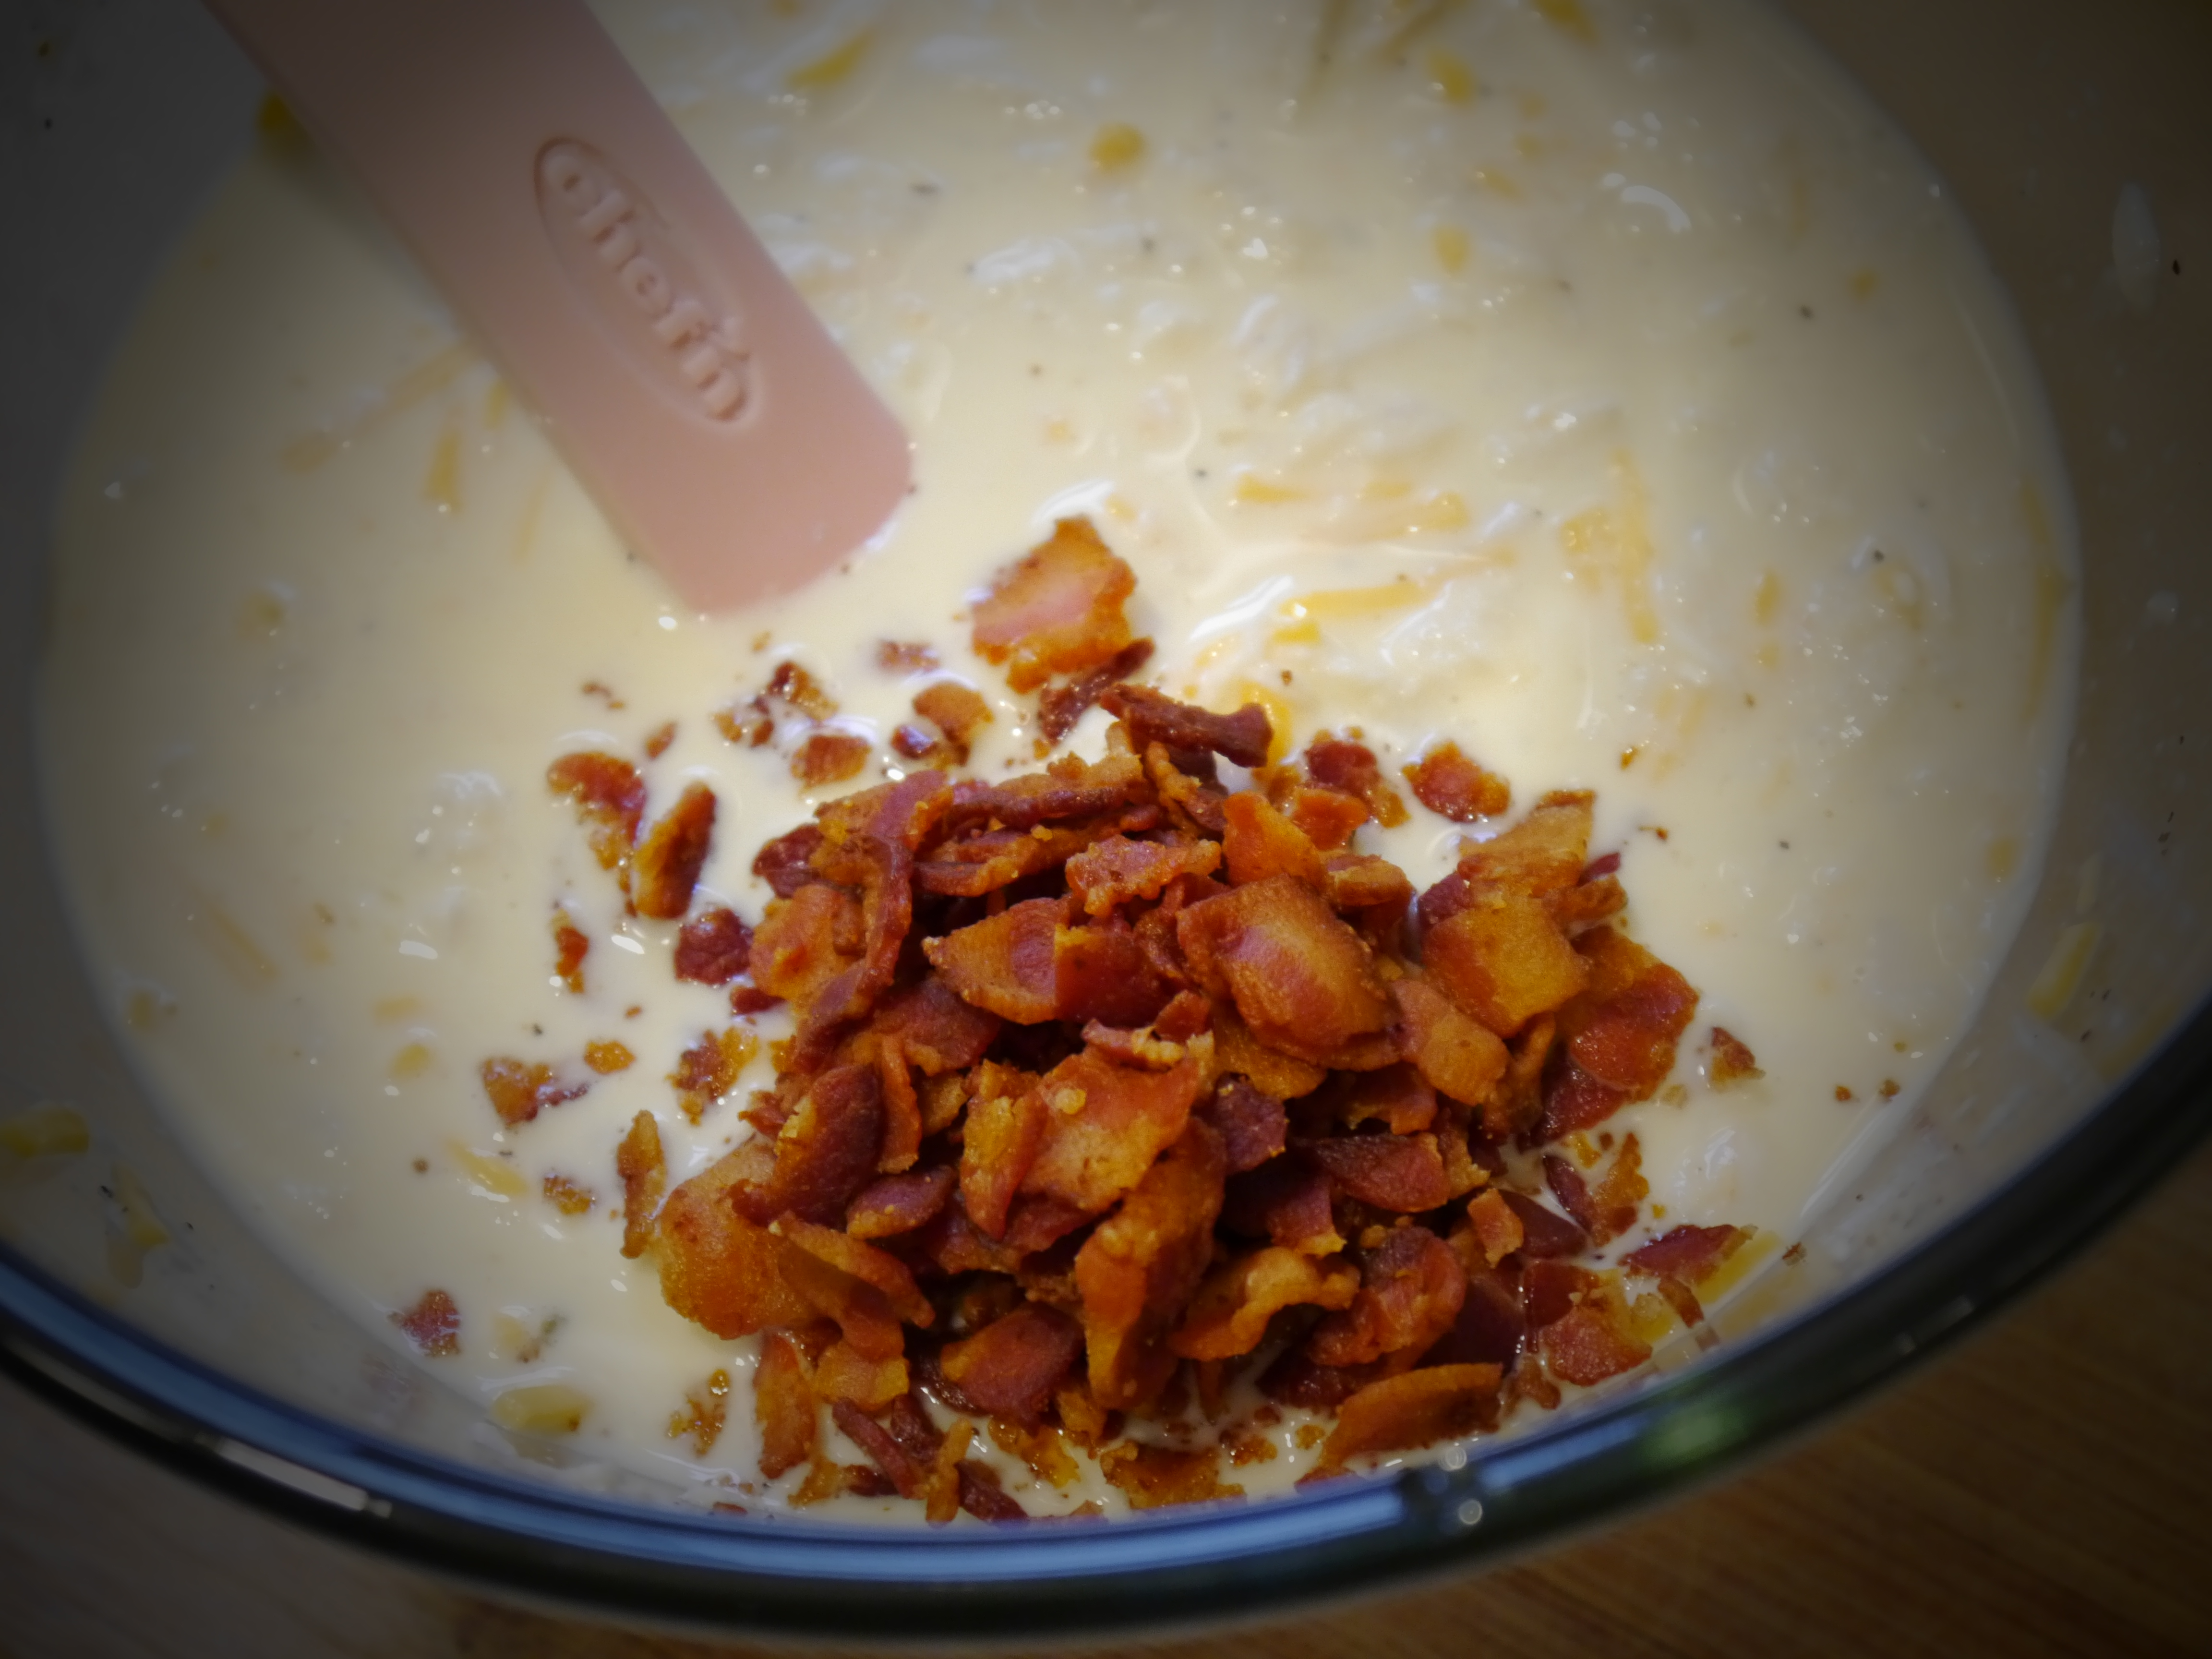
  • Cheese  (I used Pepper Jack and Cheddar)
  • Sliced Chorizo
  • Additional Toppings  (lettuce, tomato, onion, jalapeno, etc.)
  • Raw Garlic & Cilantro Cream  (see below)


I started by prepping all the ingredients.  I charred the corn over the gas stove, but this is completely optional.

P1040131     P1040134


P1040140     P1040139


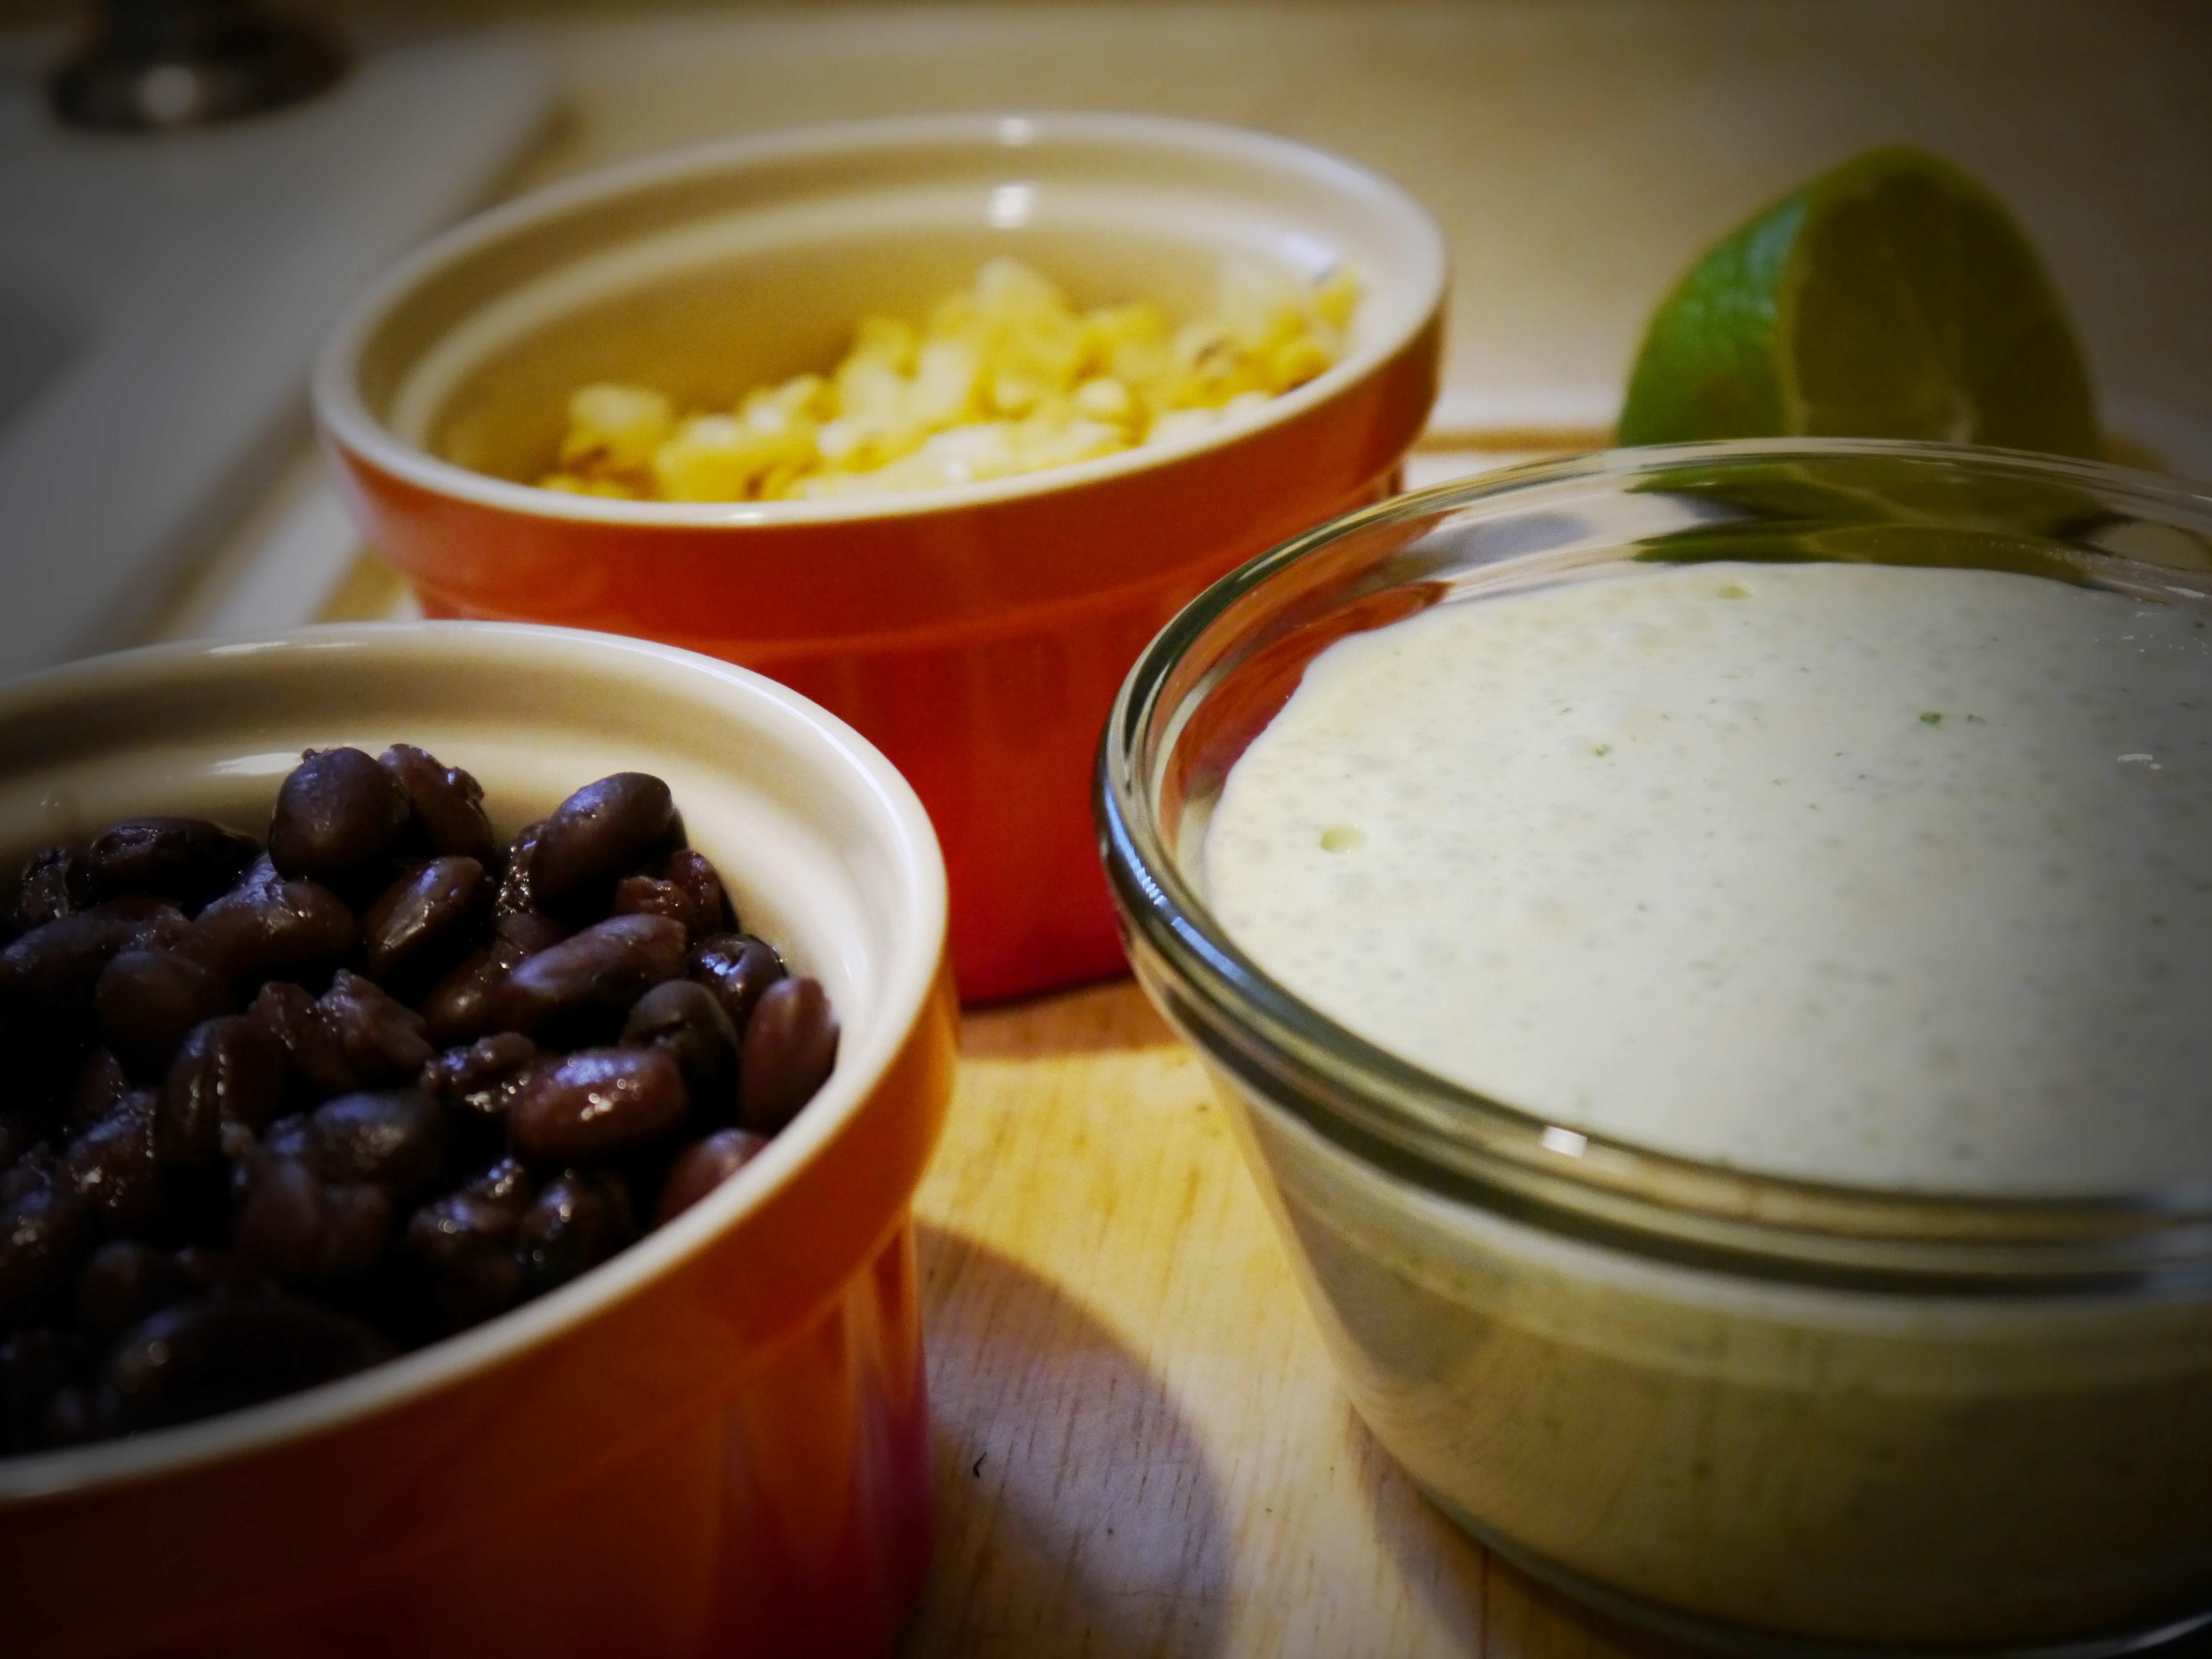
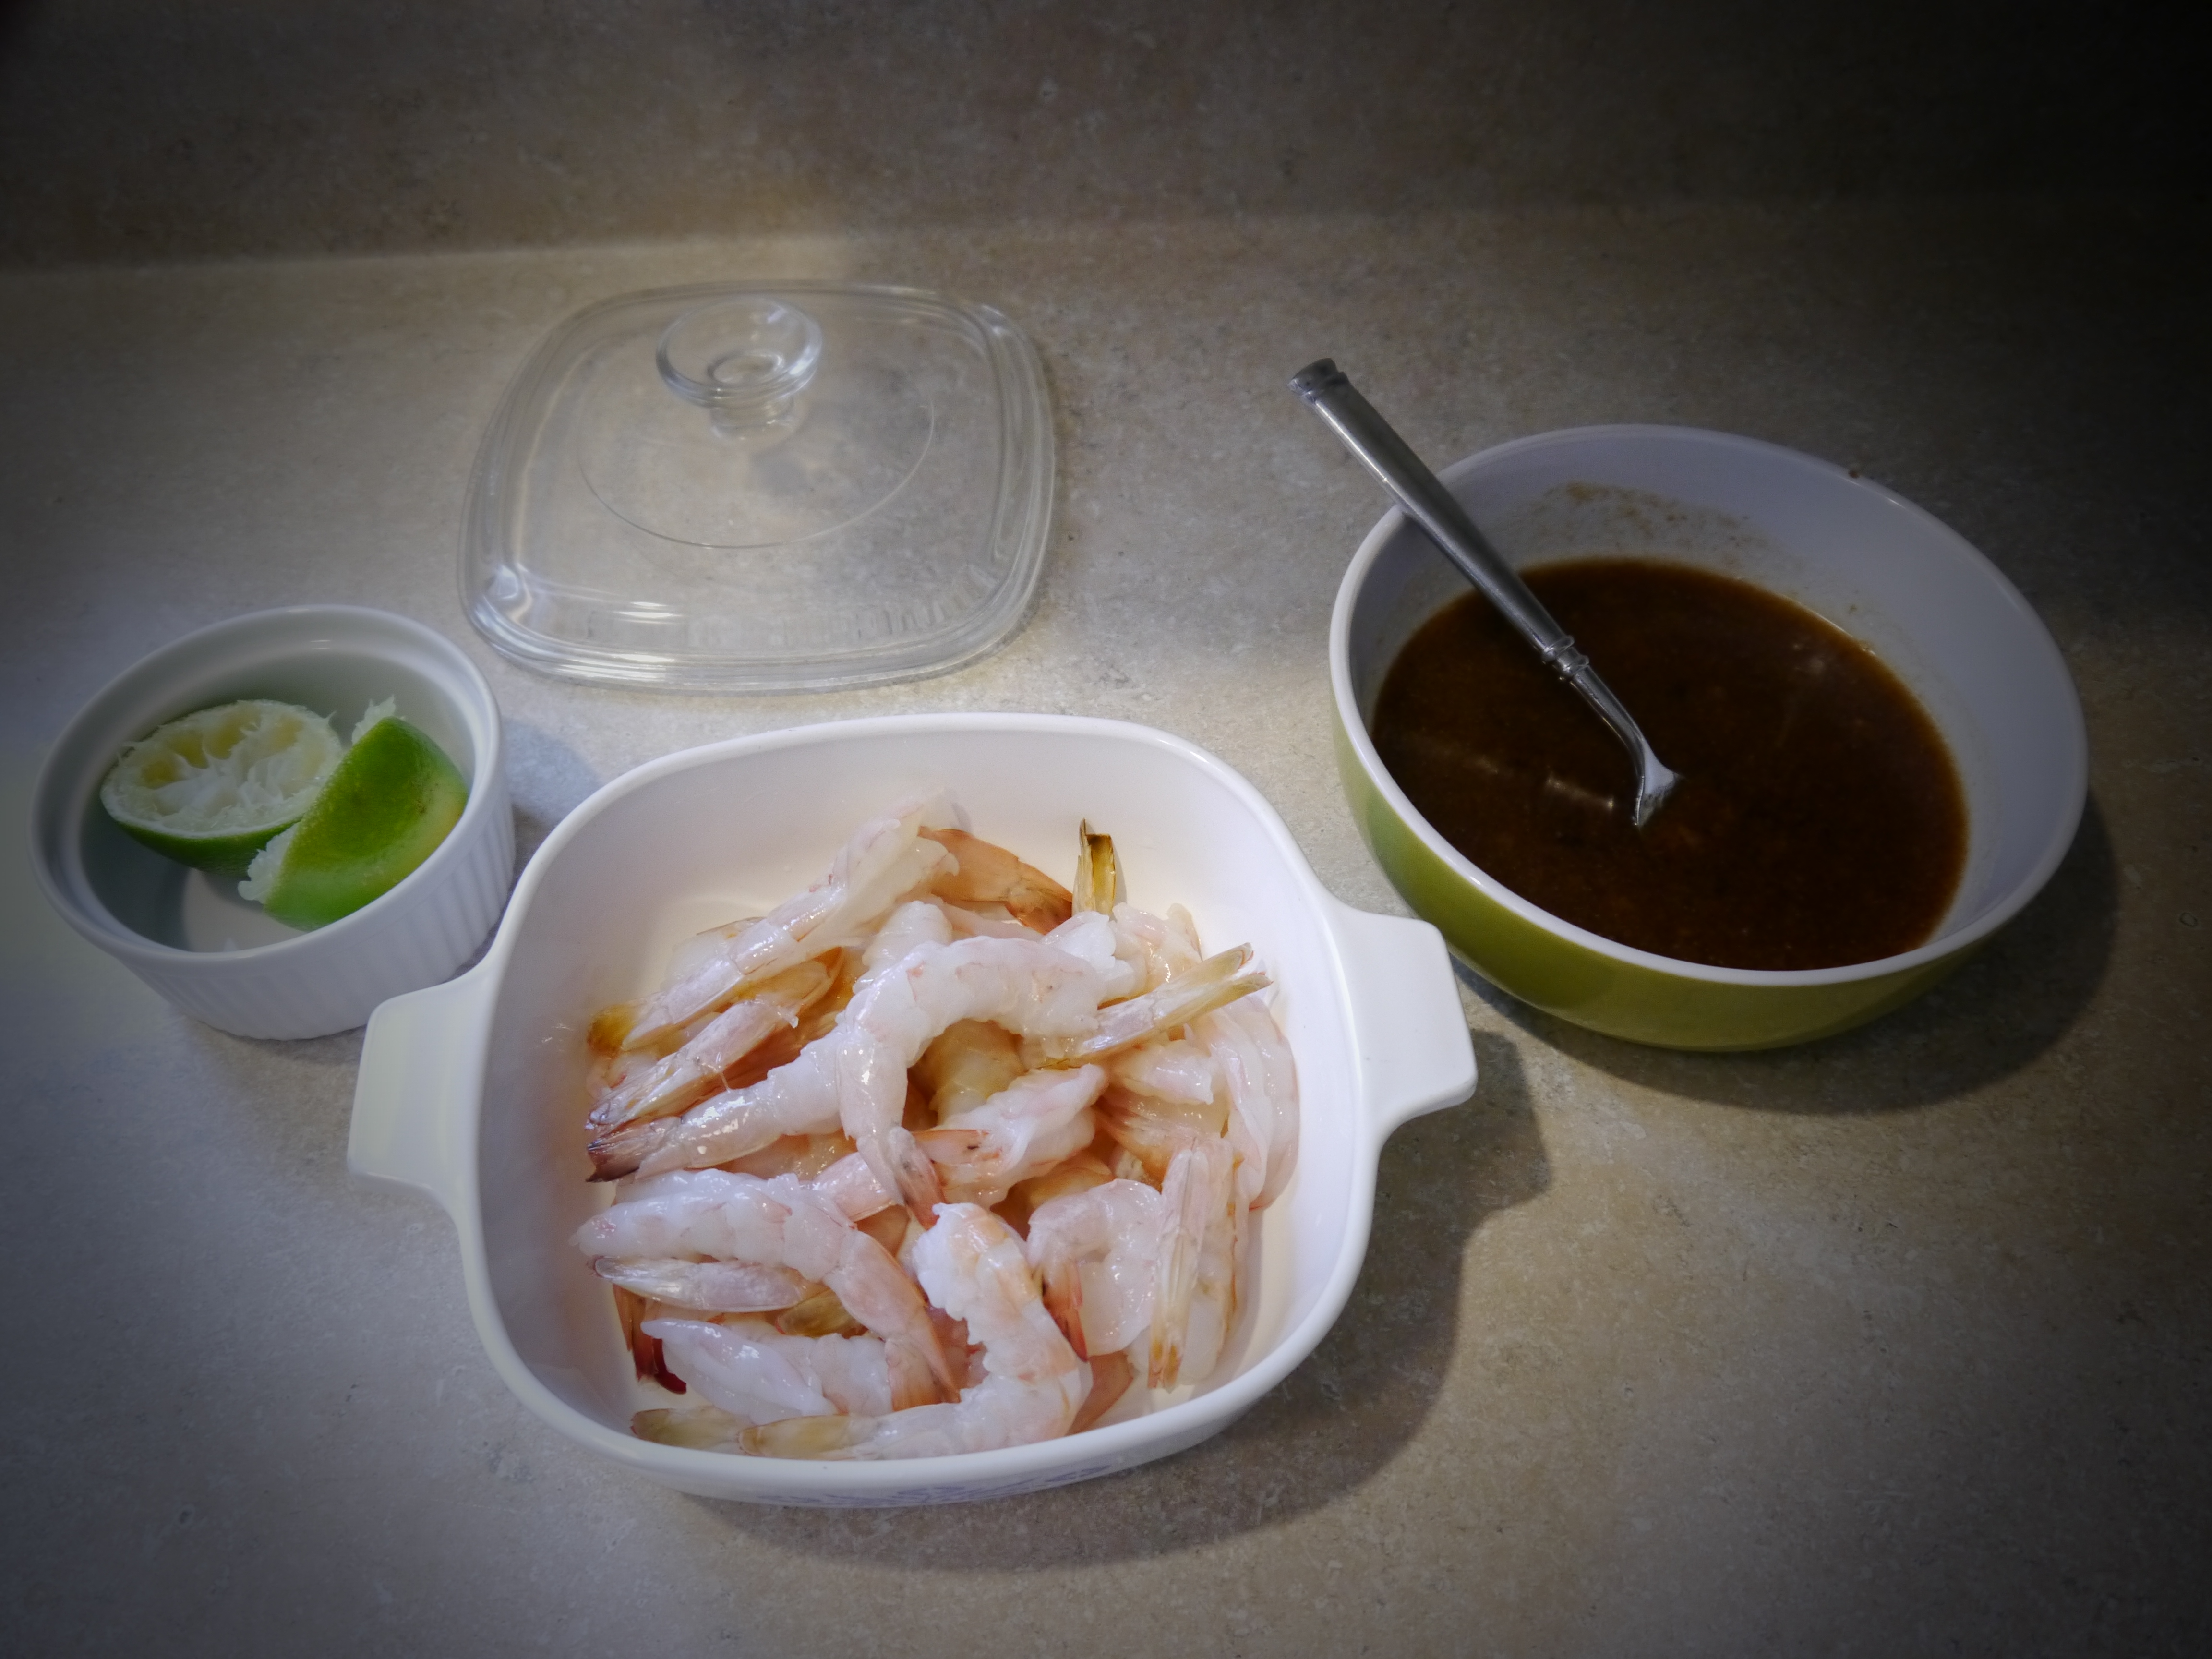
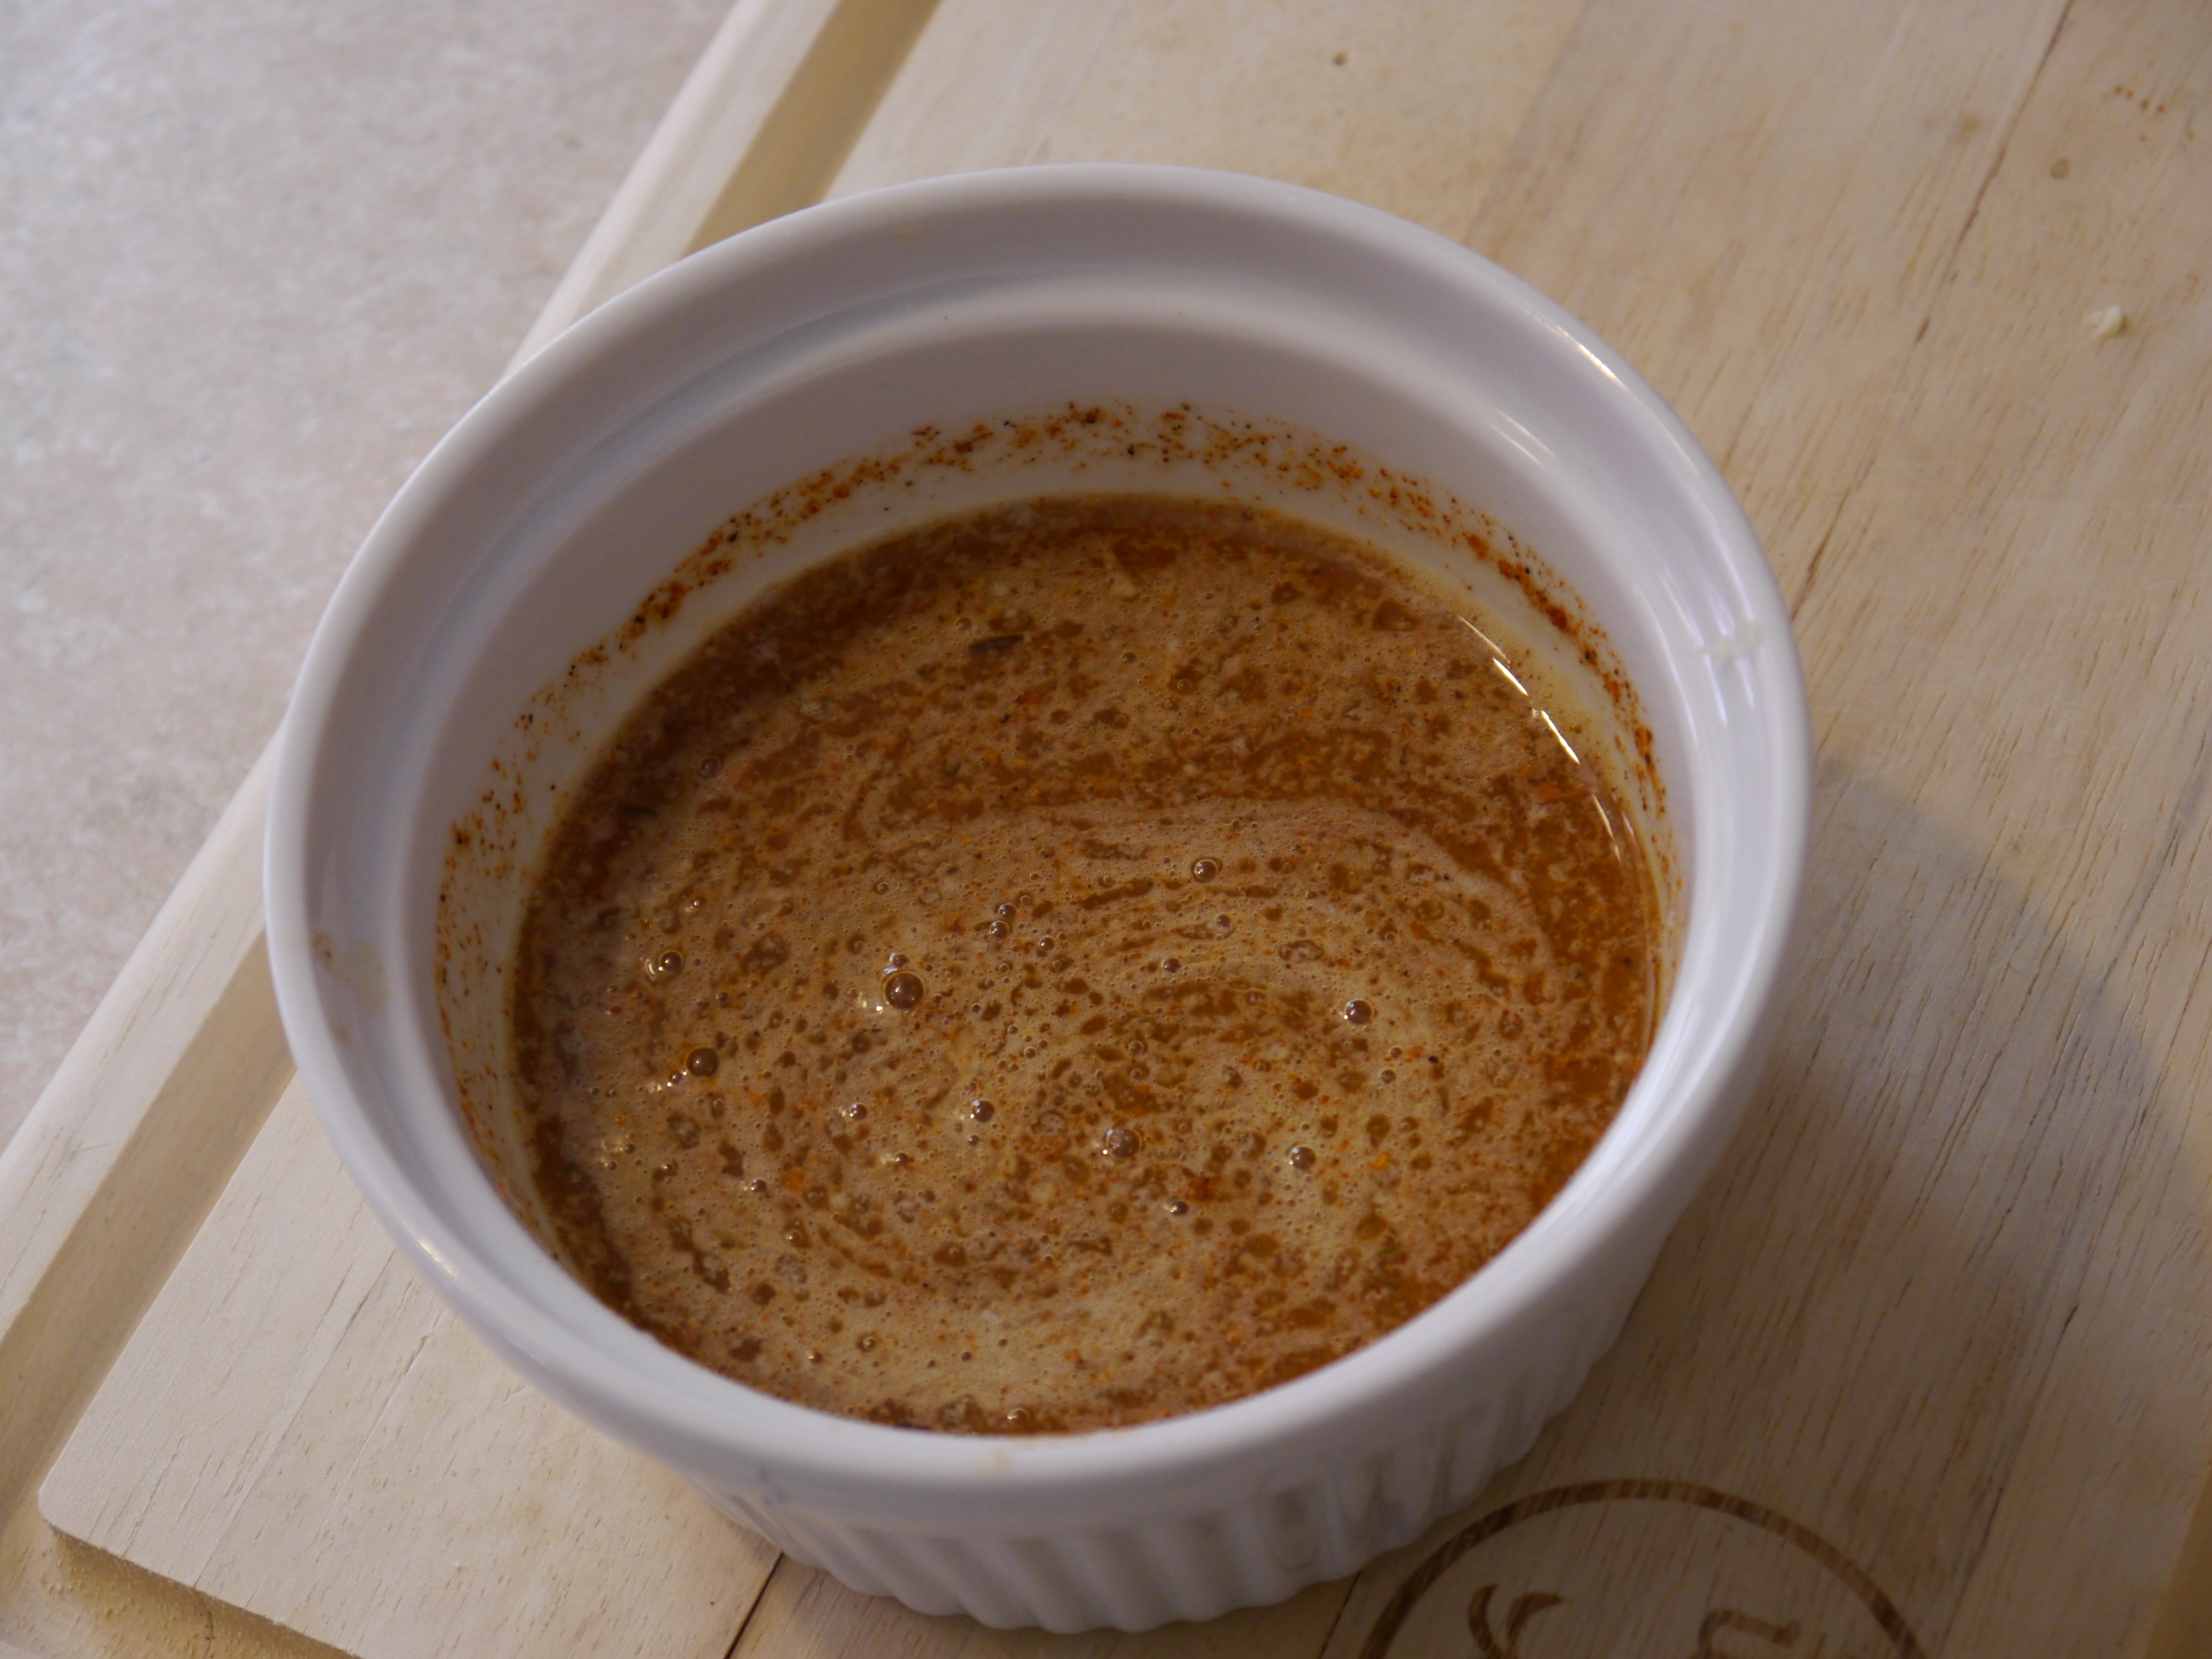
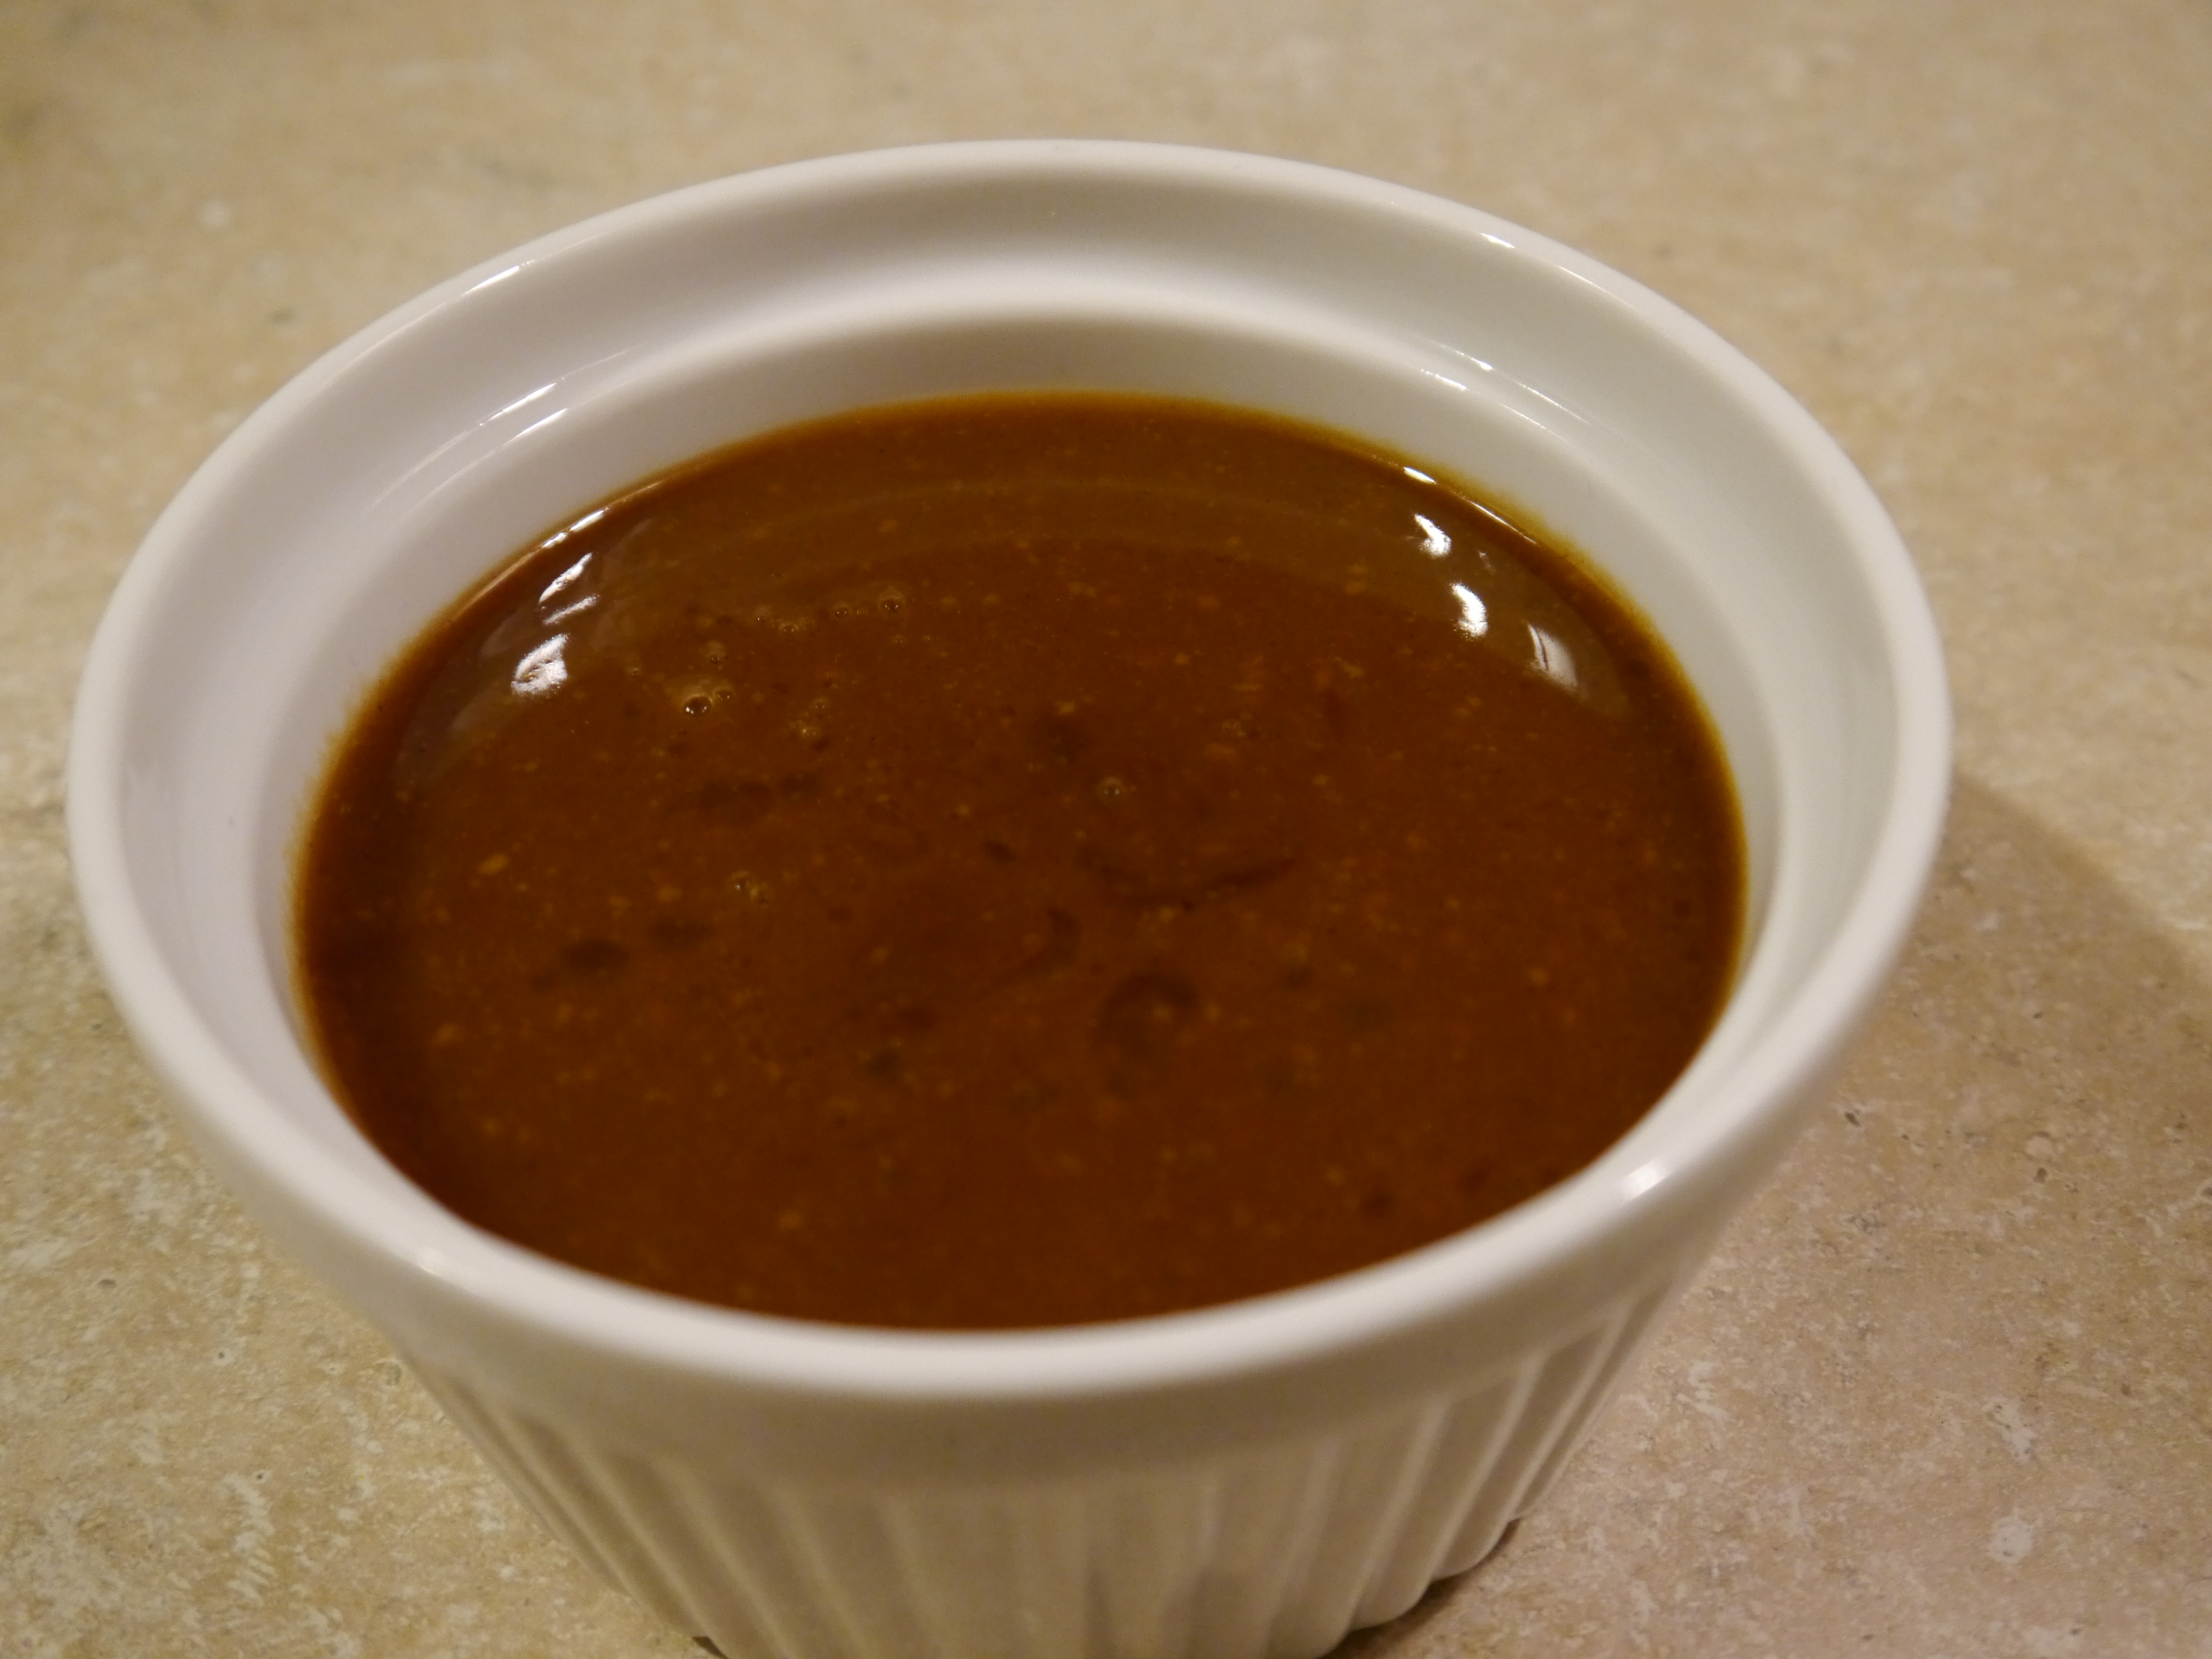
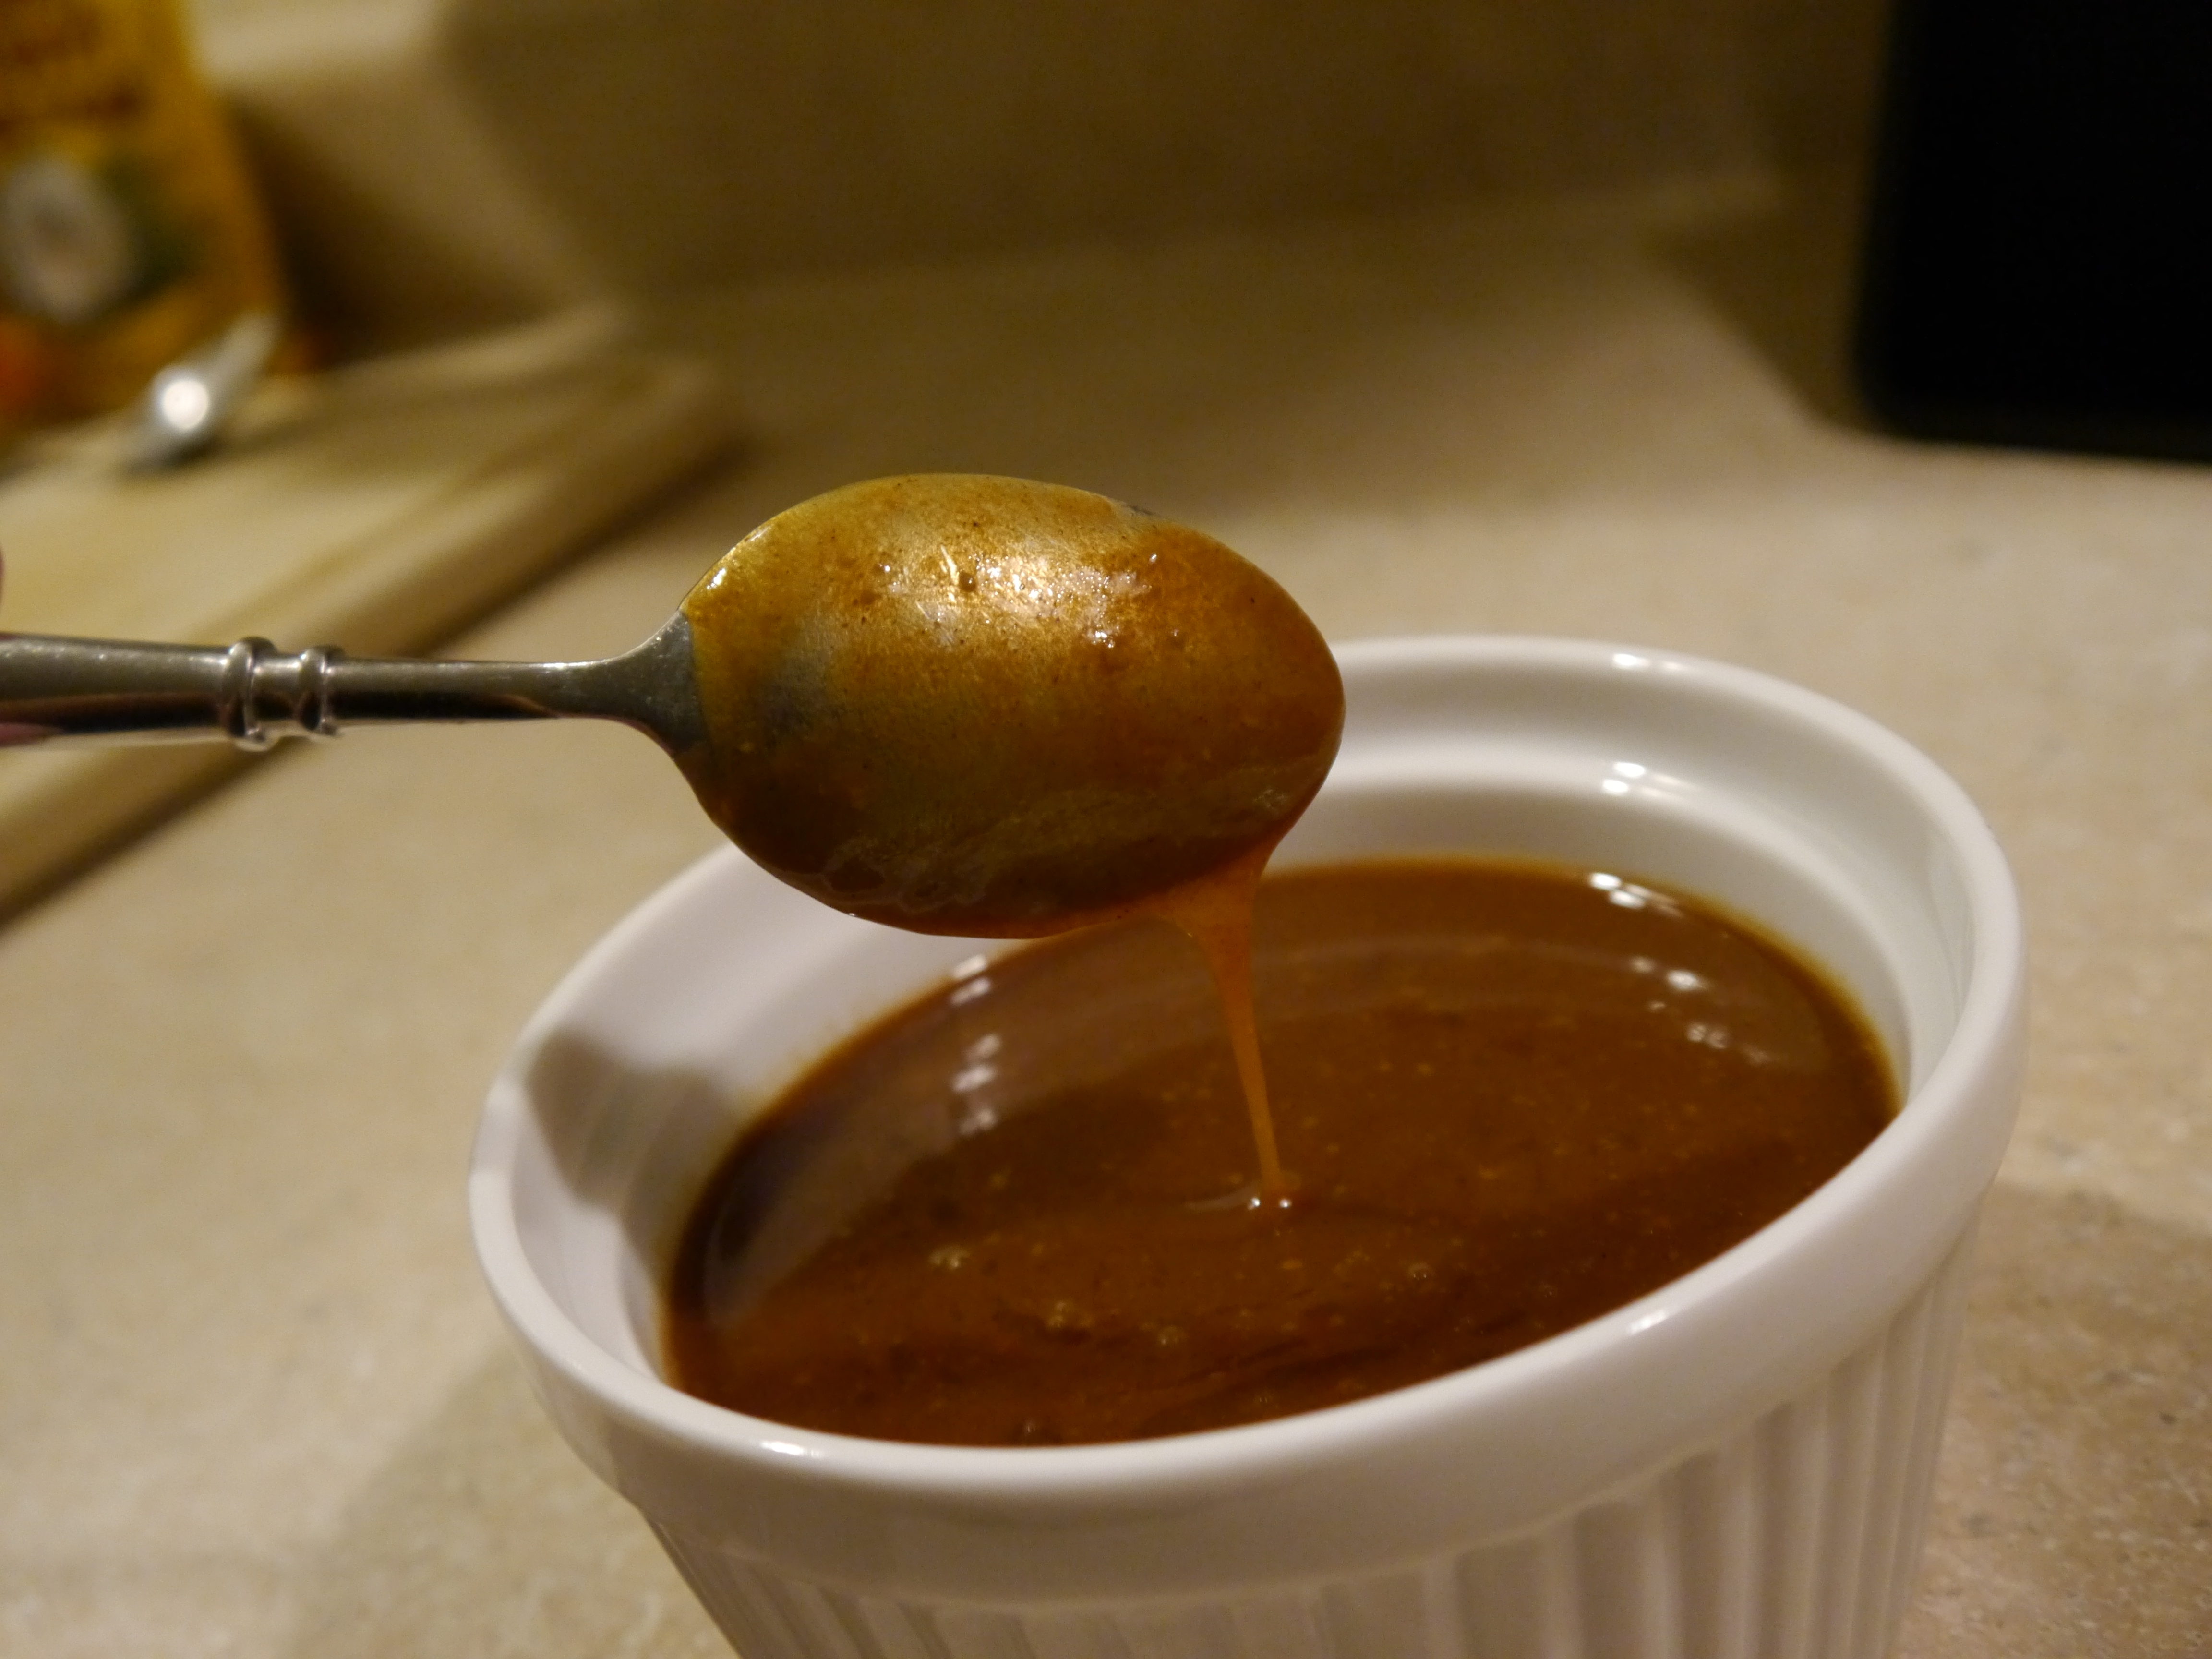
Raw Garlic & Cilantro Cream:  This is really easy.  It’s a great way to cool off spicy things, but the raw garlic actually gives it quite a bite of its own.  I put one cup of sour cream in the blender with a bunch of fresh cilantro, the juice of one lime, and 2 cloves of raw garlic.  I added water, one teaspoon at a time, just until it was thin enough to blend and become combined. 

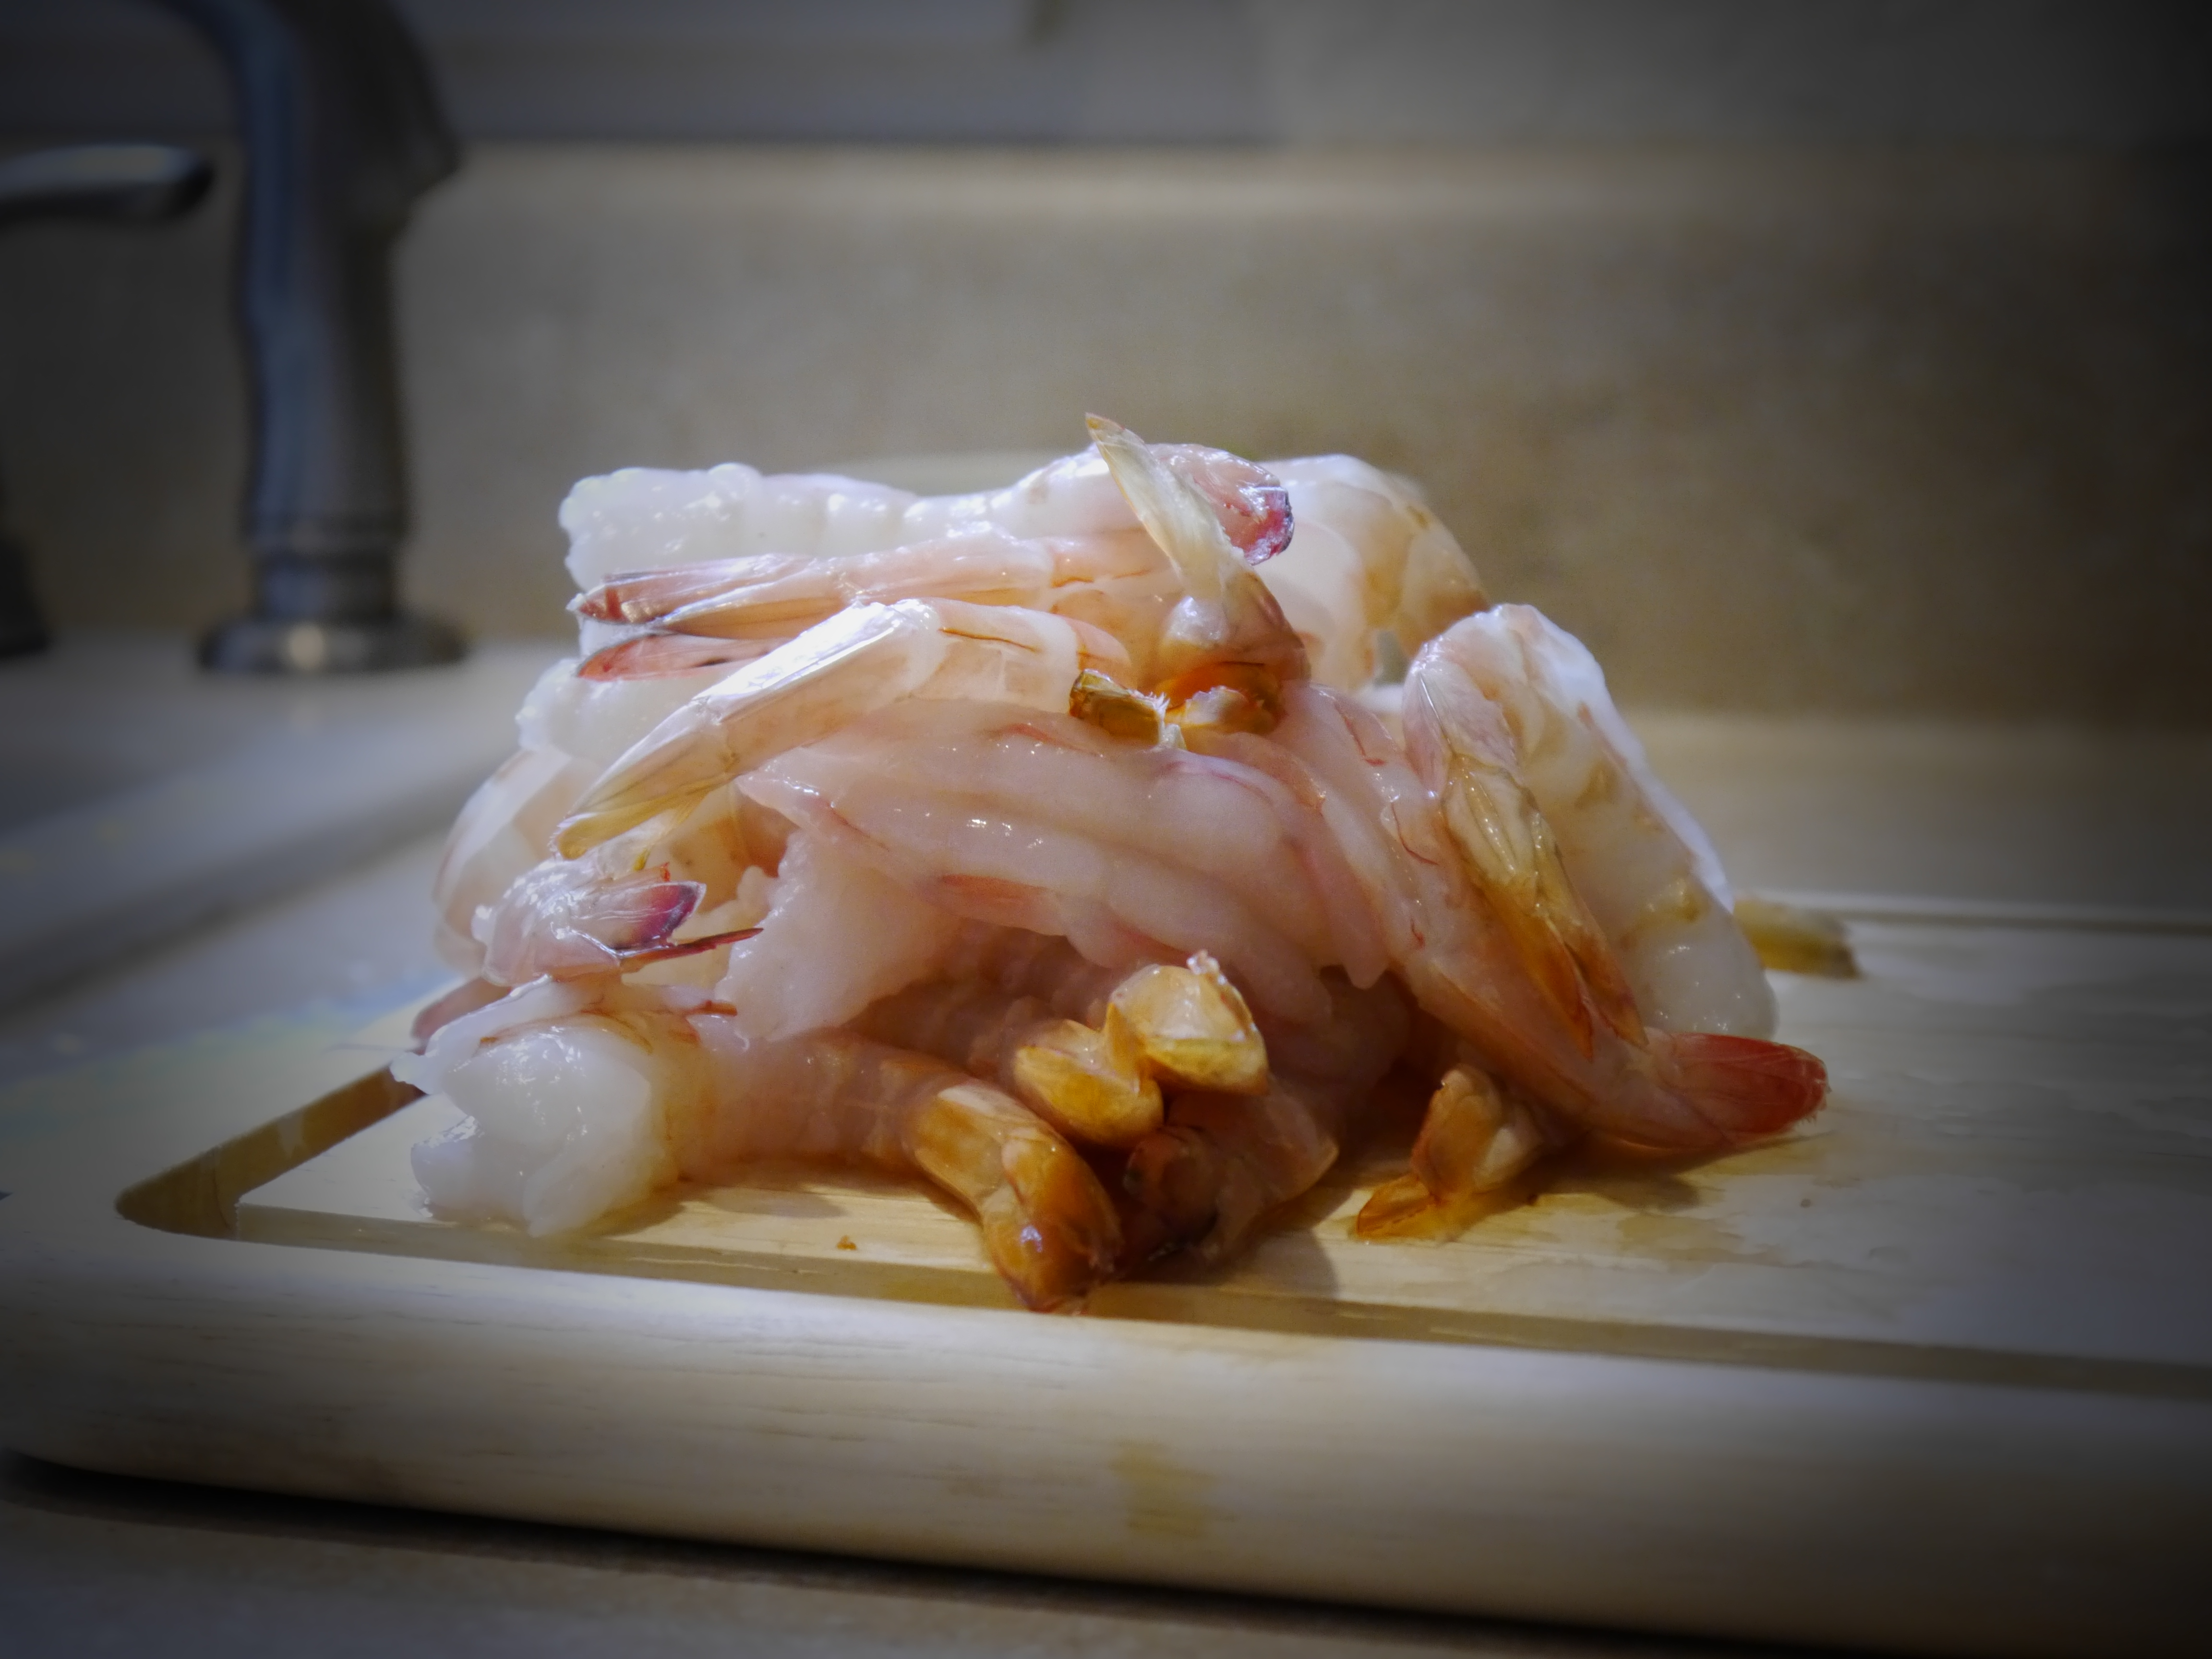
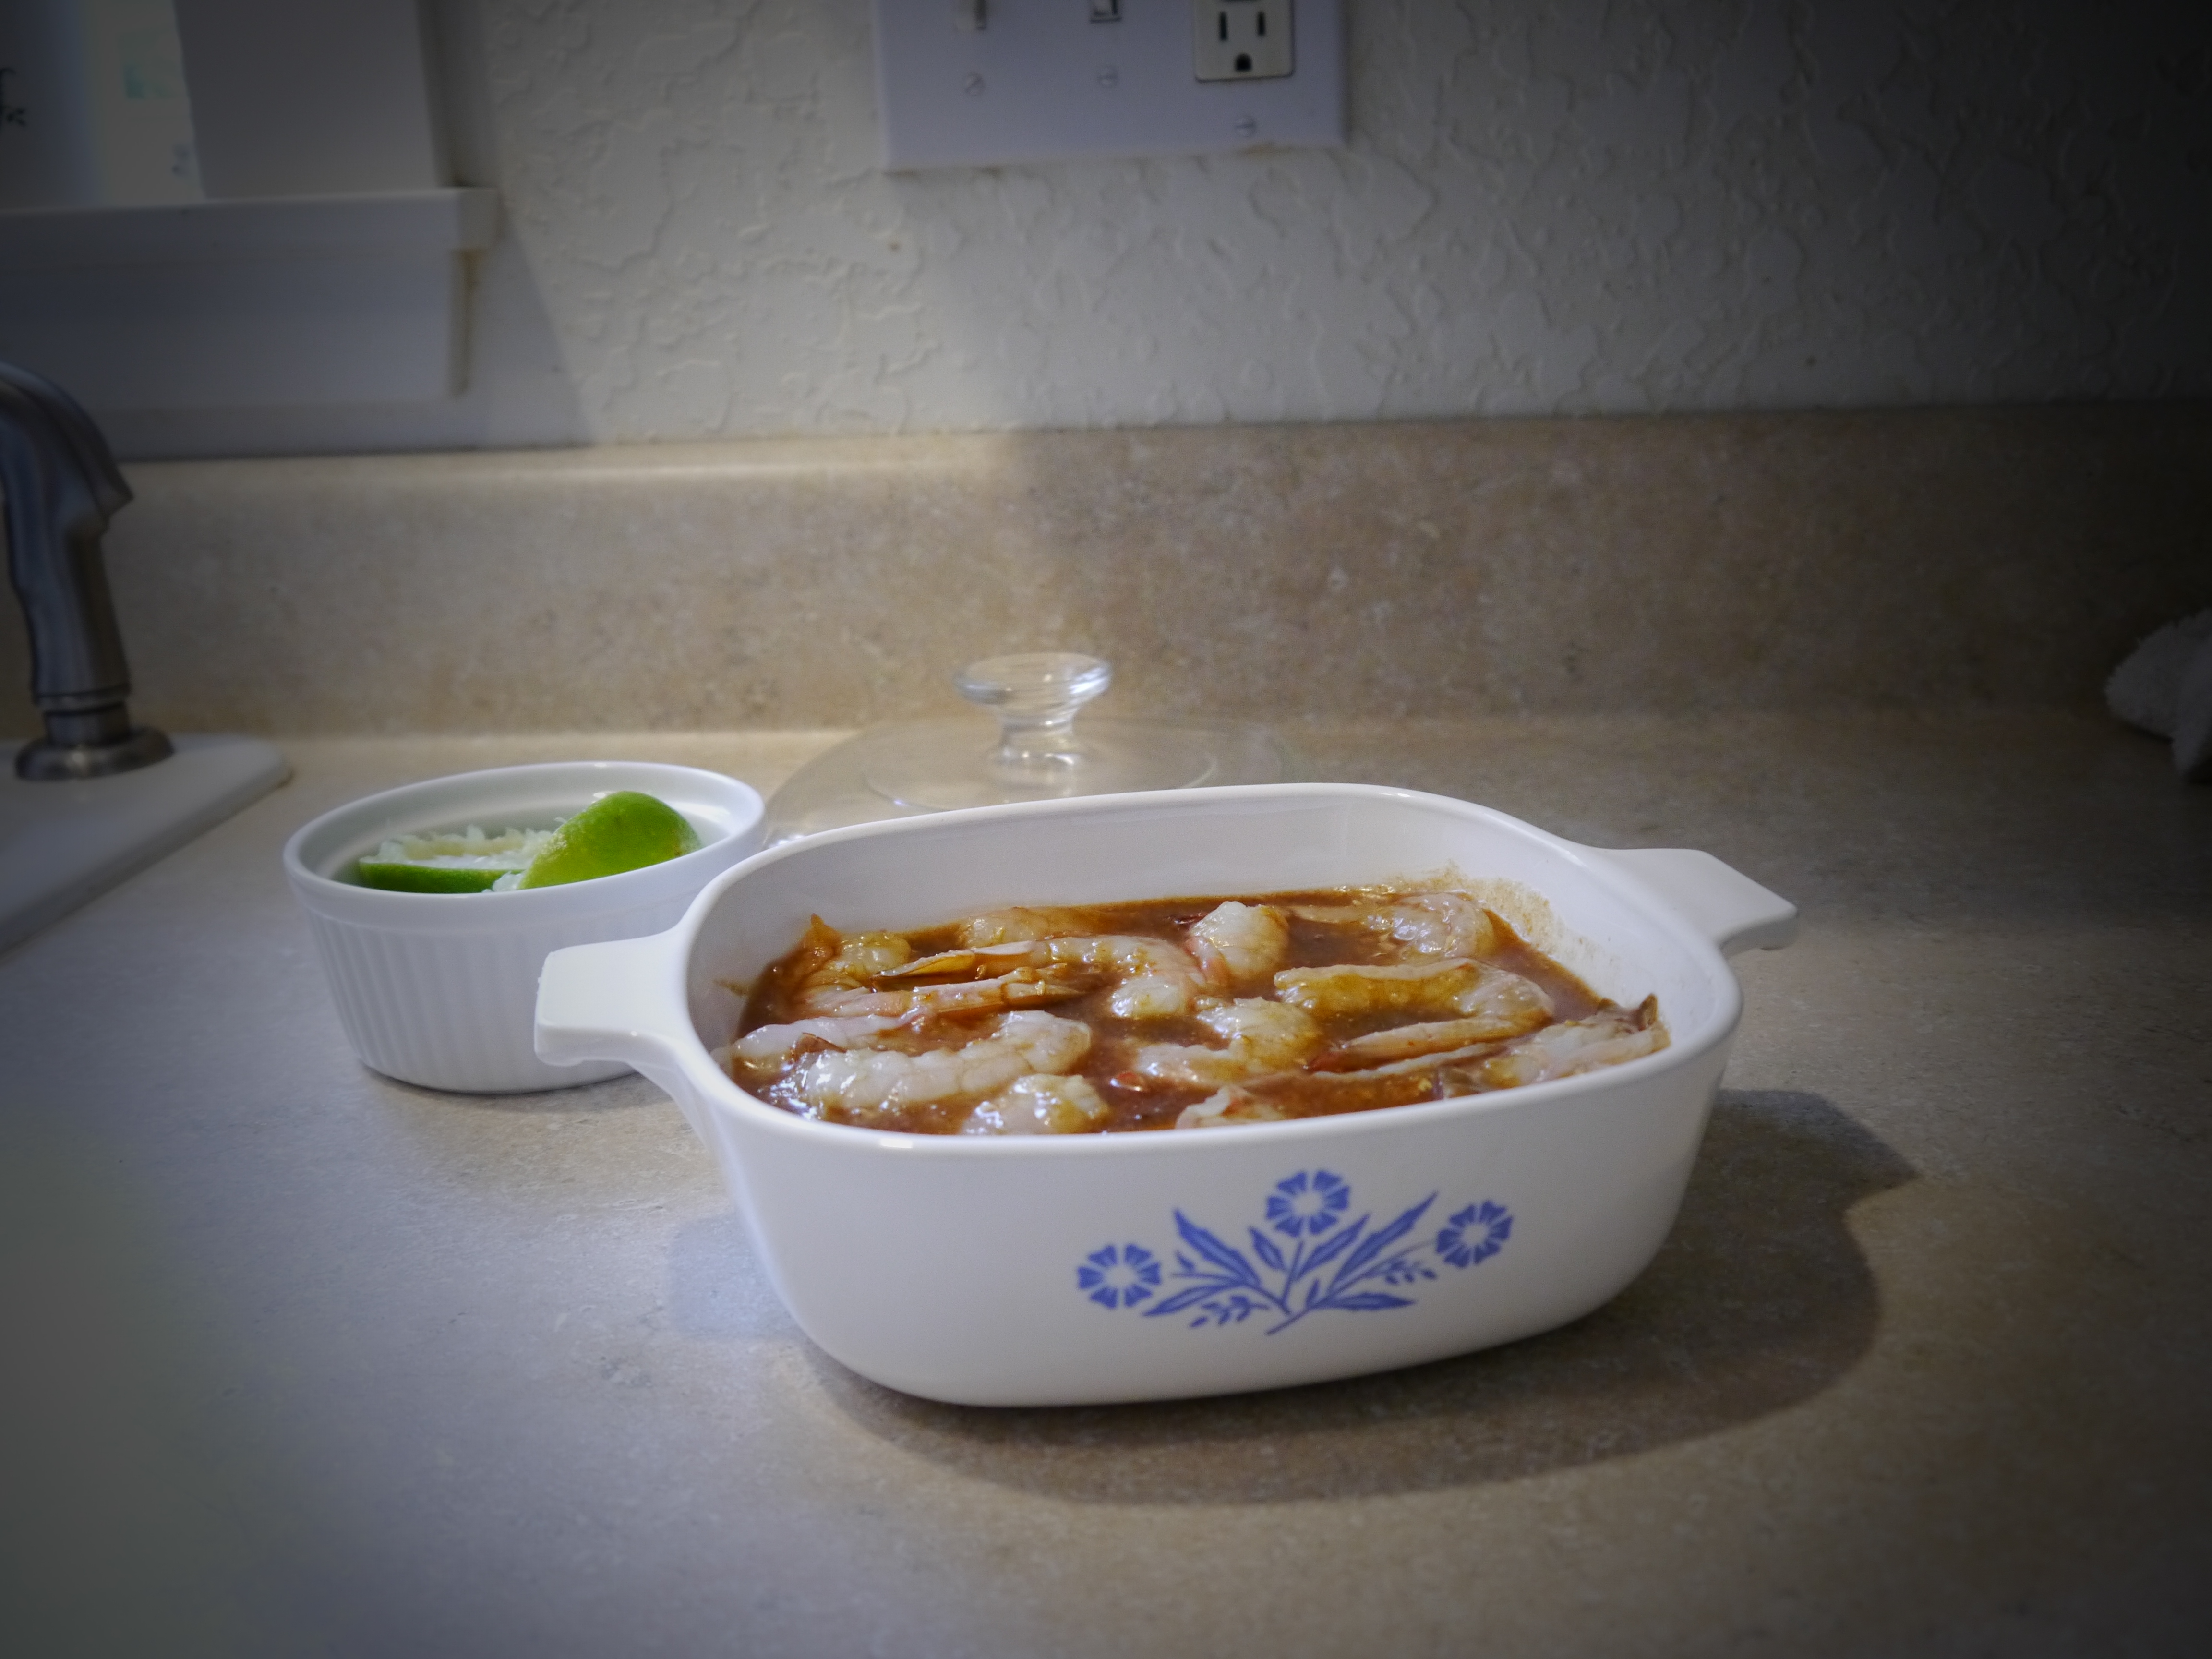
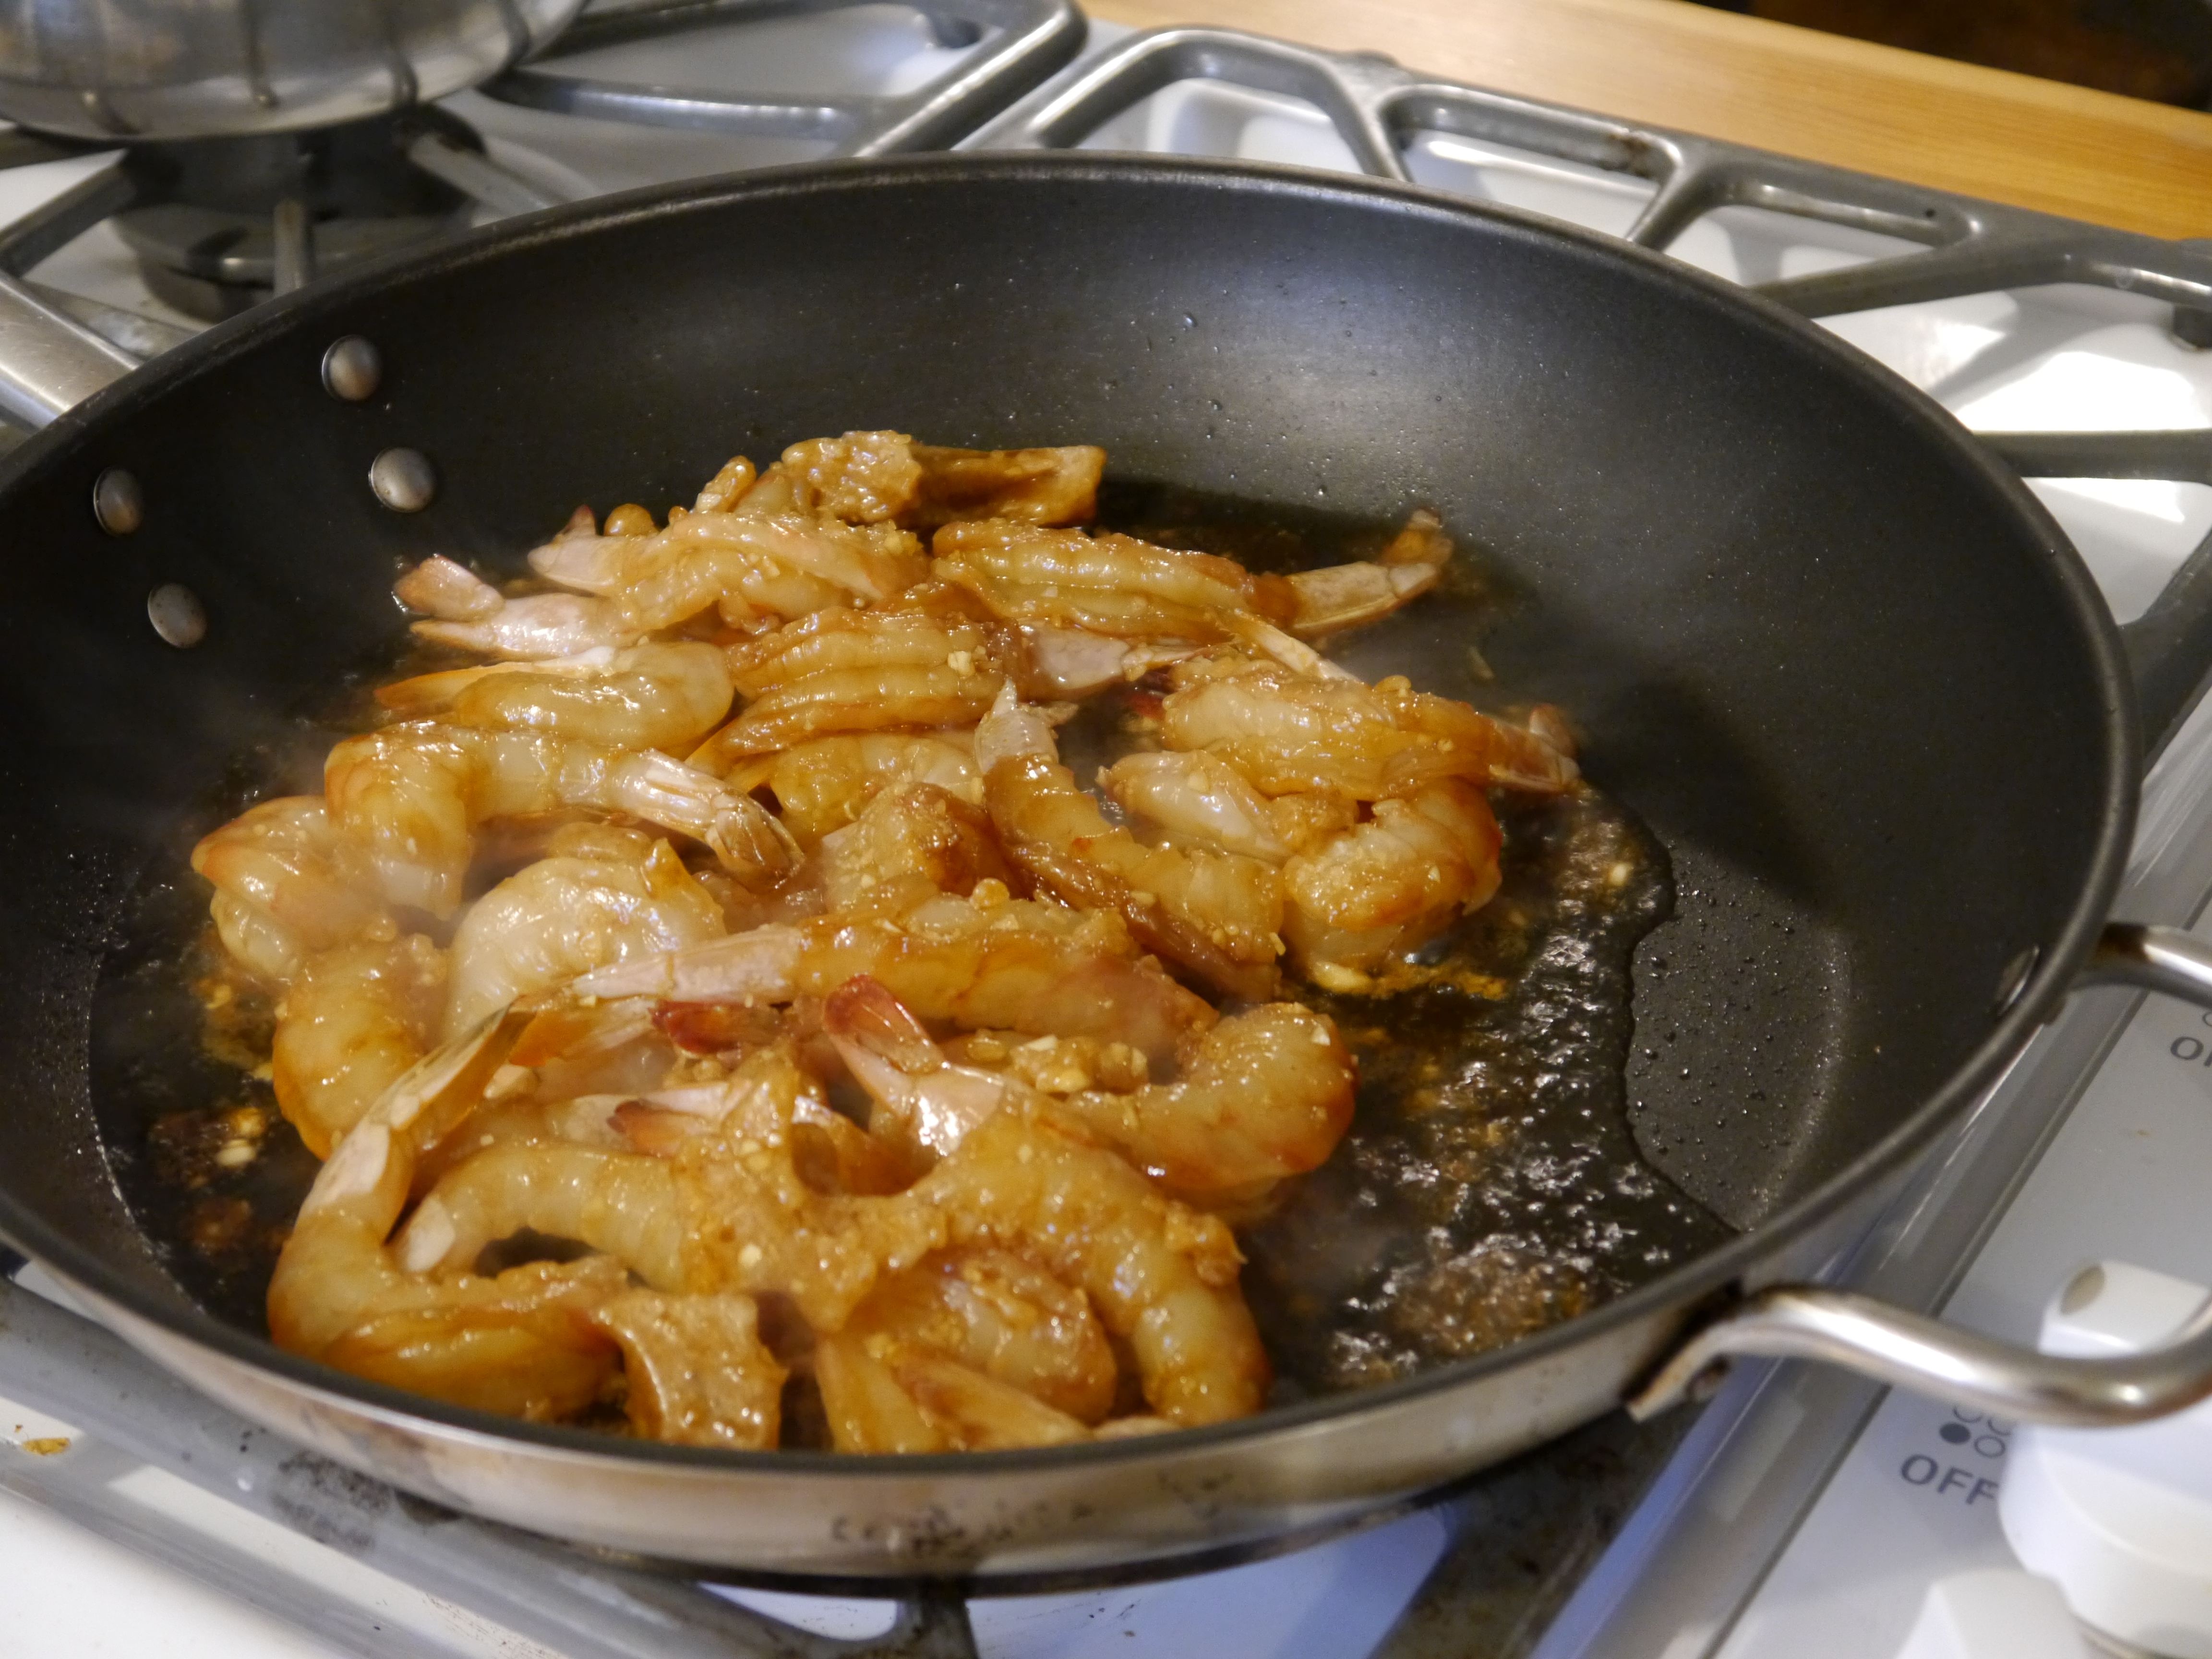
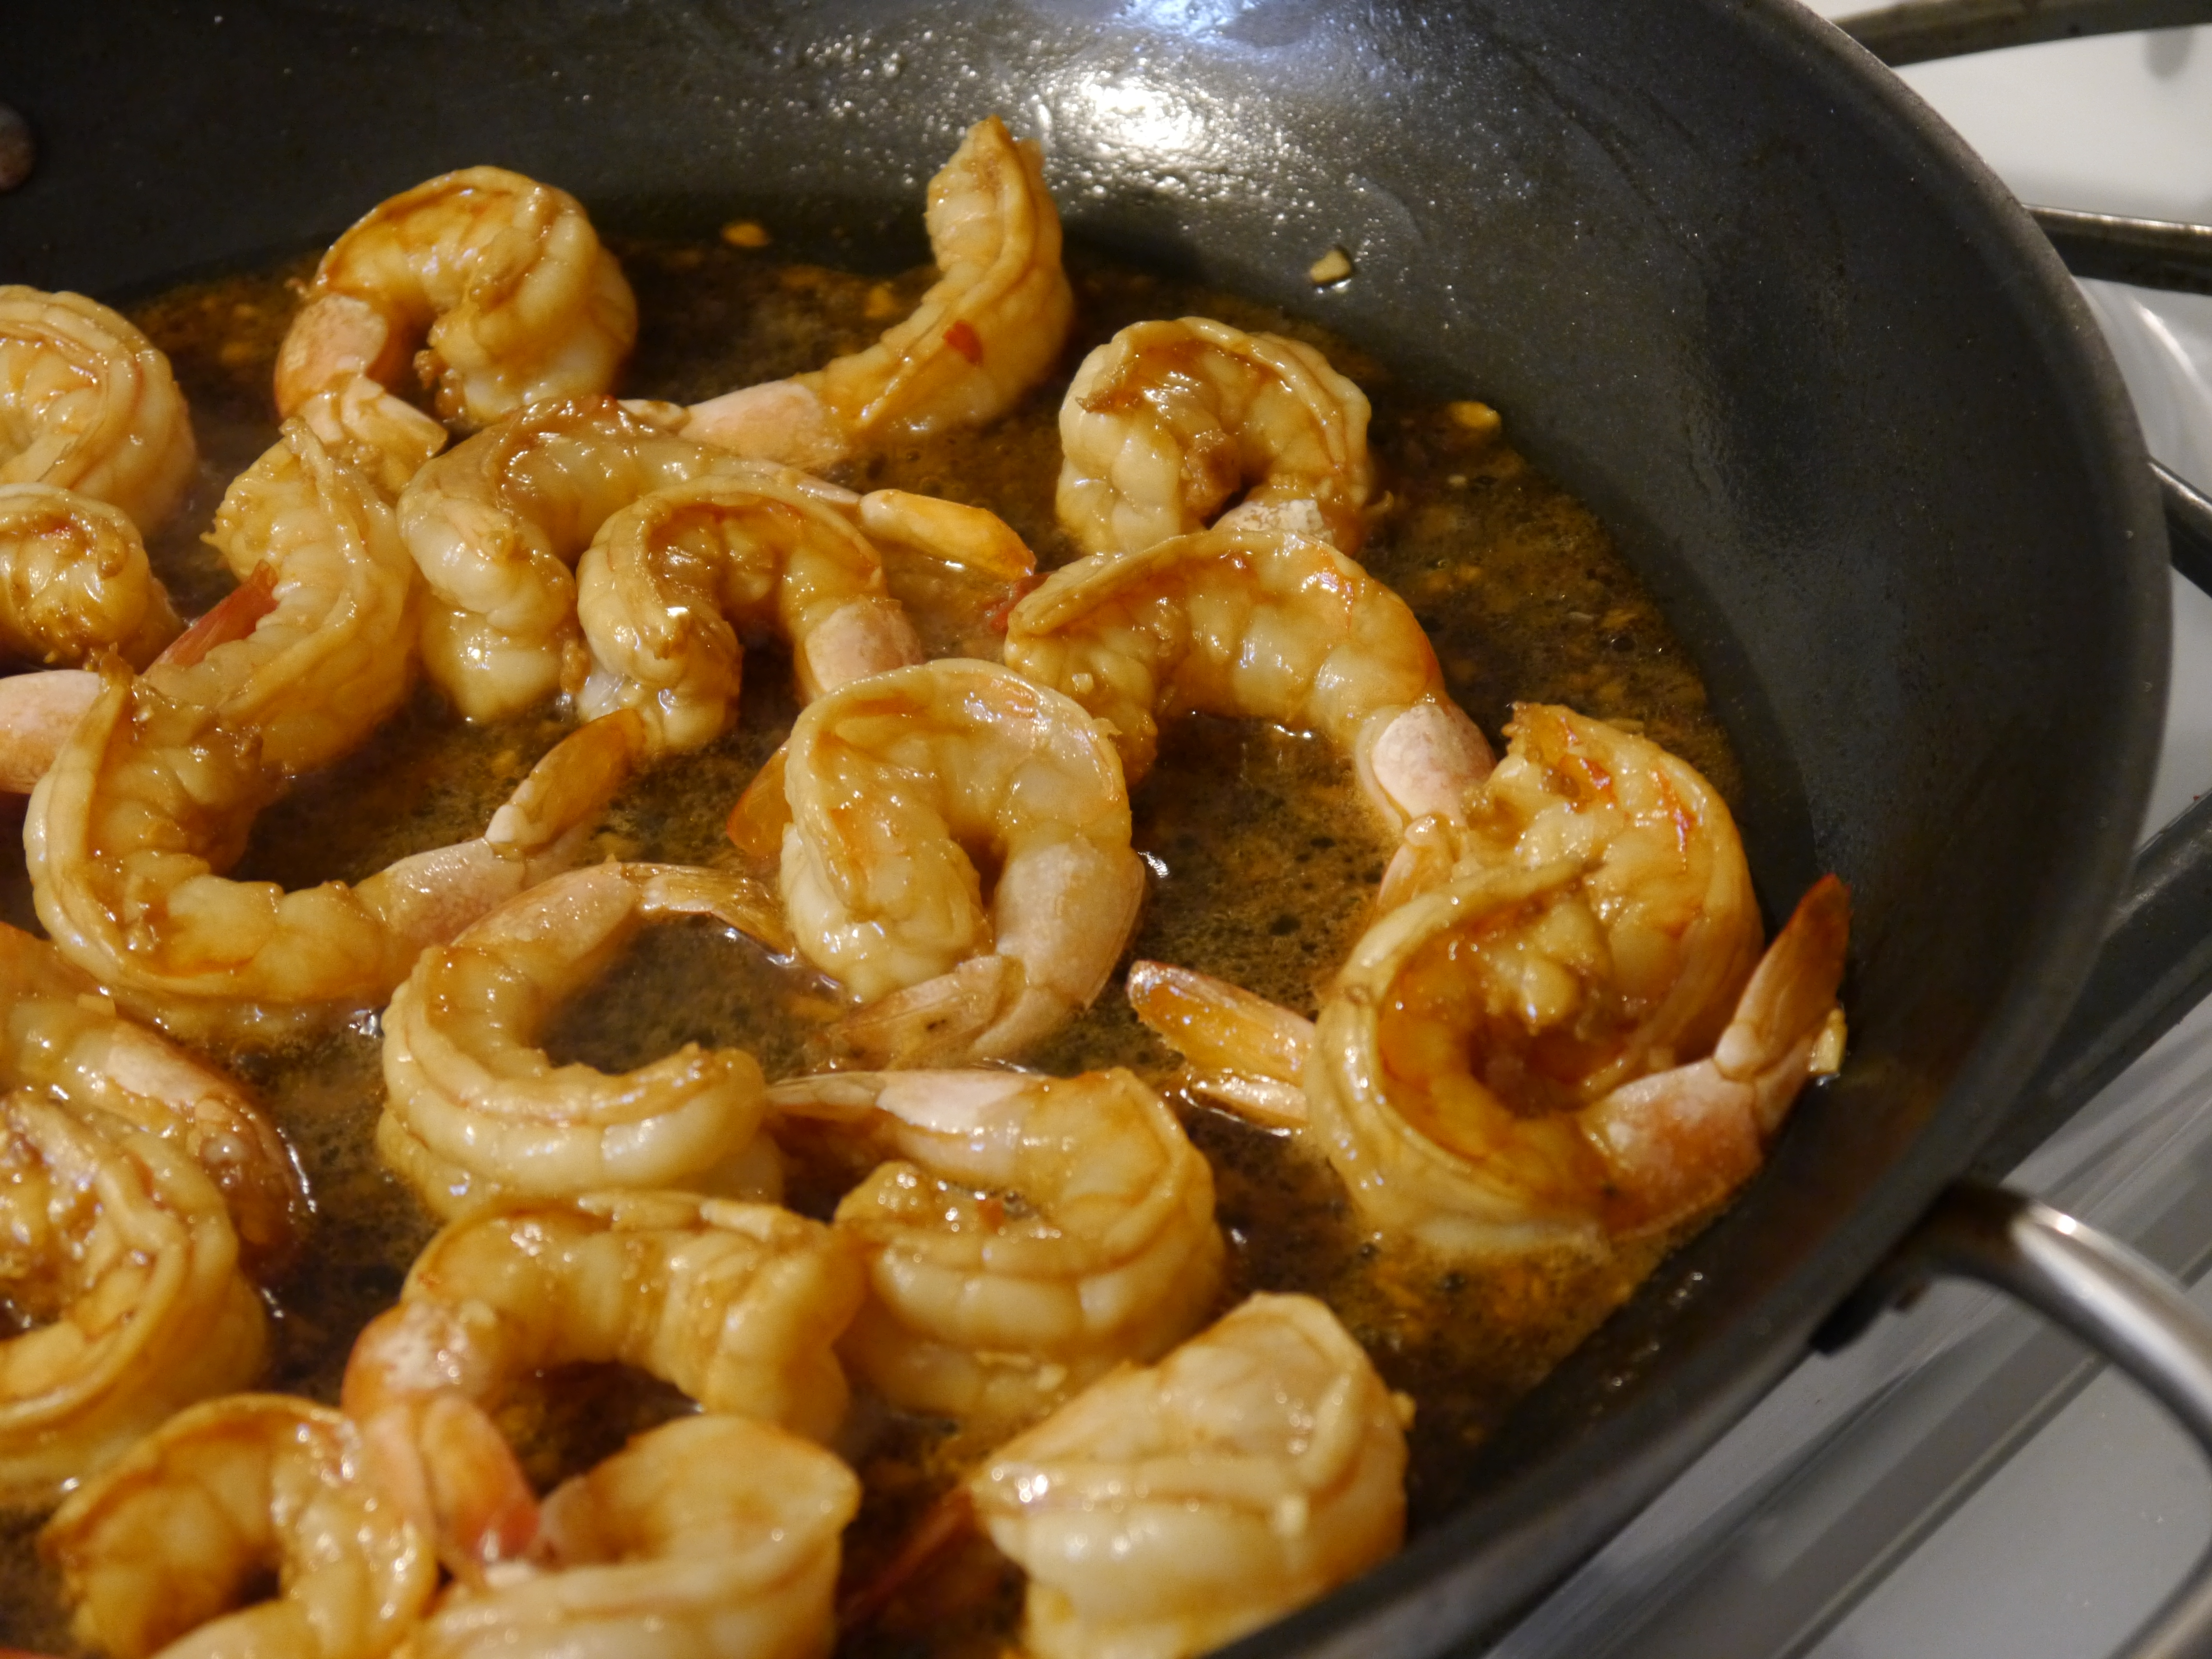
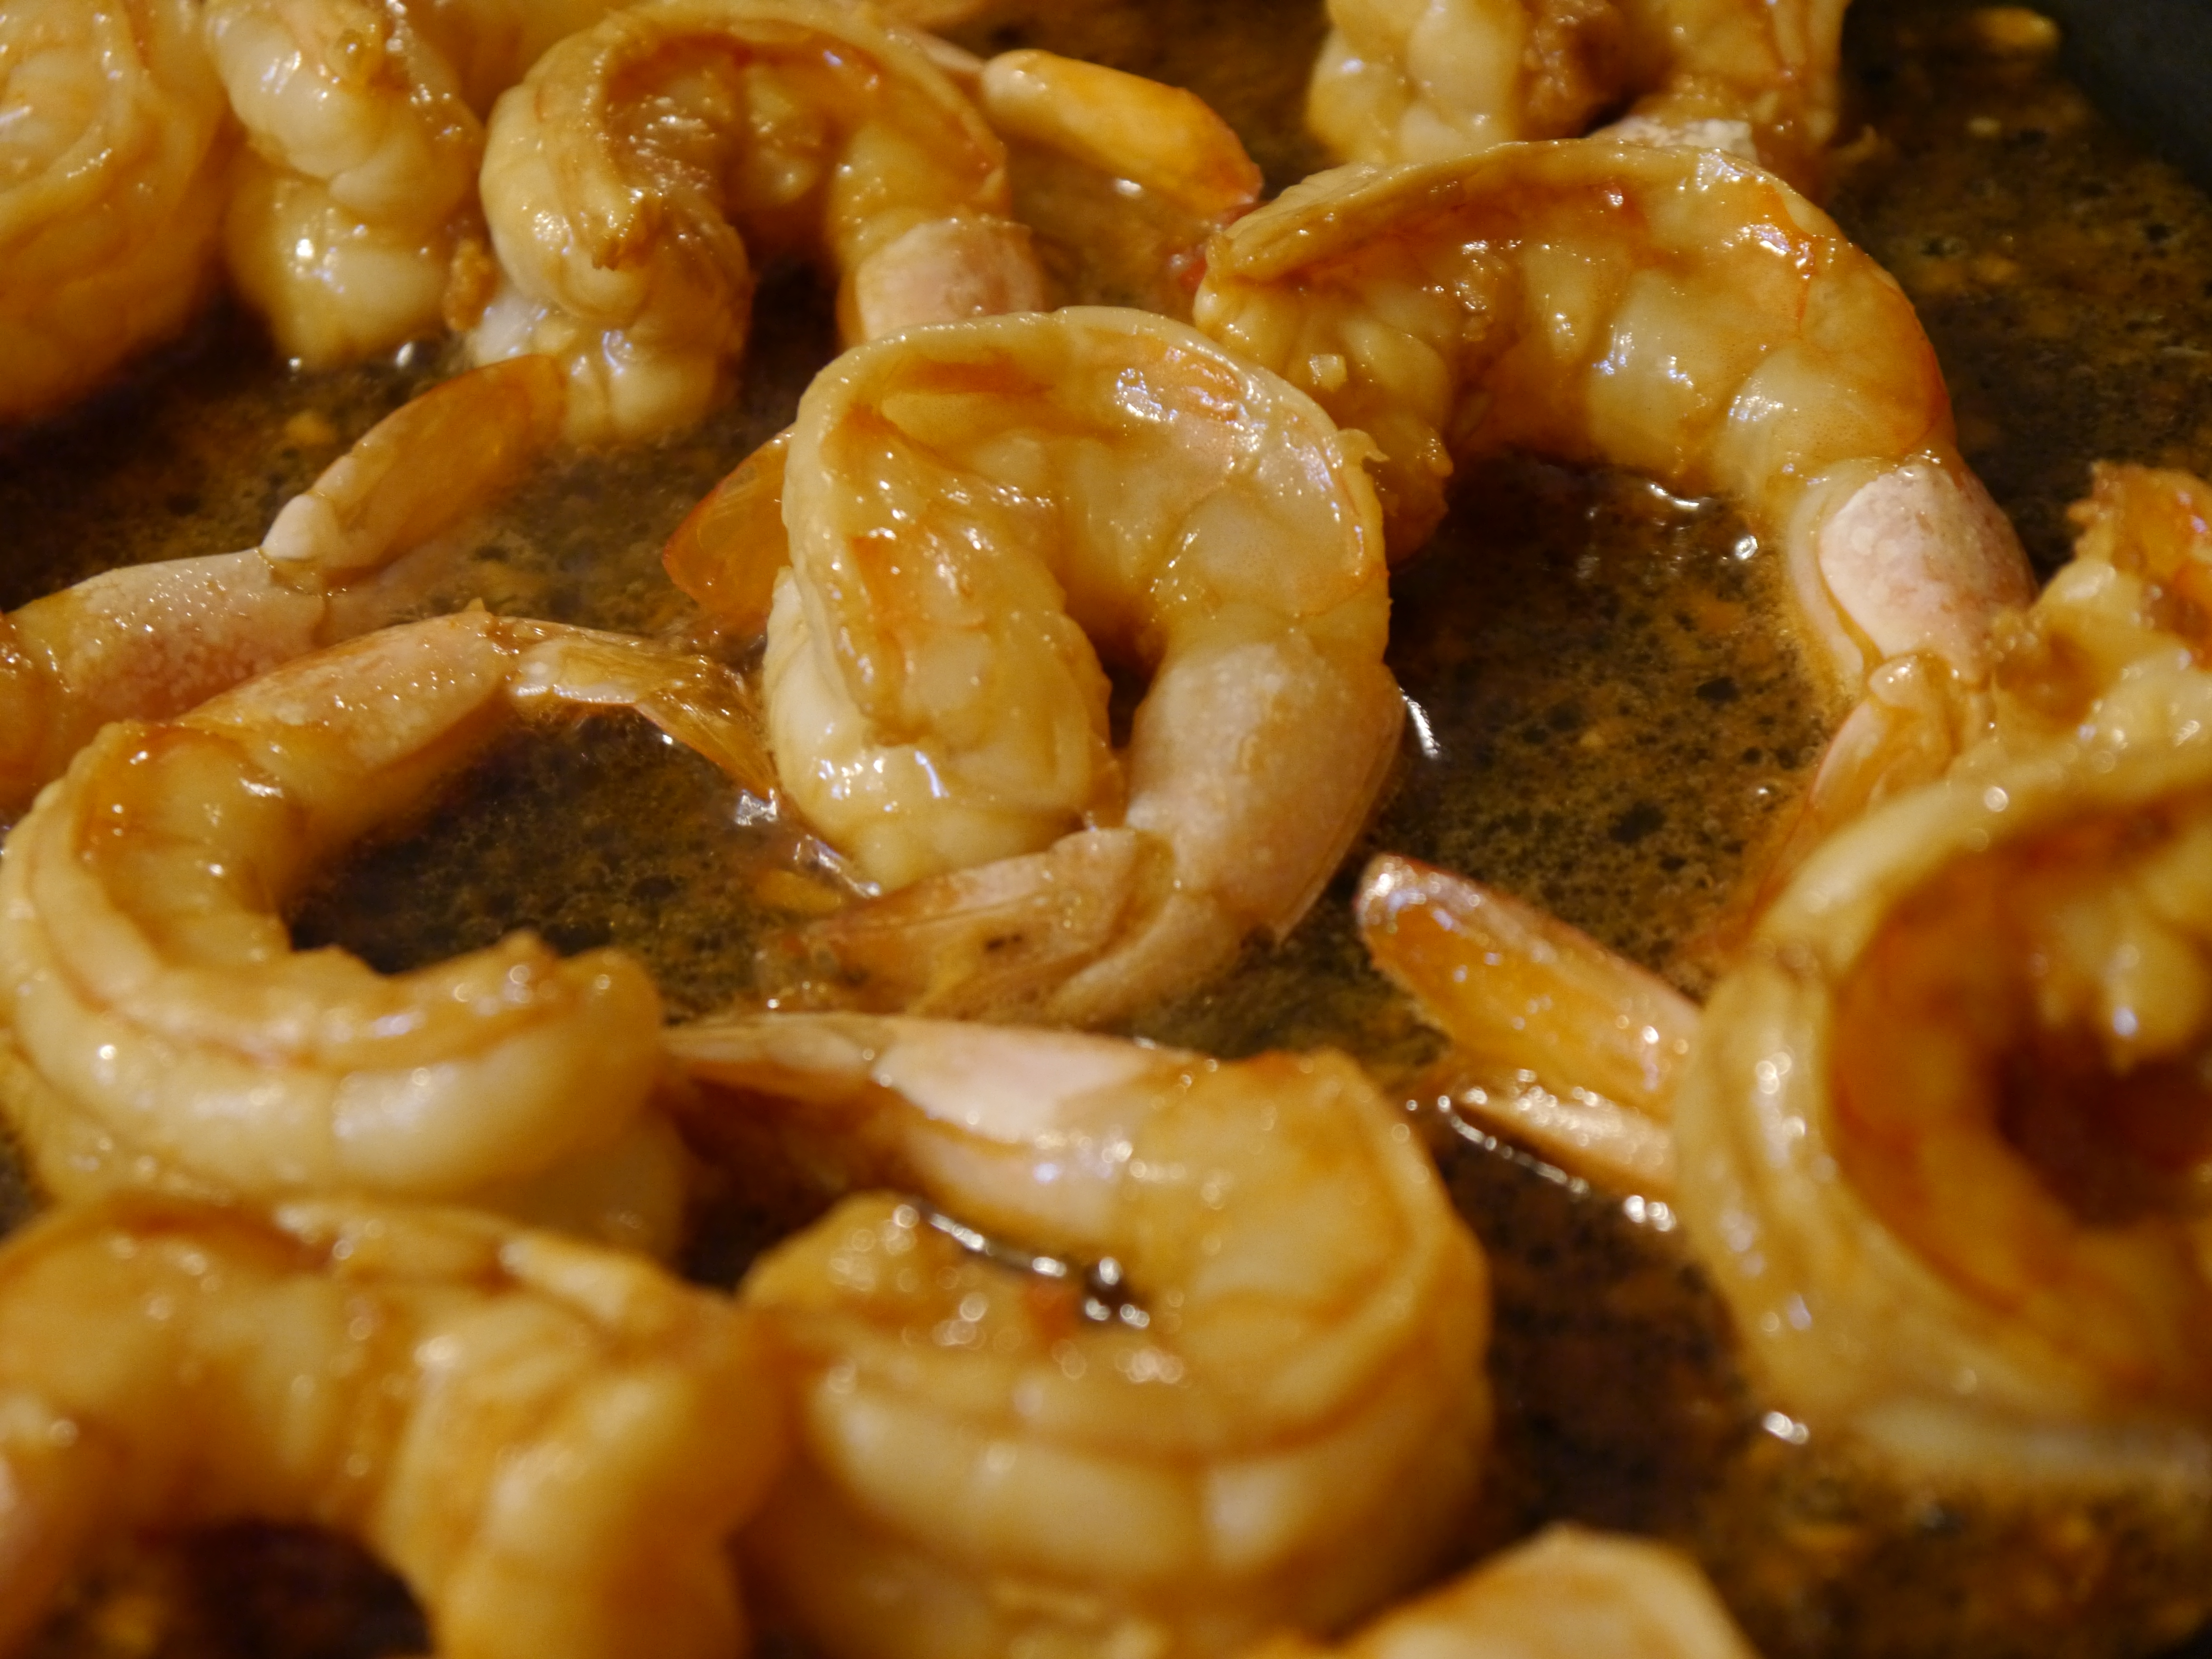
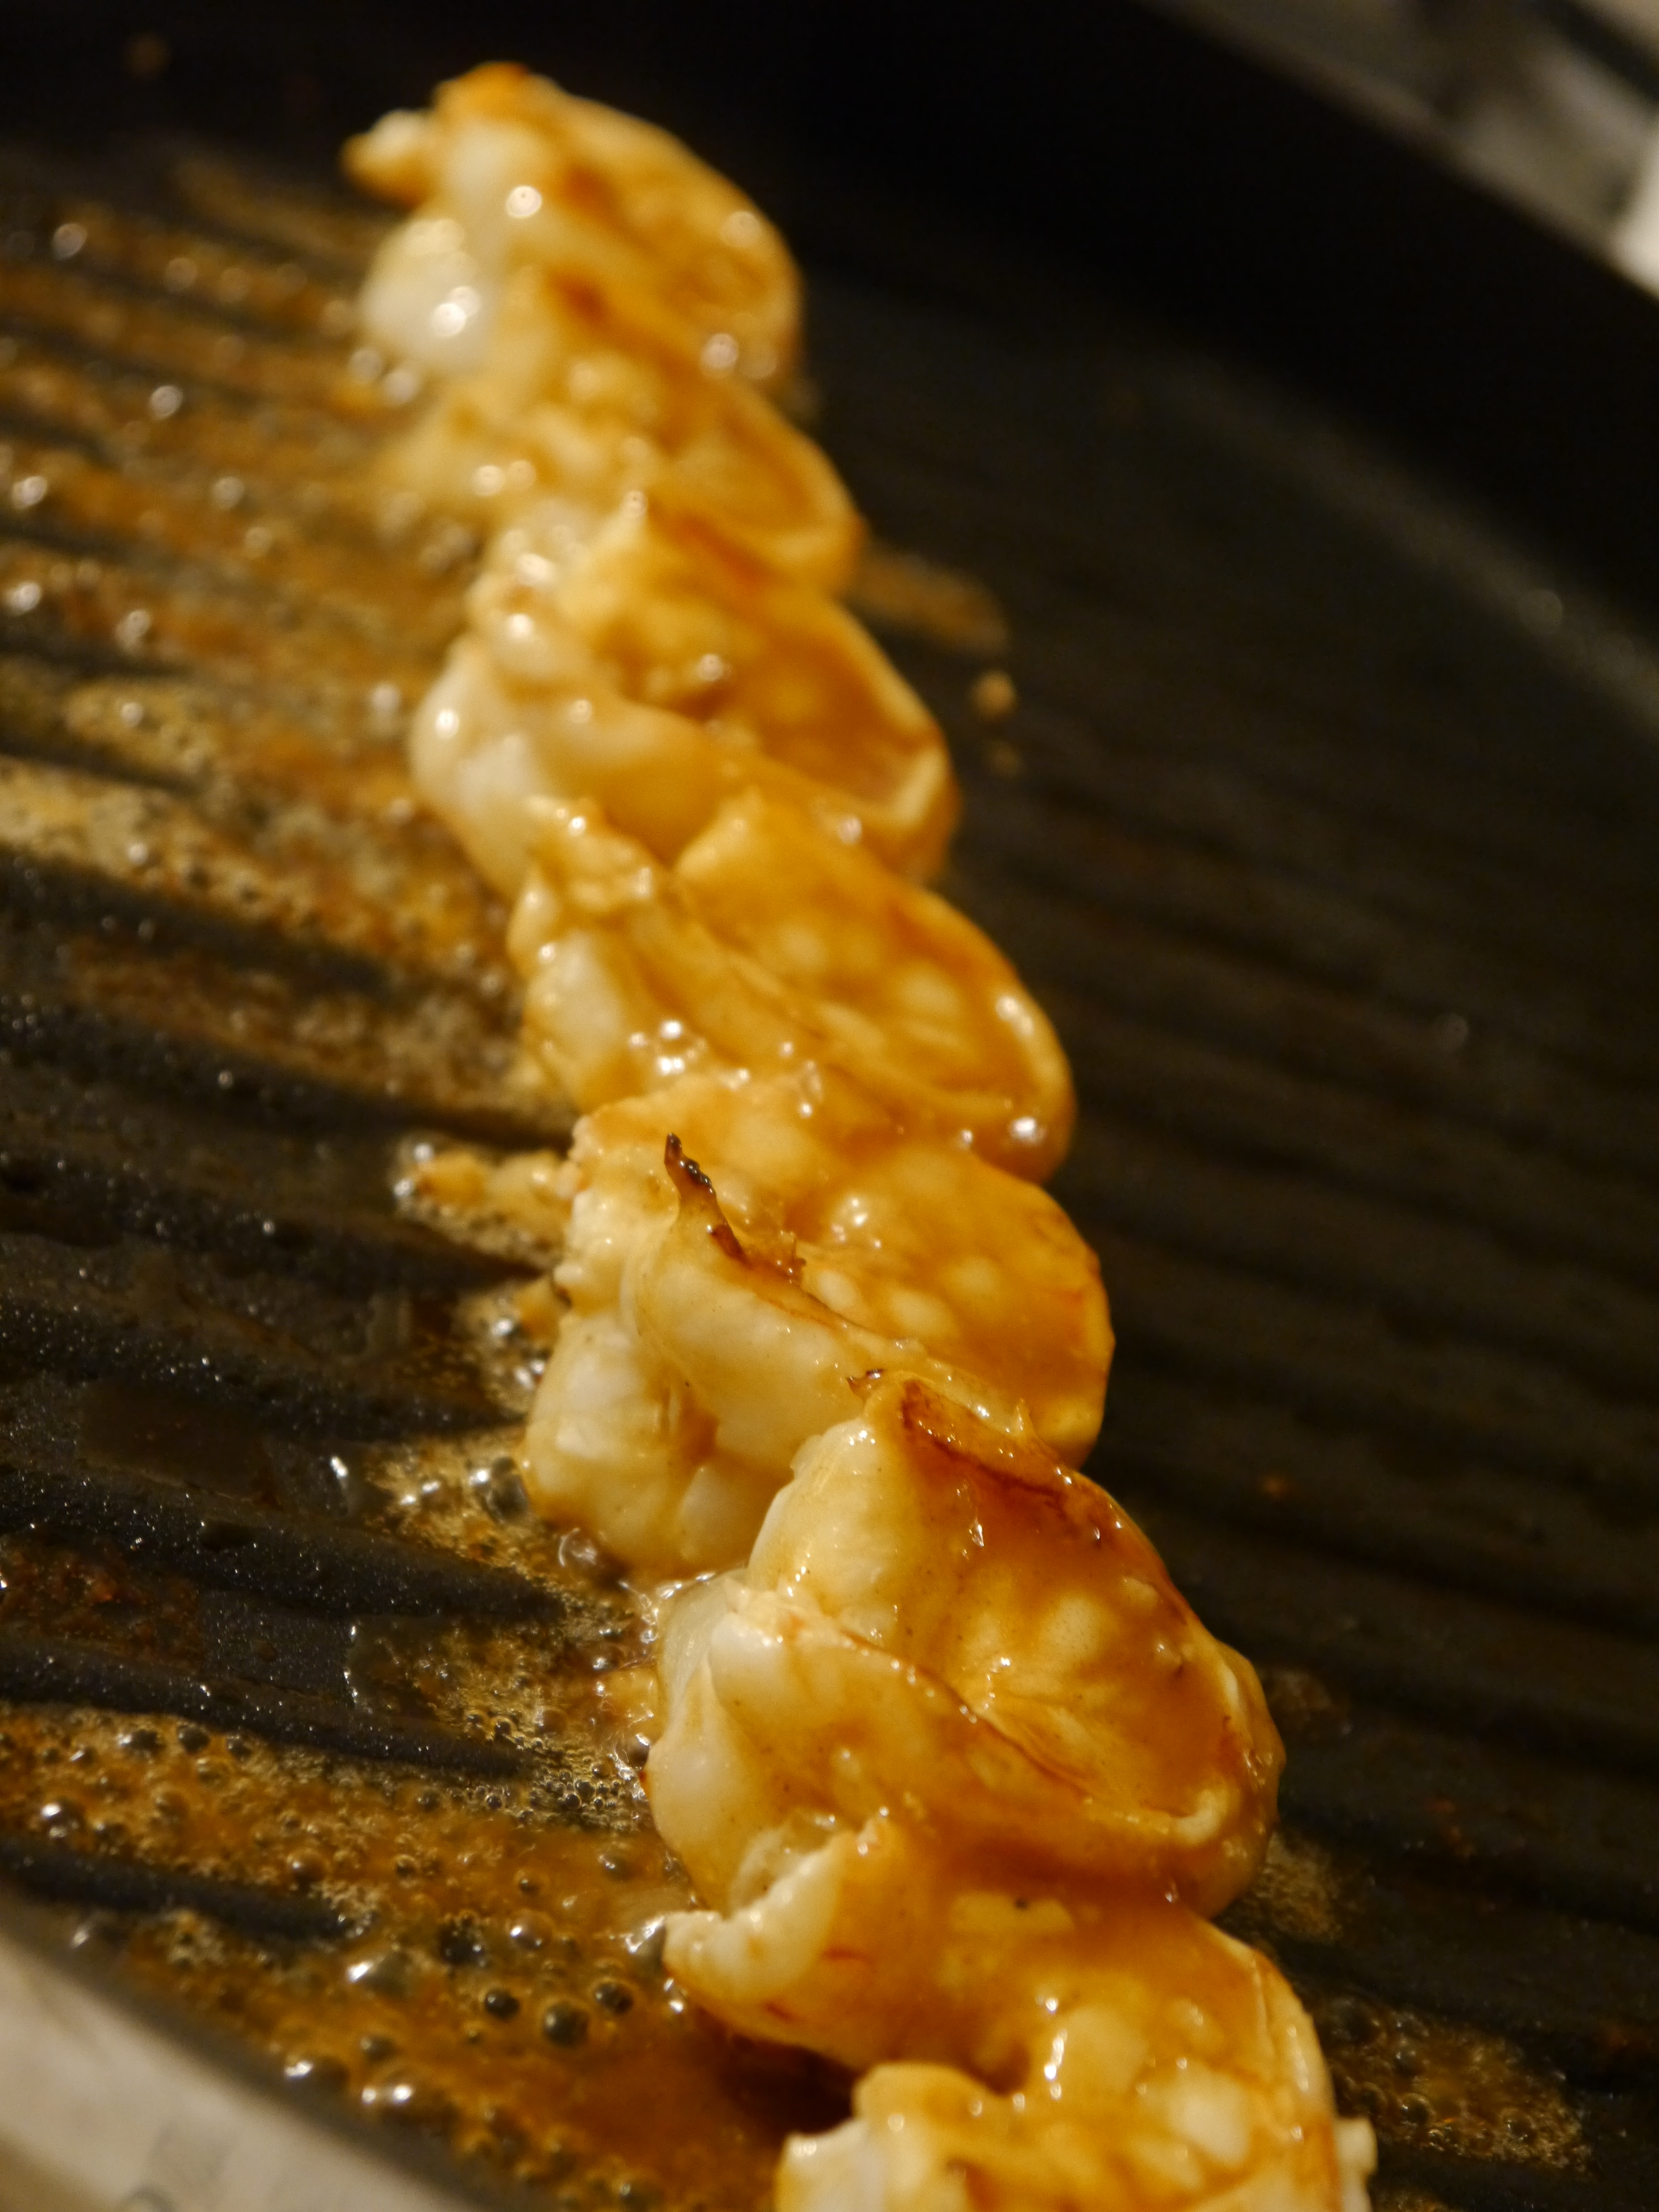
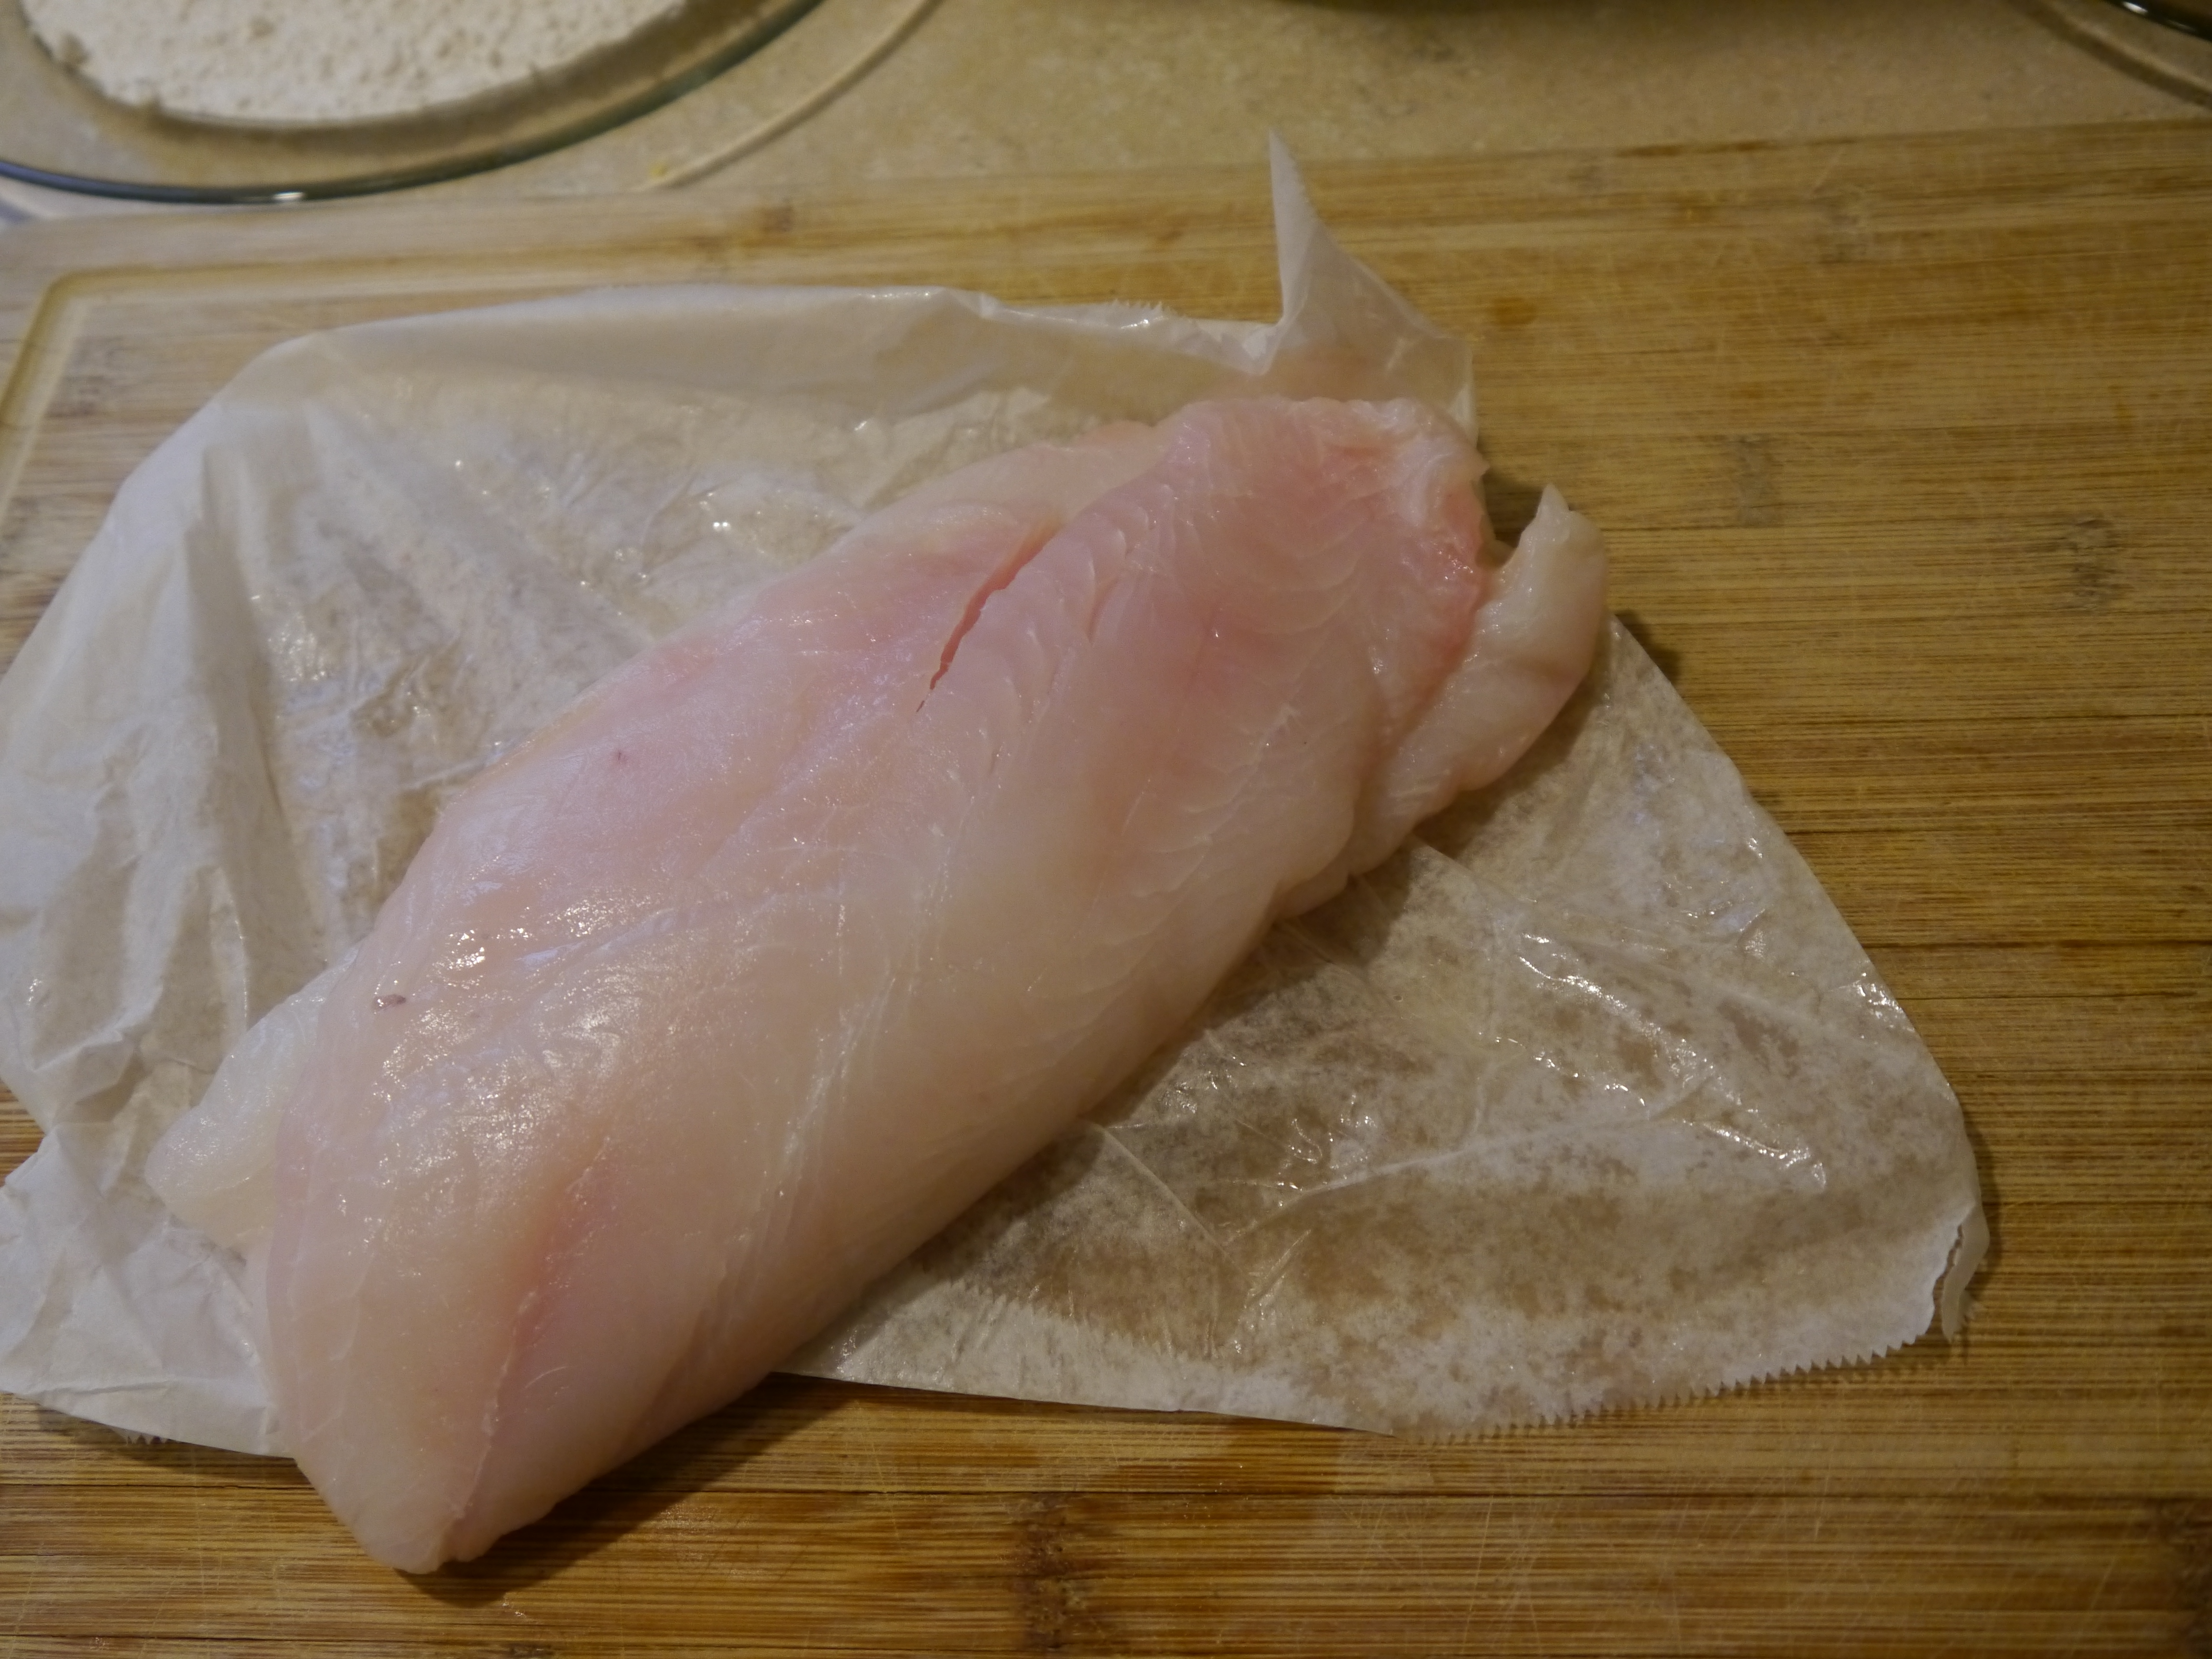
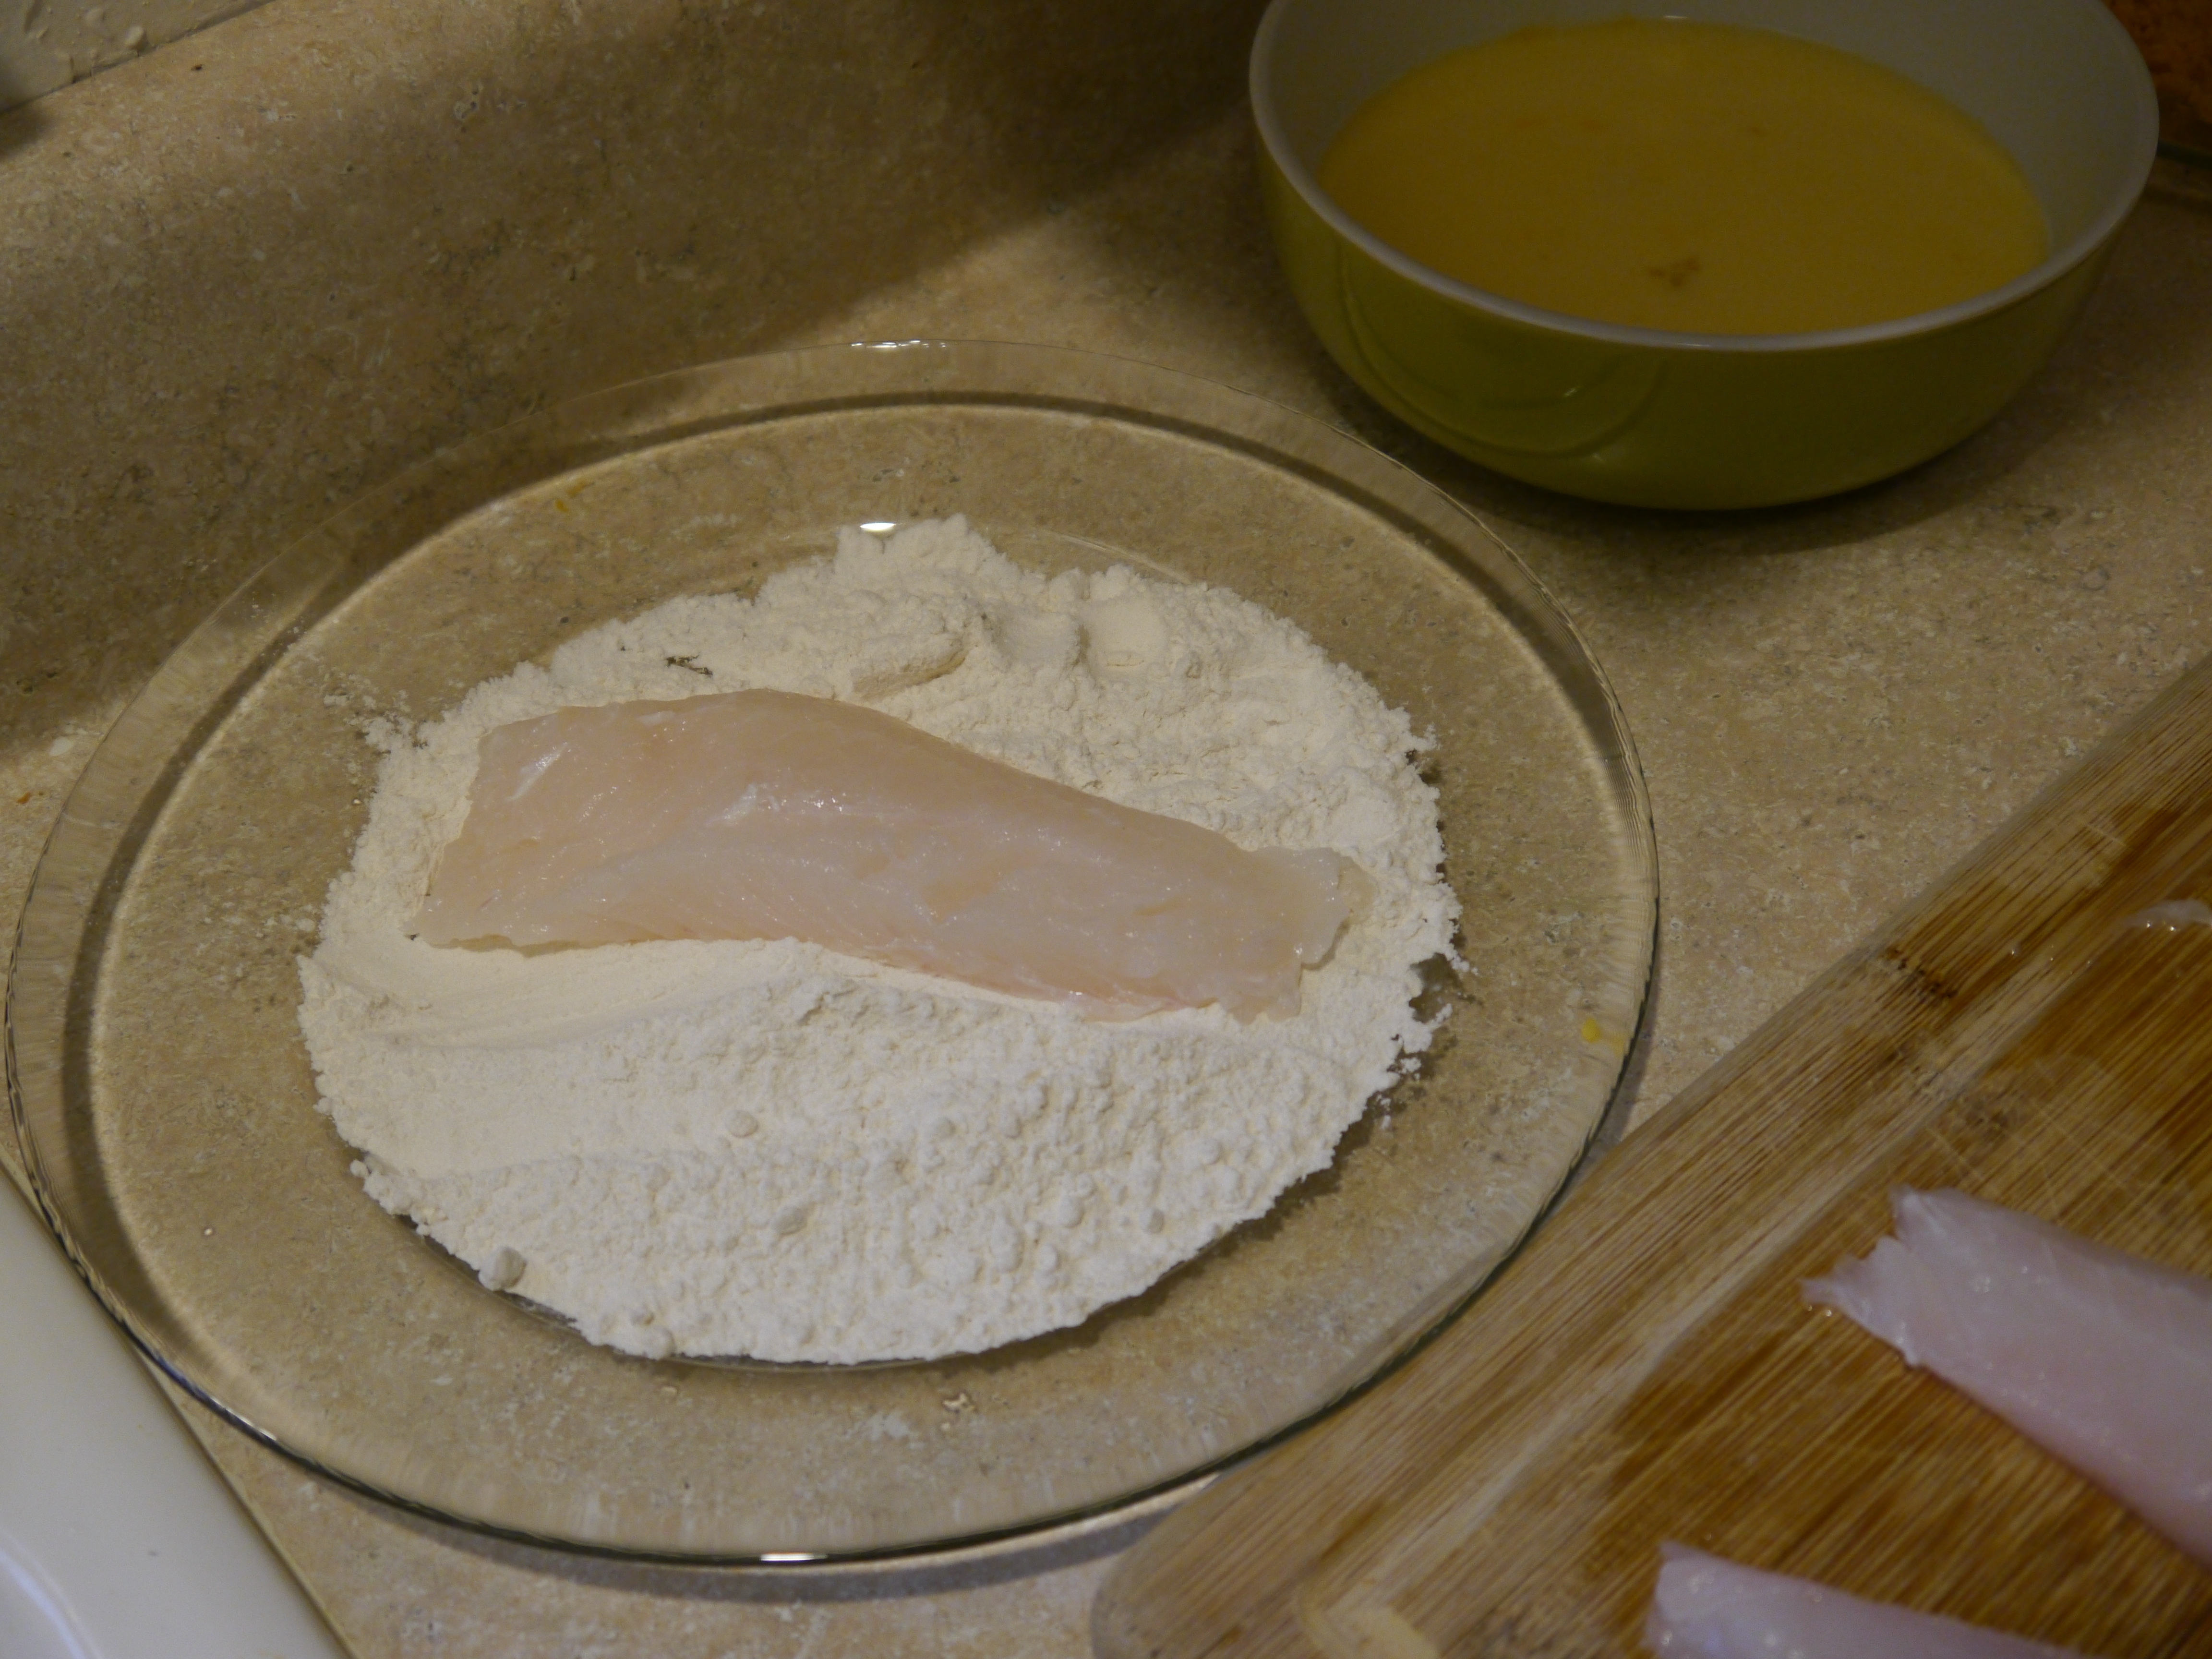
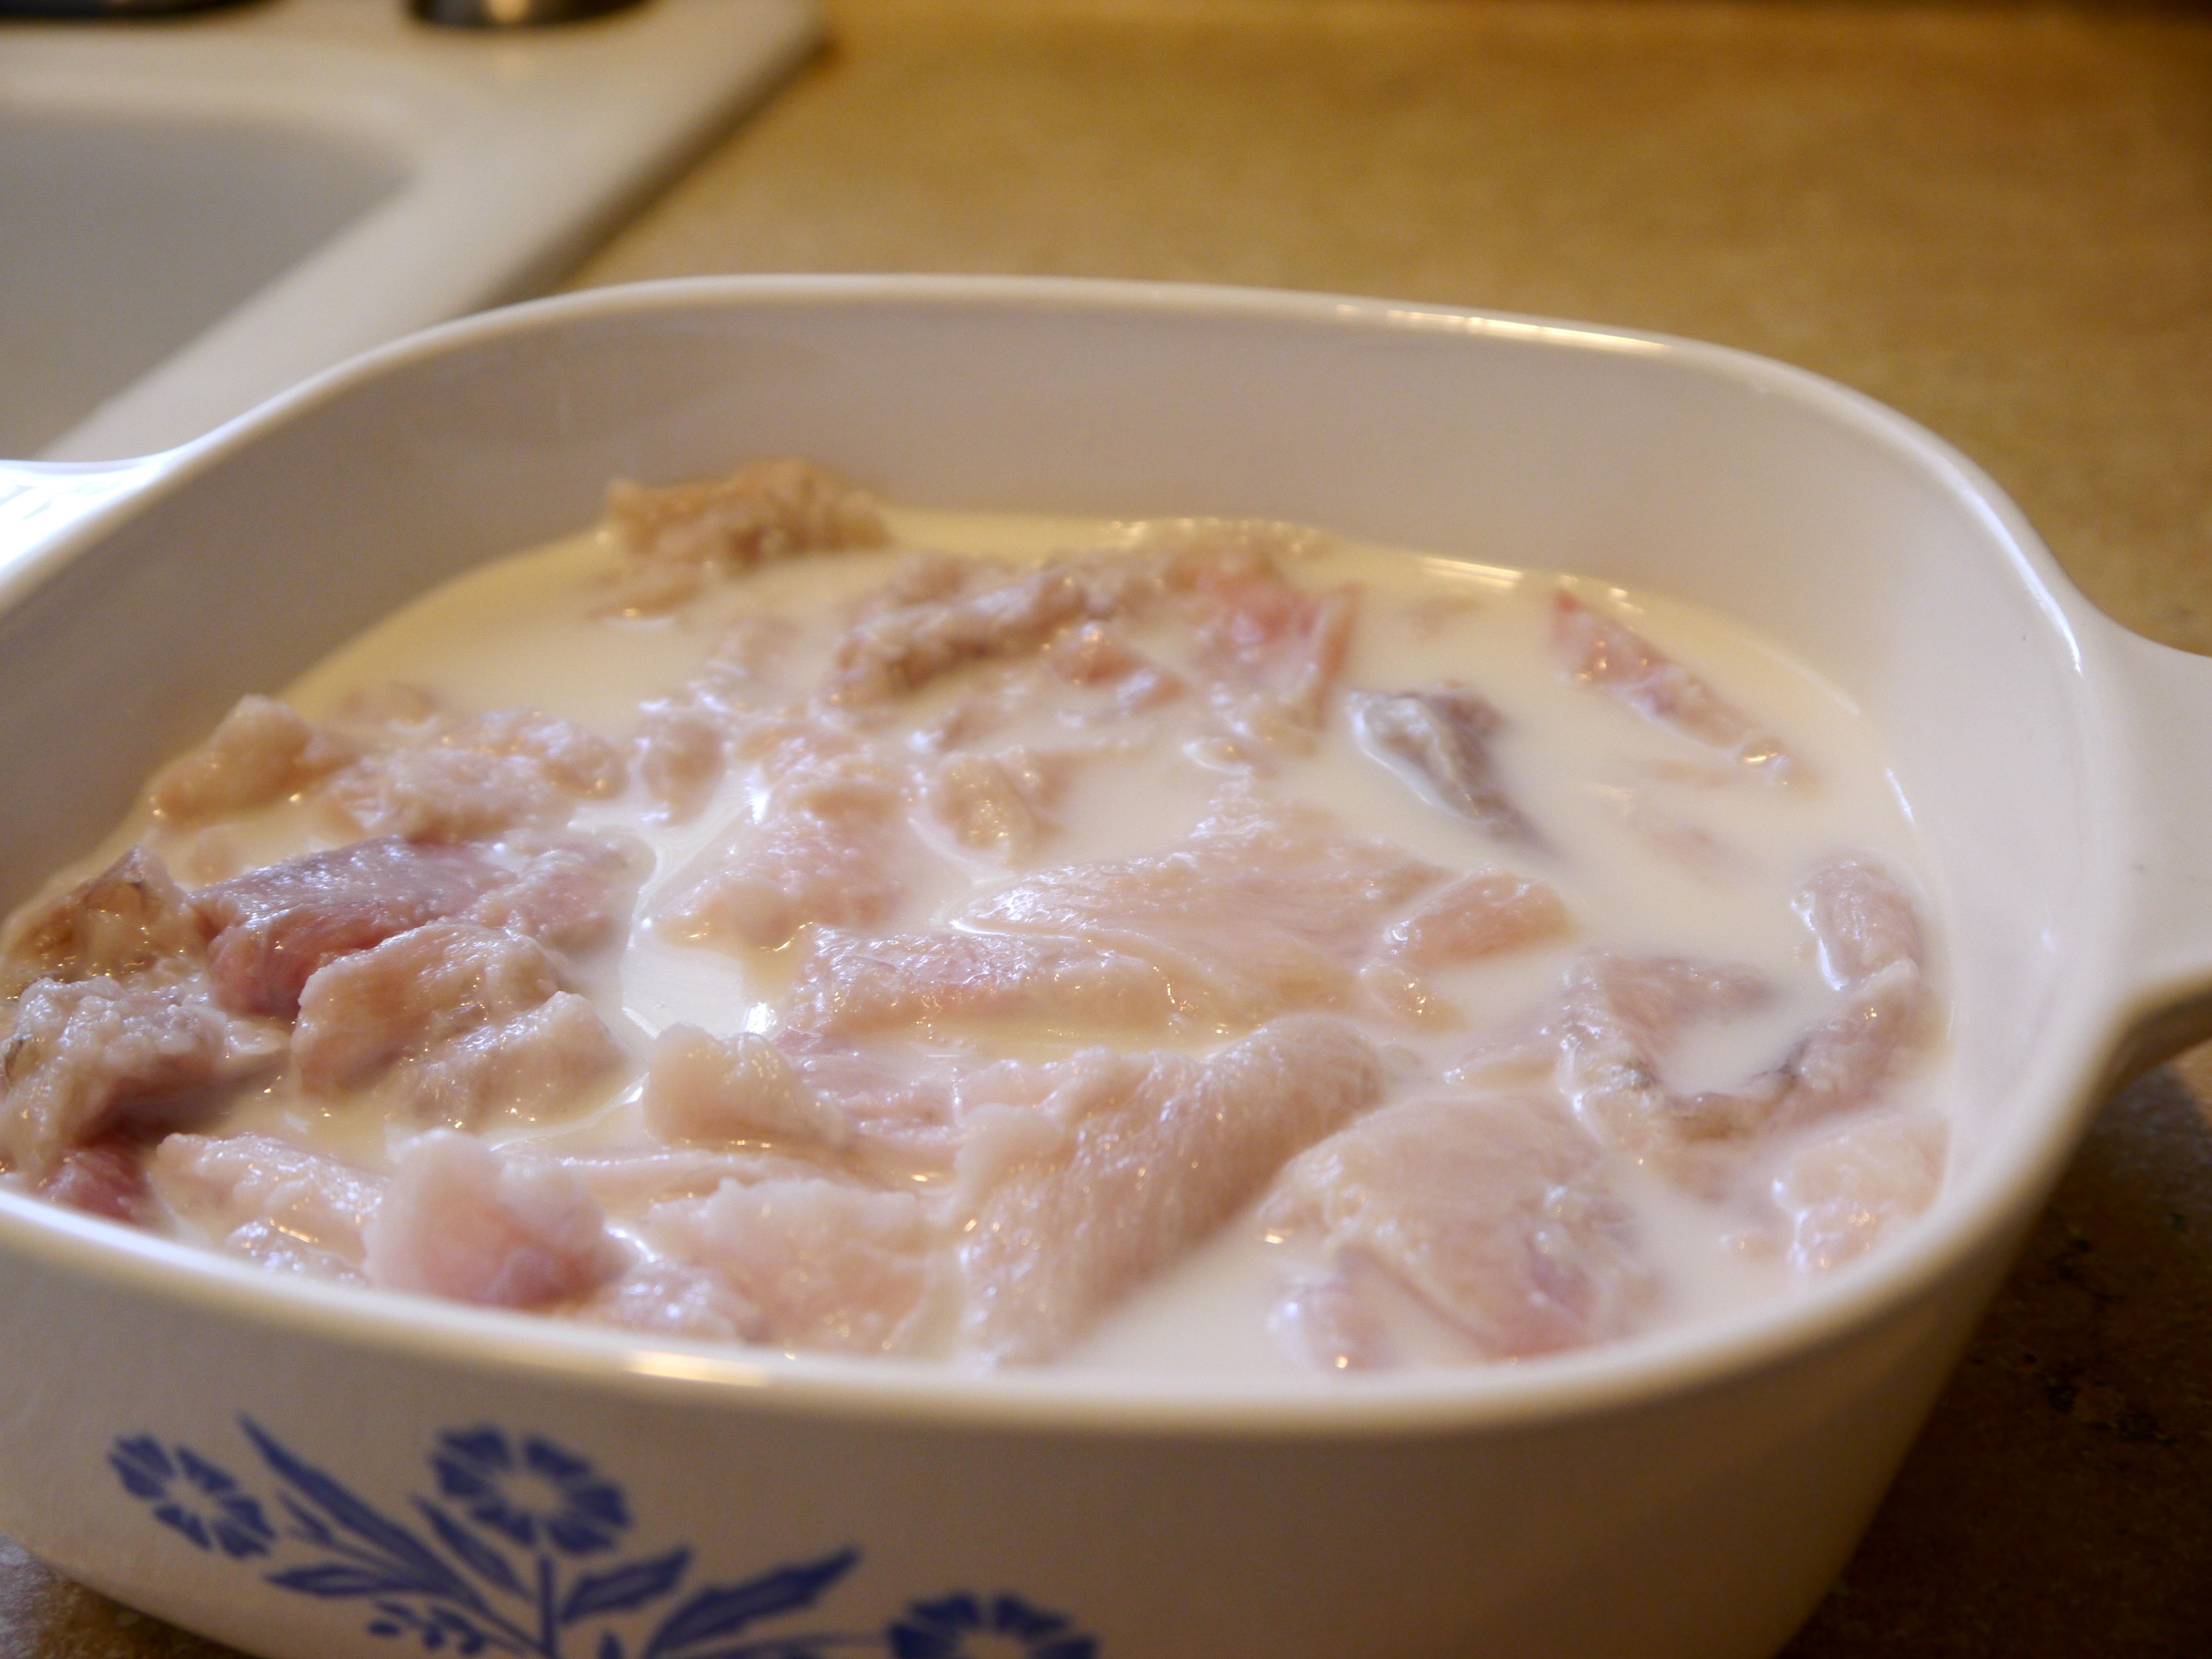
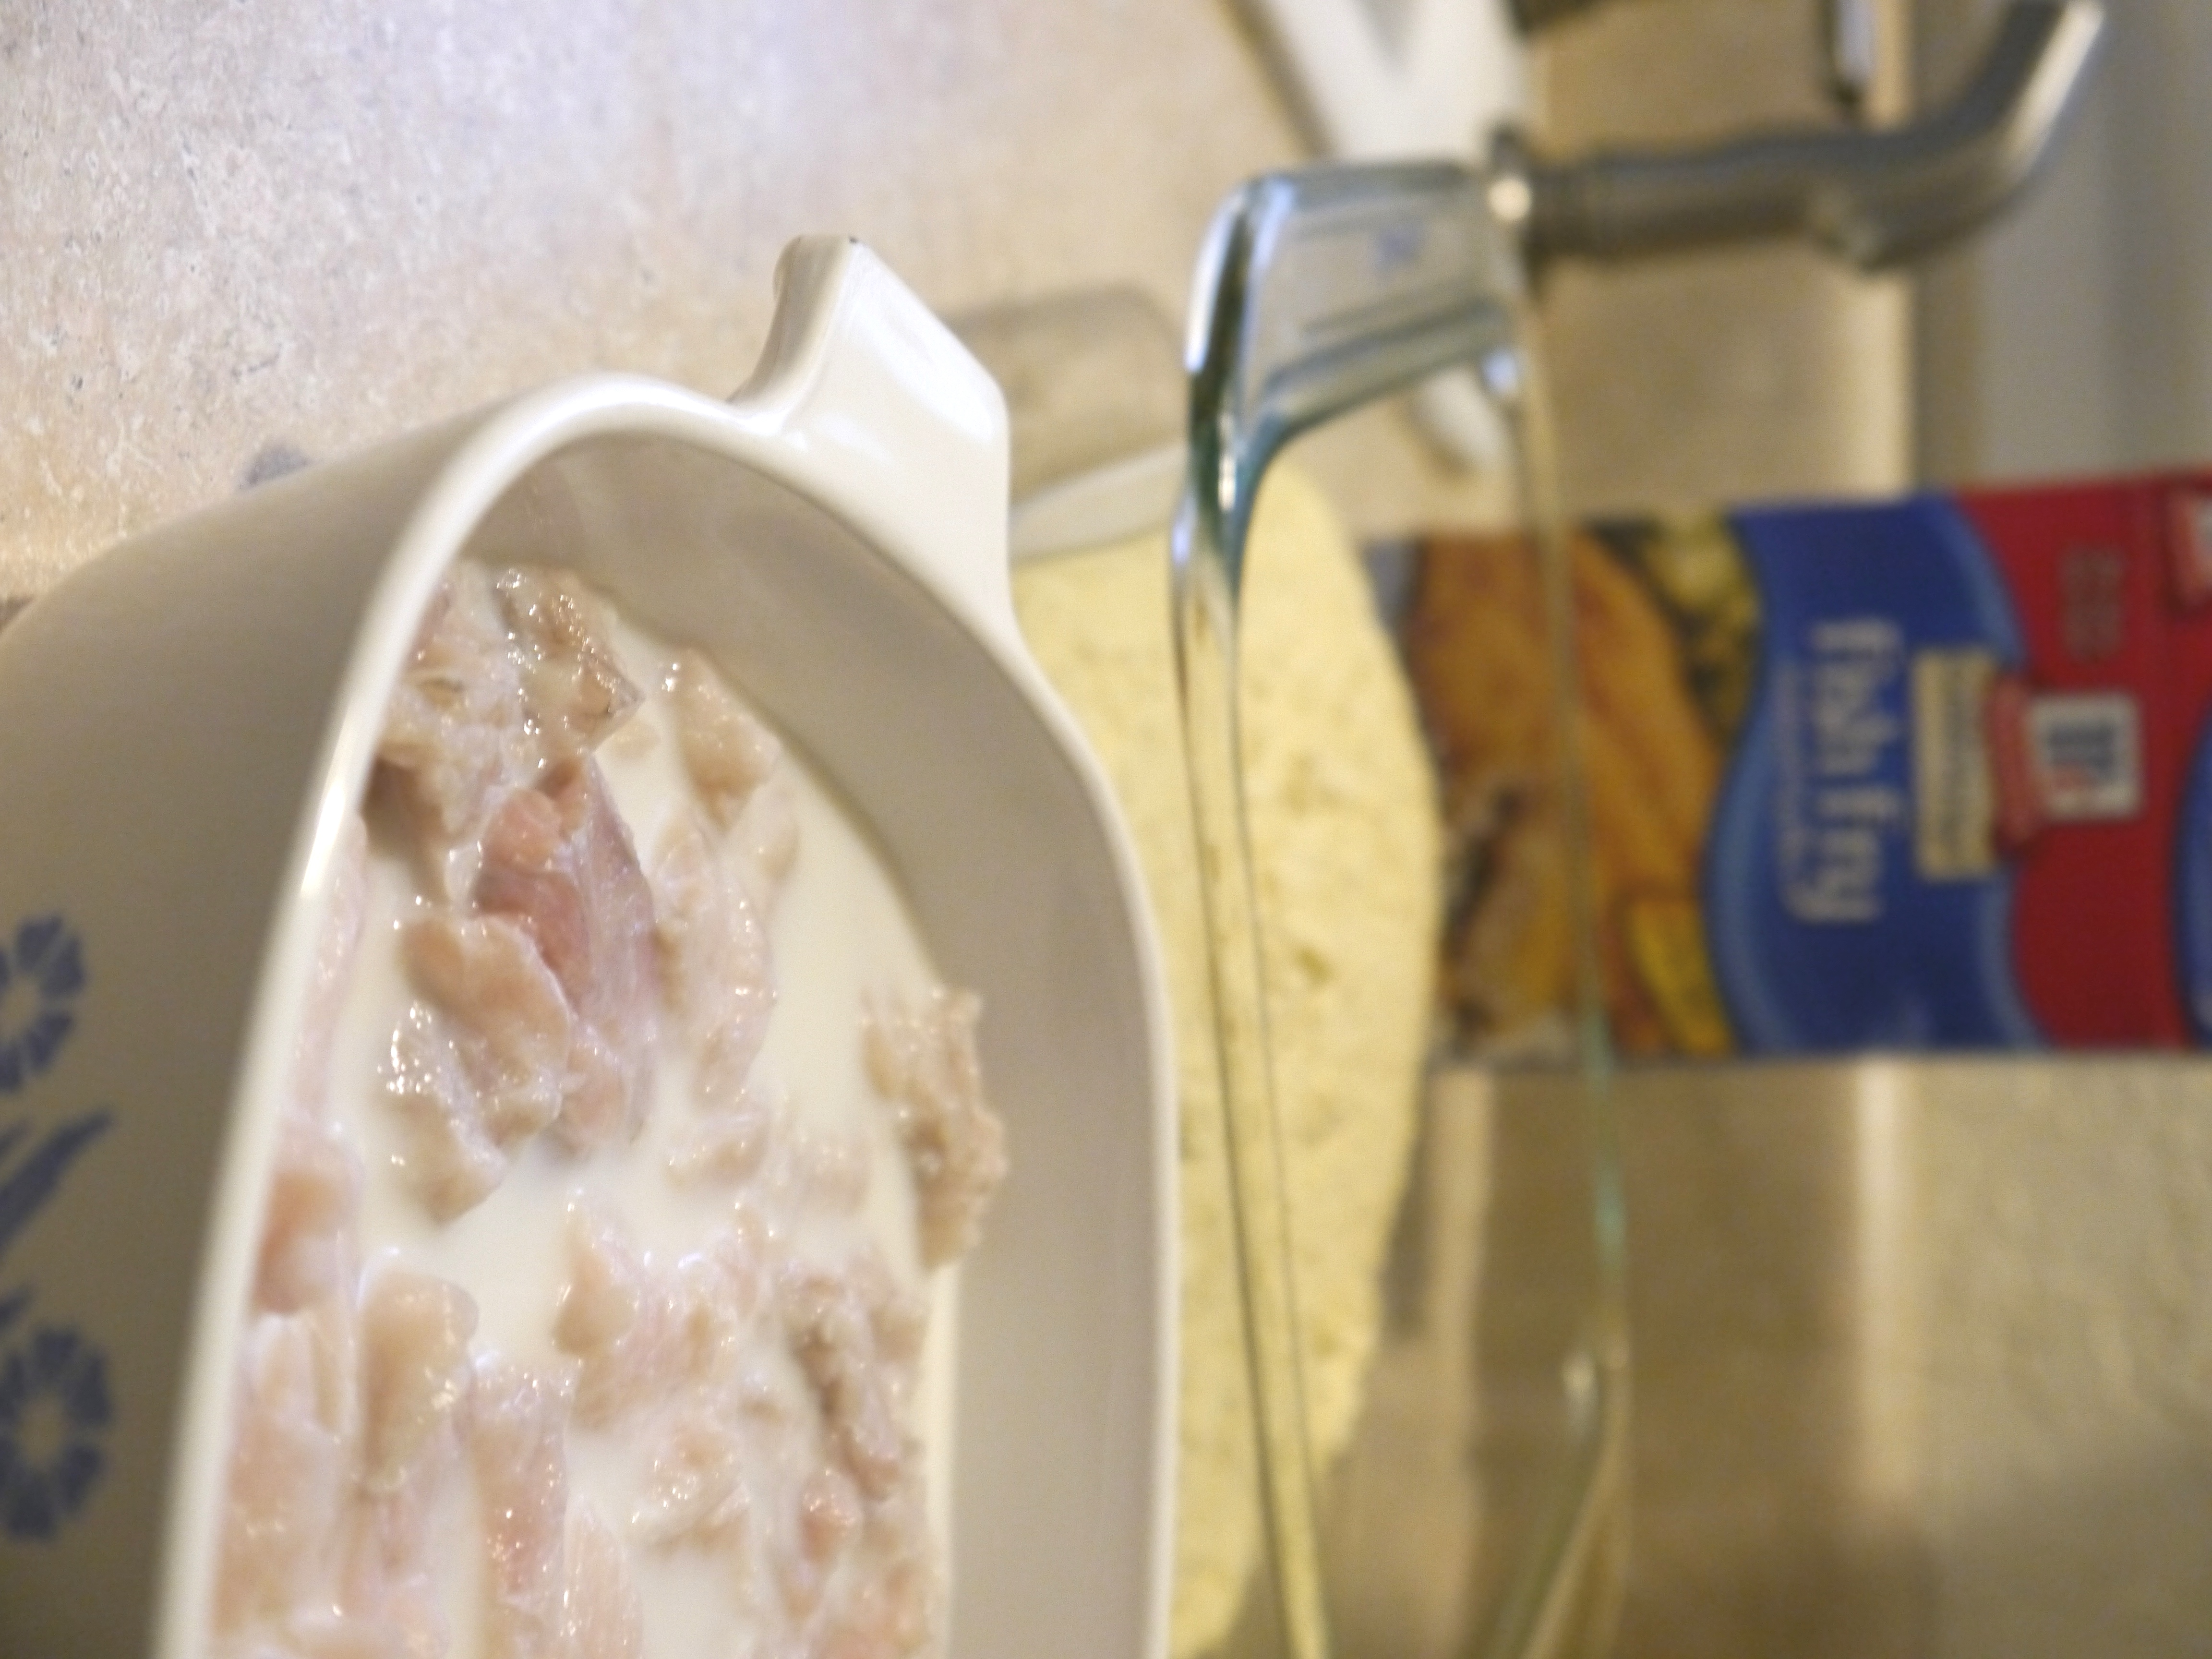
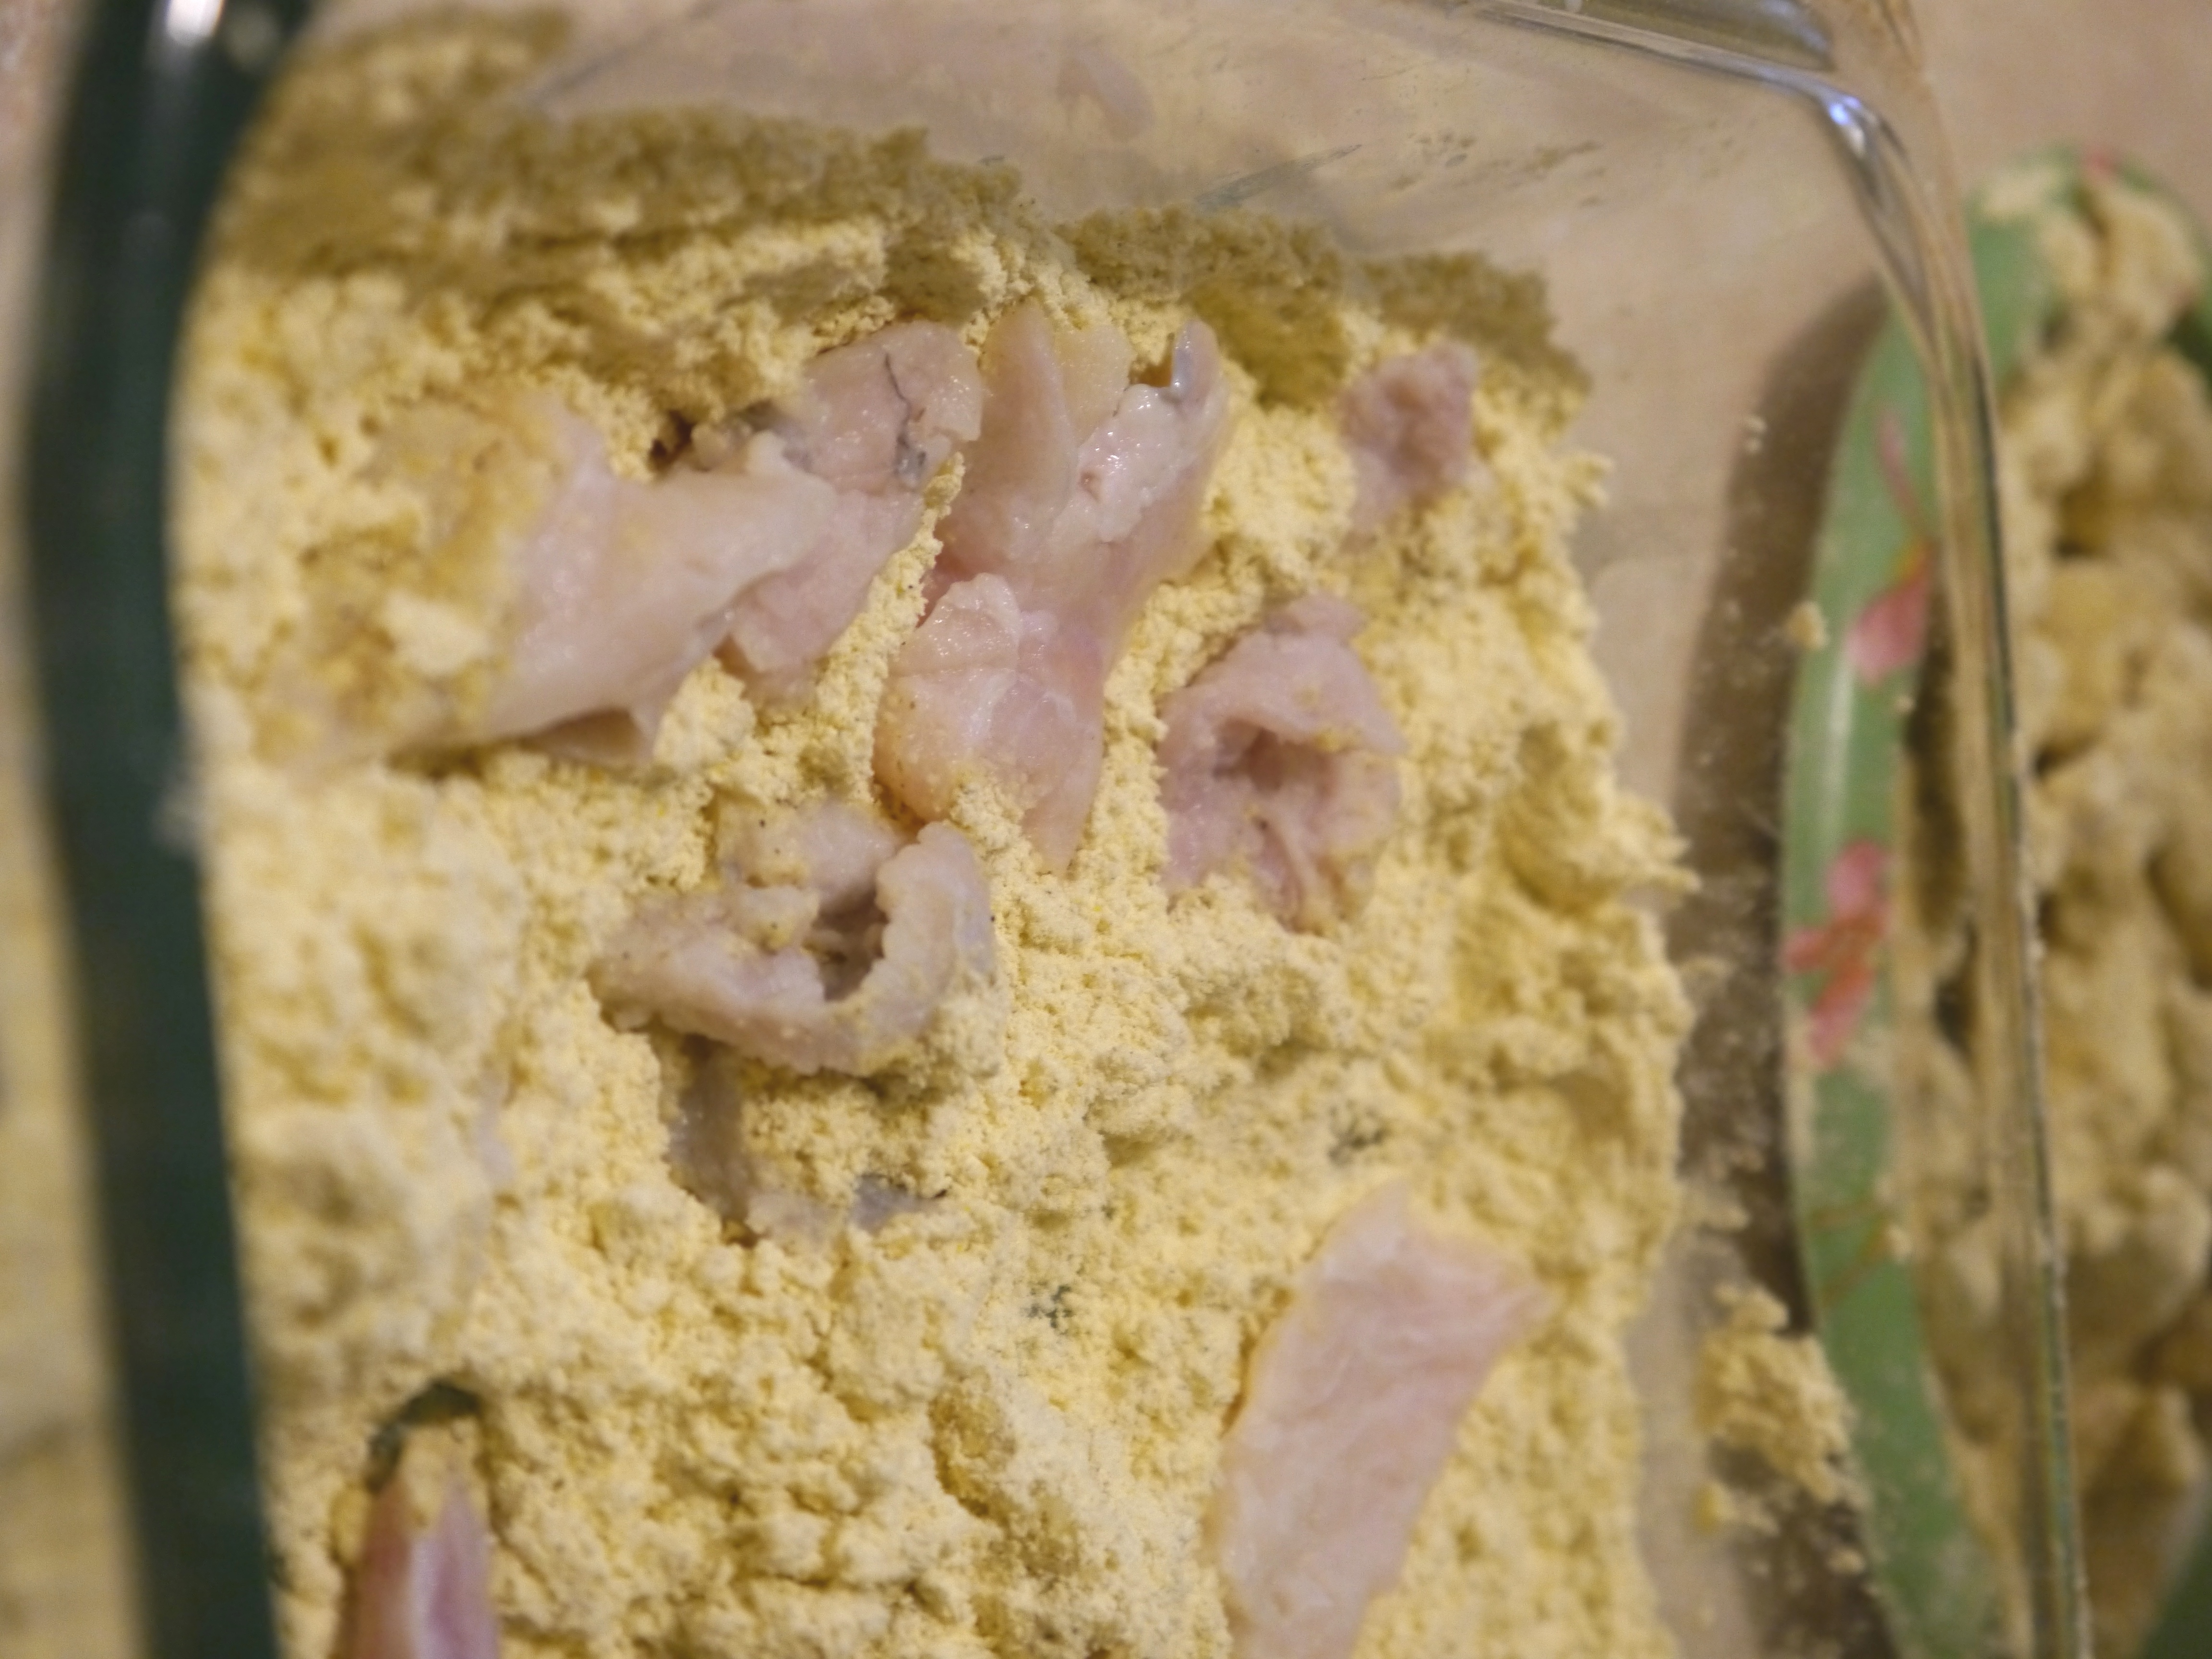
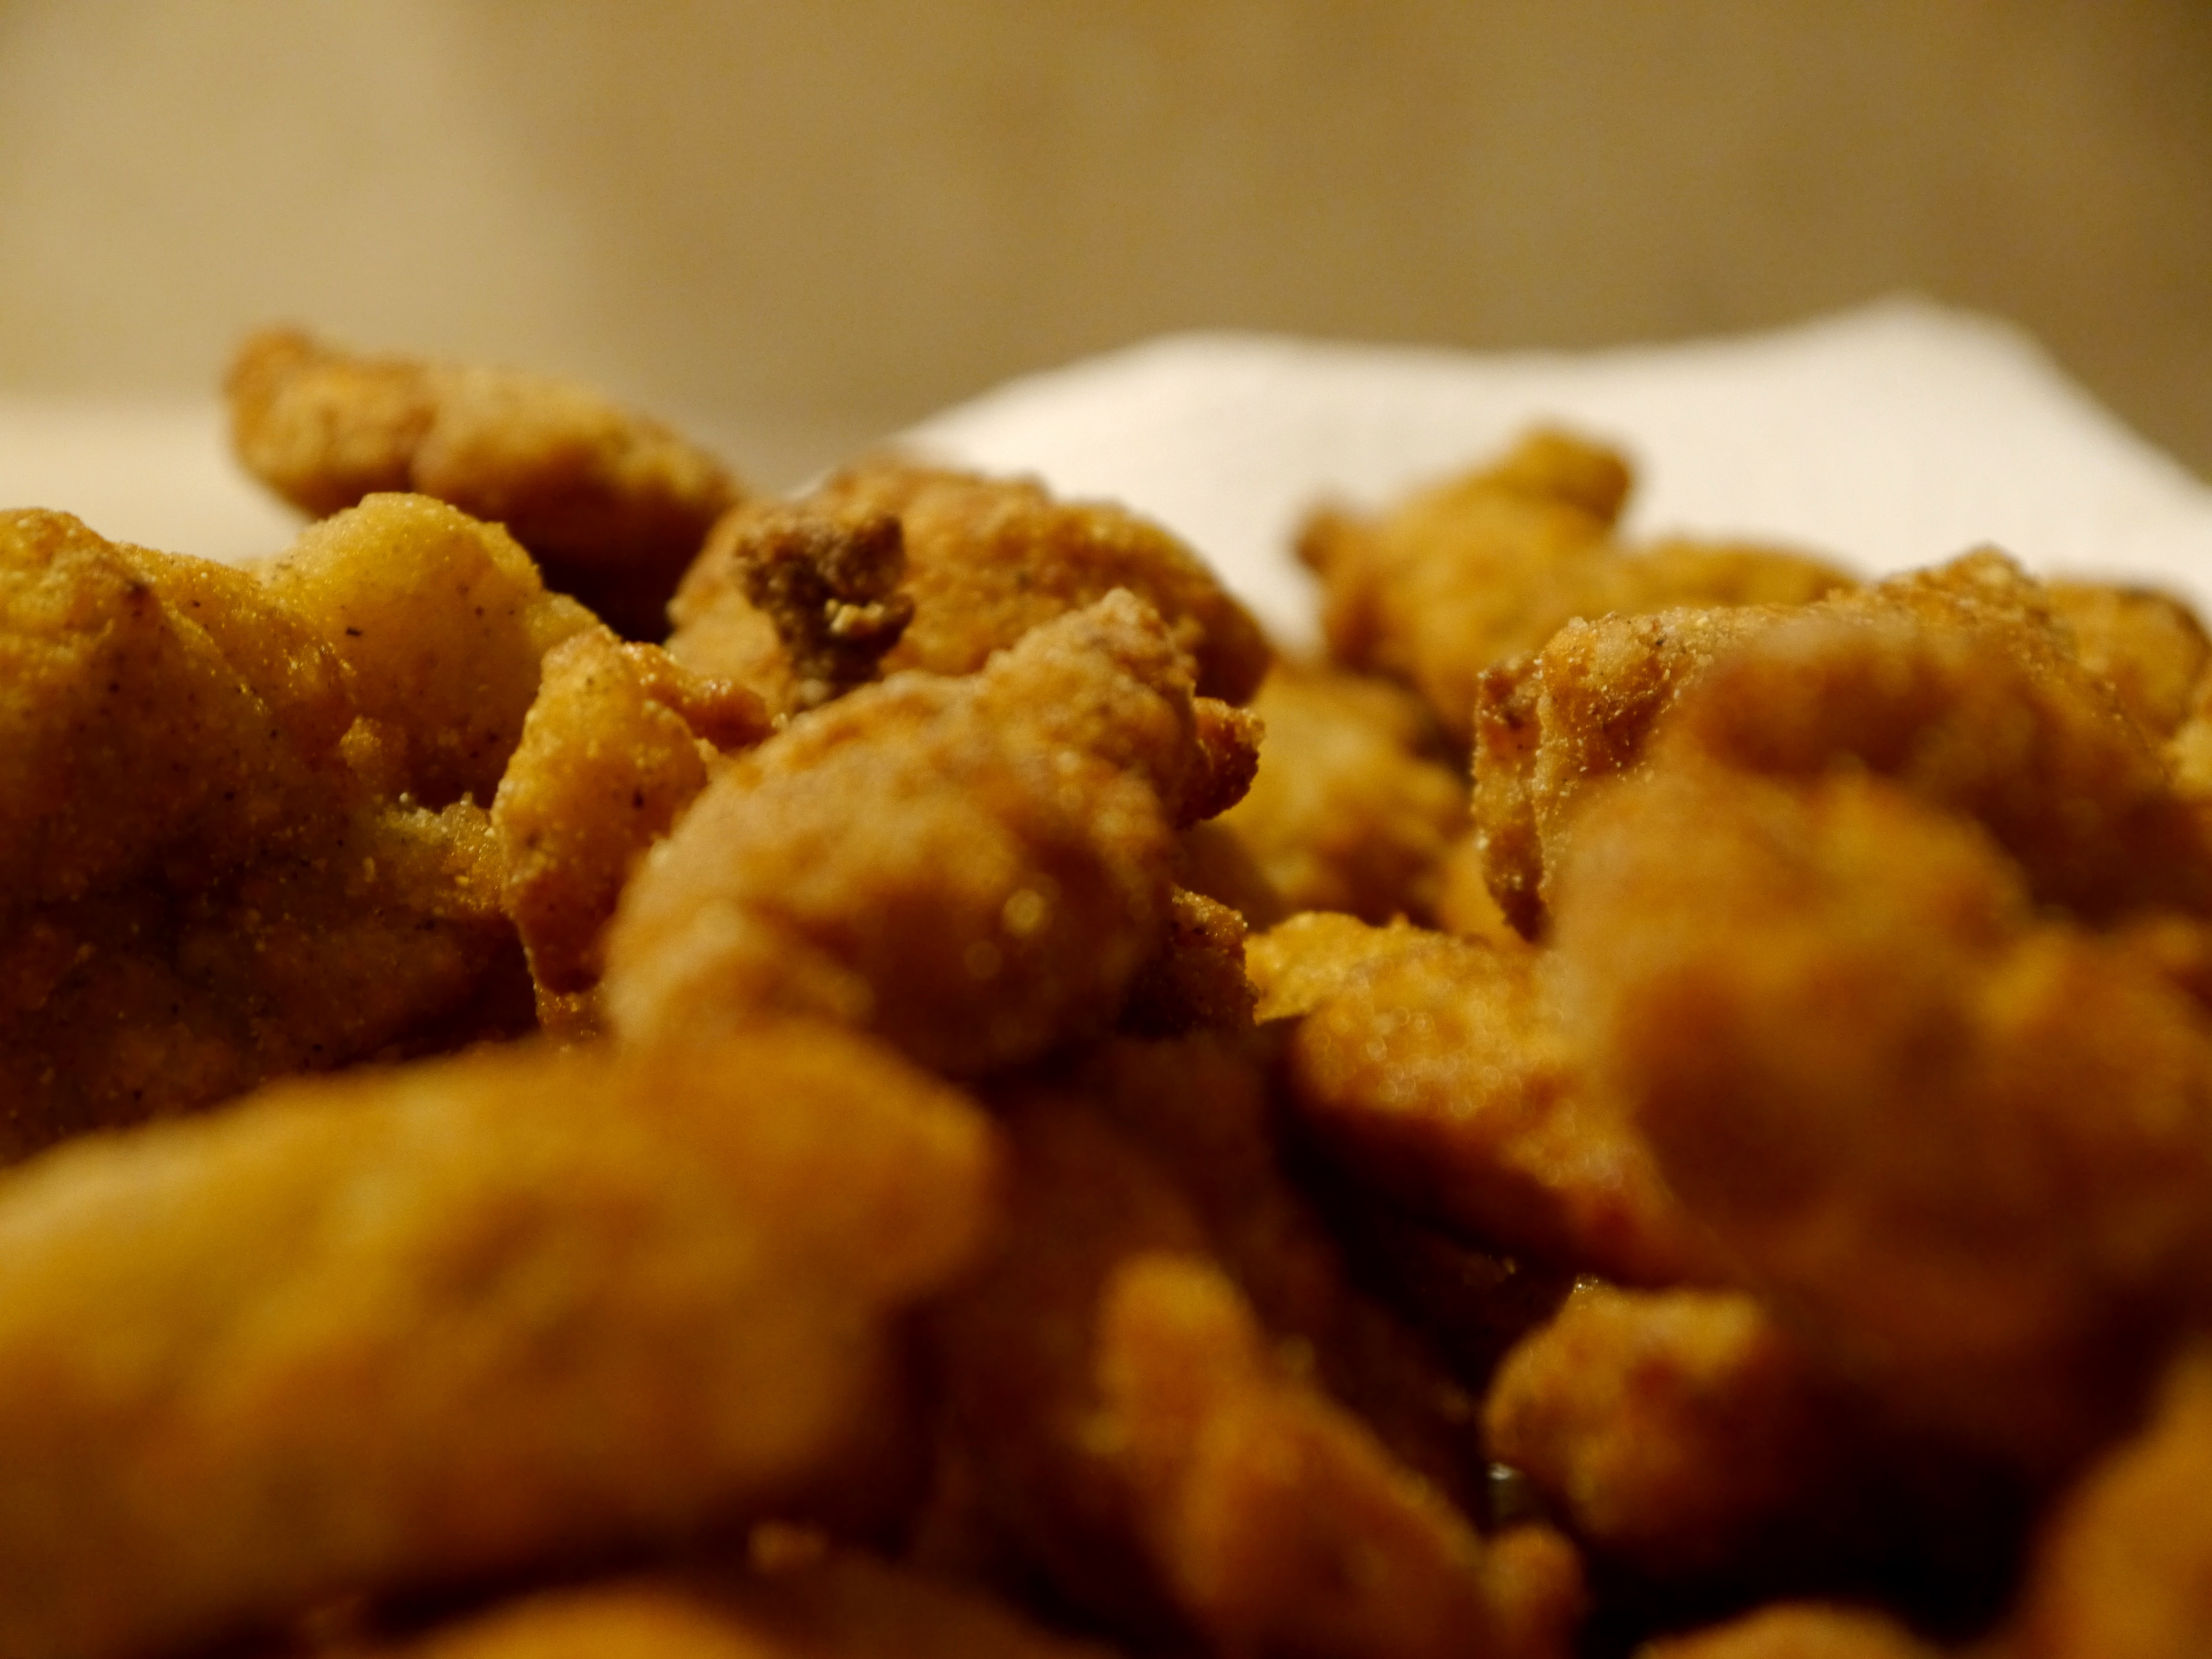
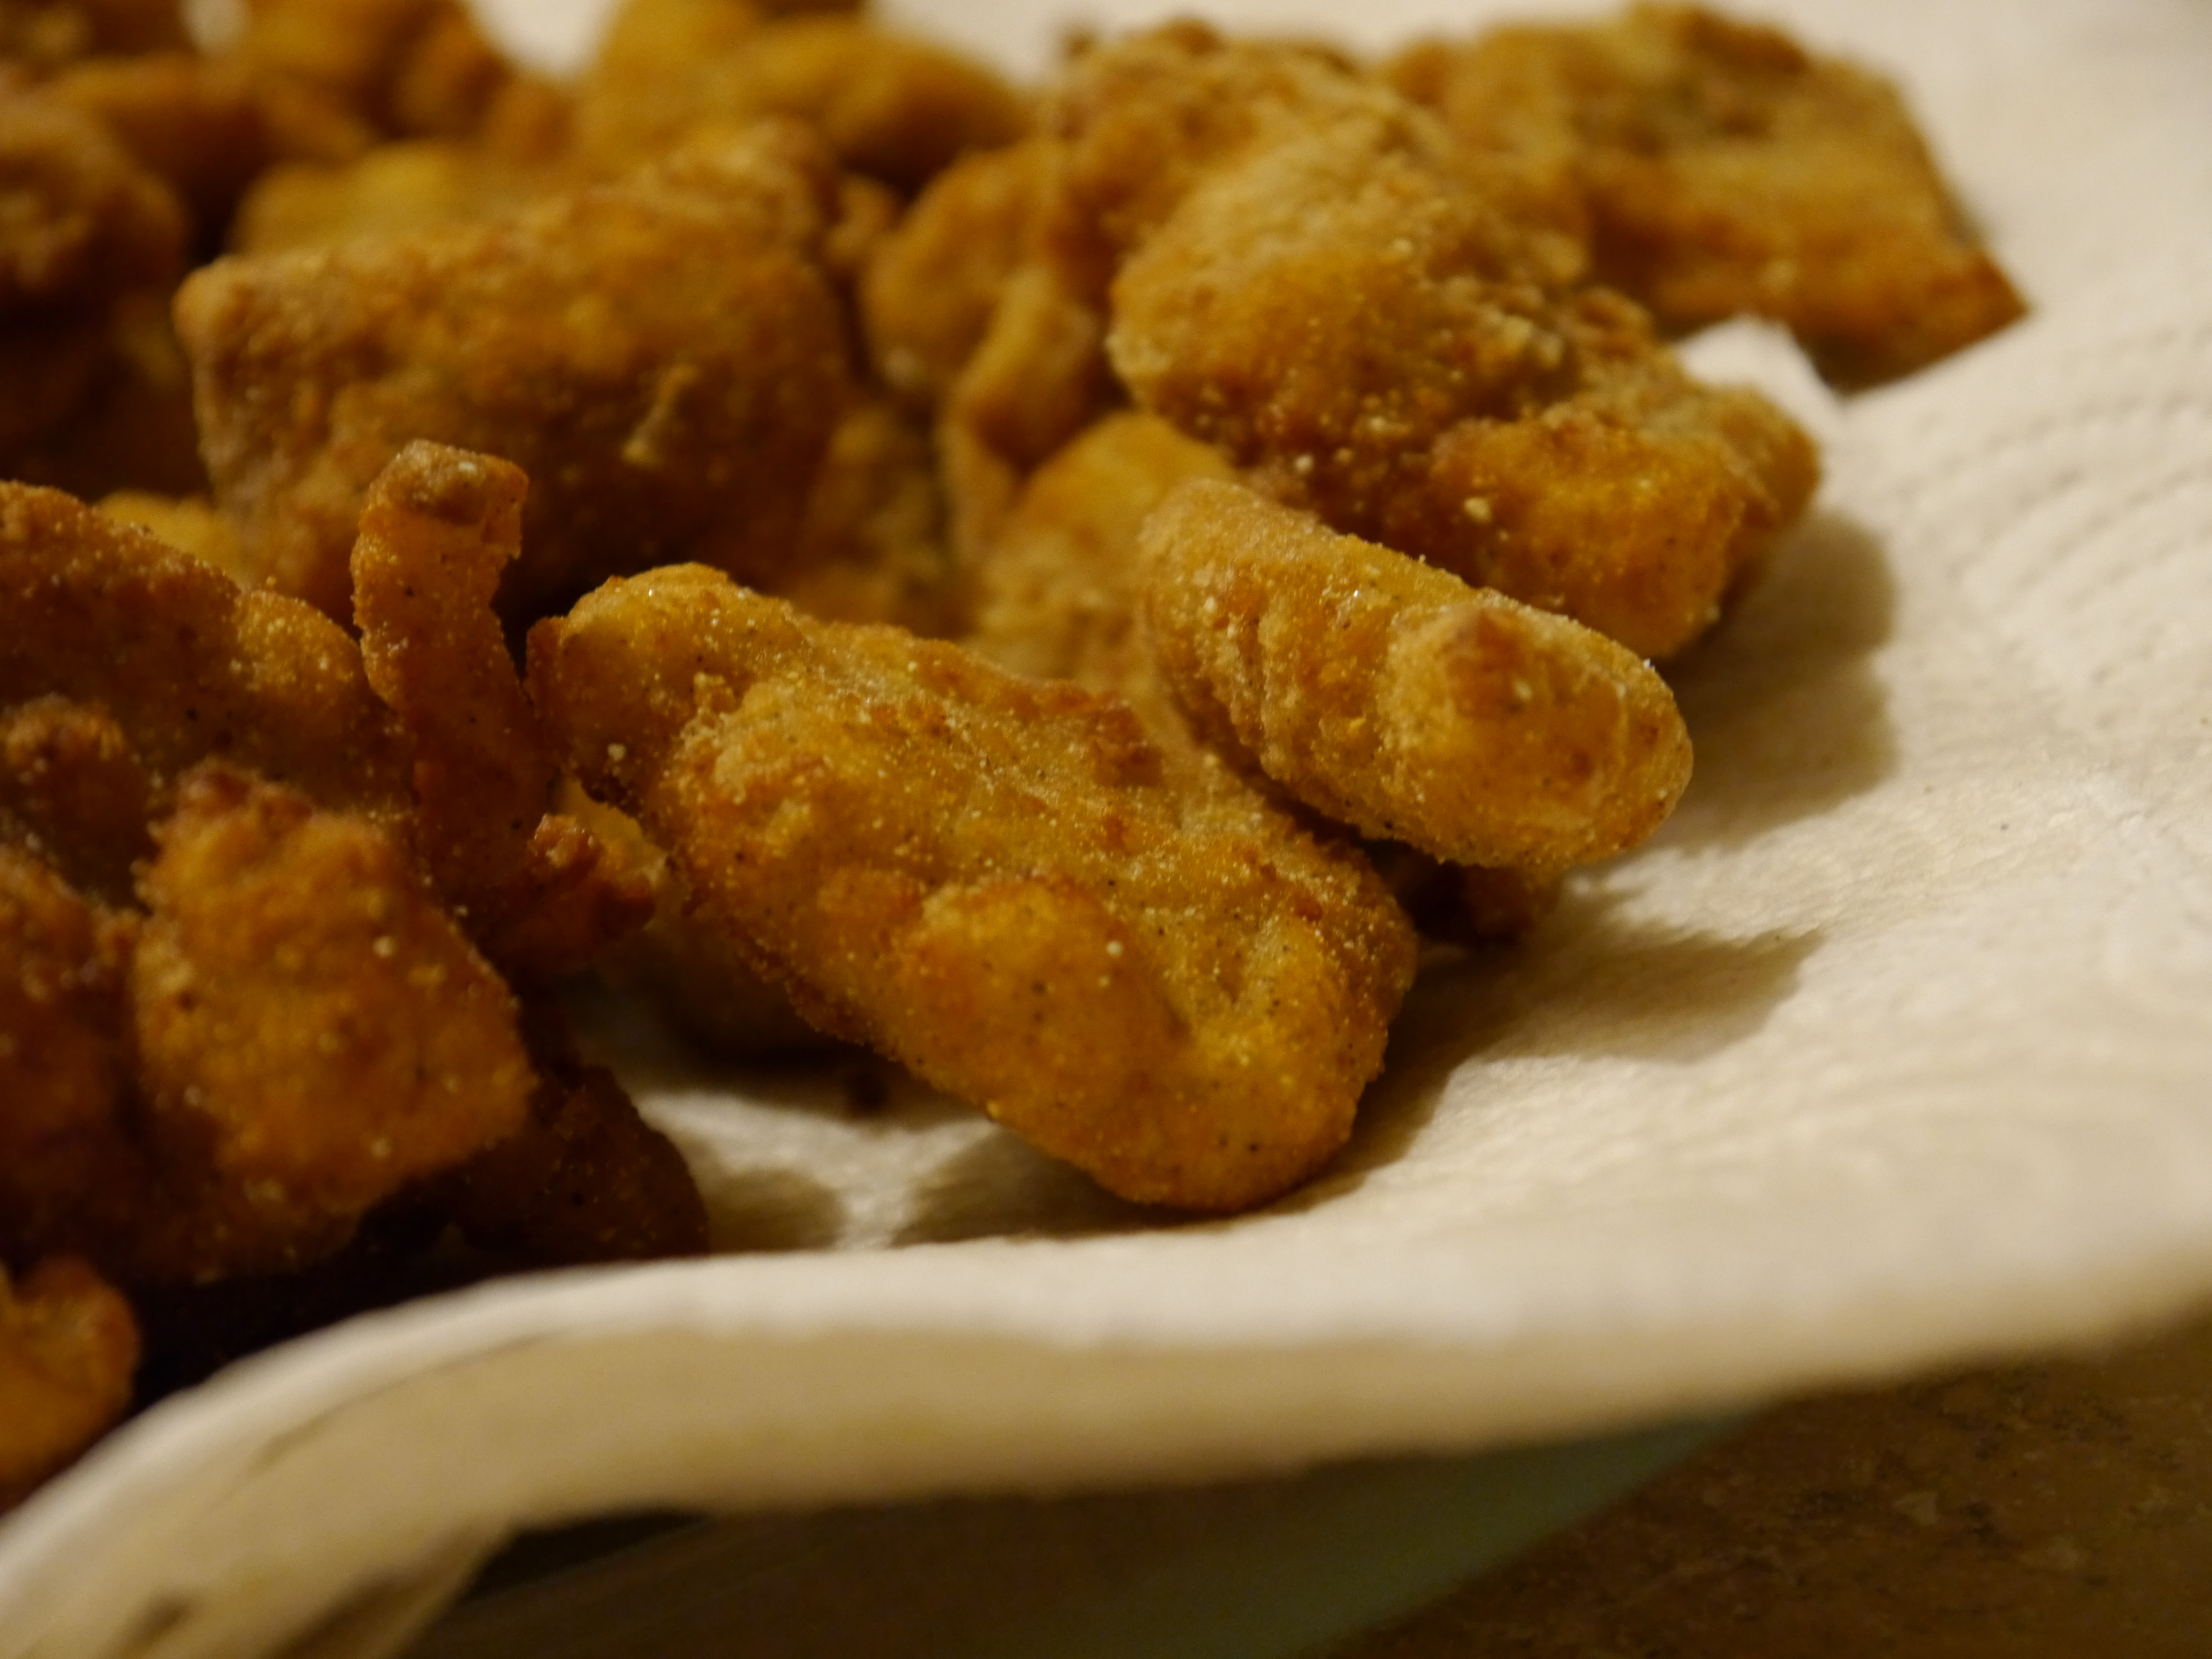
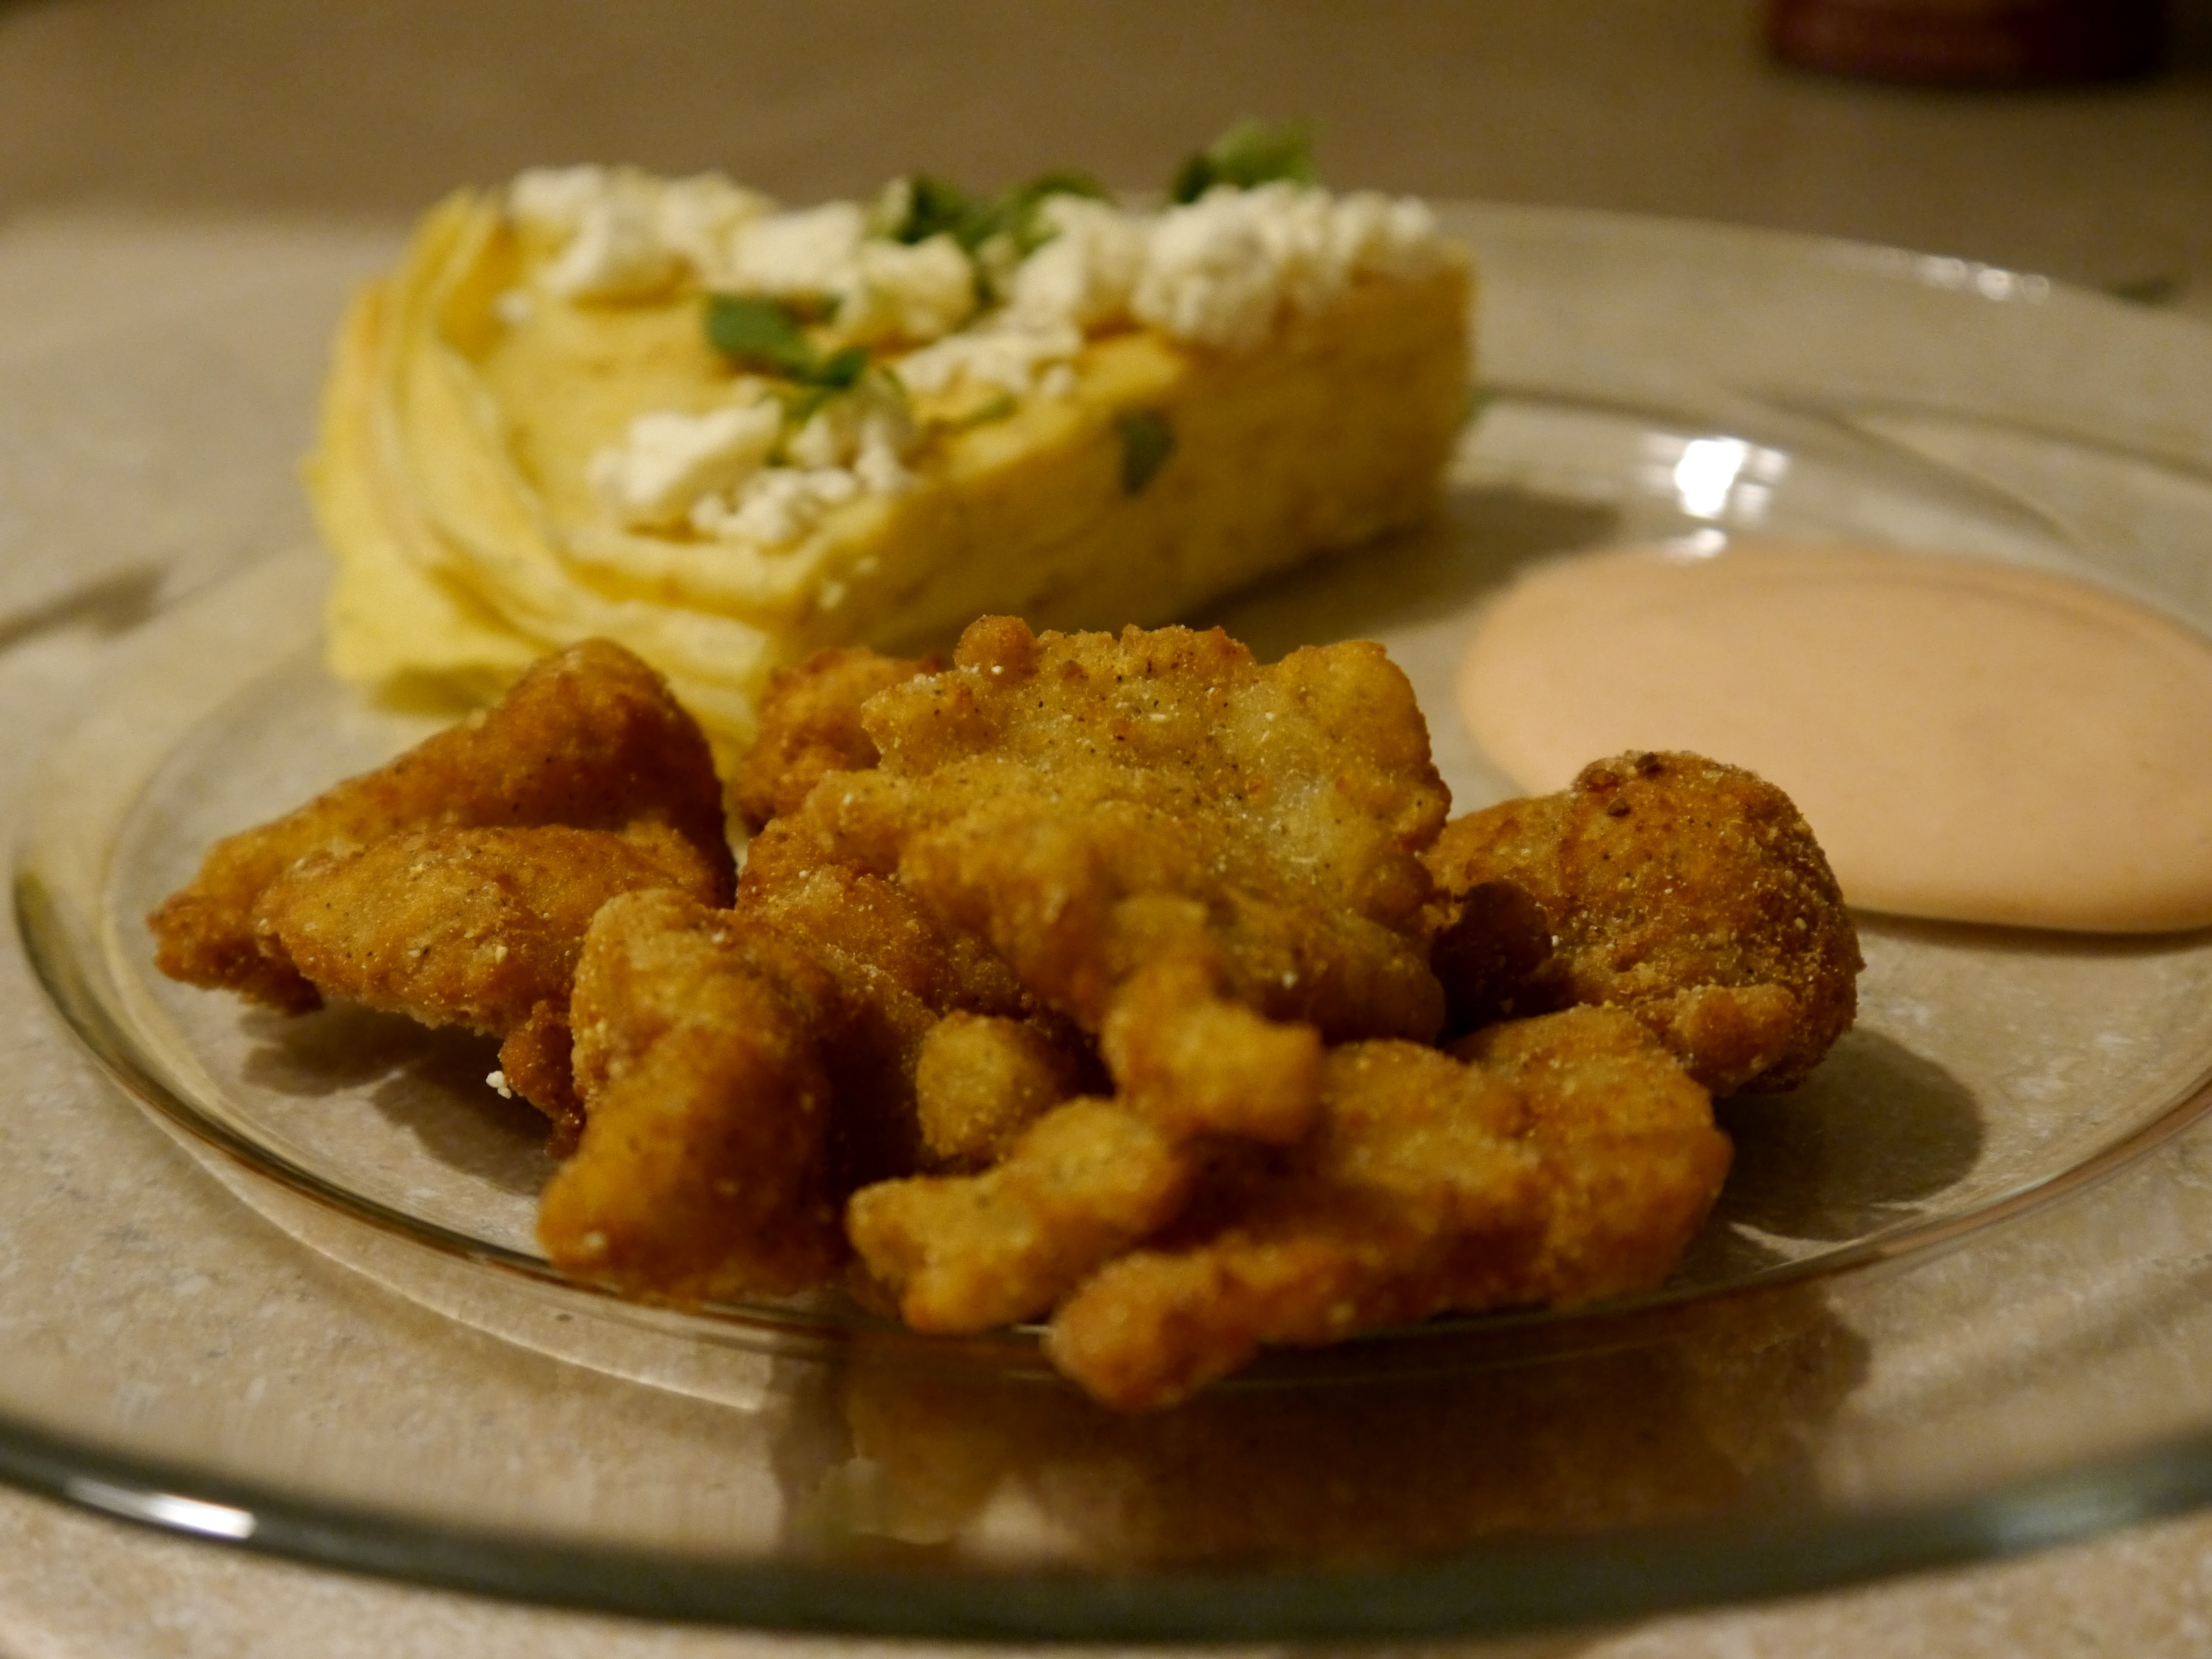
On to the rock shrimp…  they are like little tiny lobster tails.  They are already peeled and deveined.  Just rinse and dry and you’re ready to go.  They have a firm, snappy texture and a clean sweet flavor.  I seasoned them with a very small amount of cumin and chili powder.  (Avoid seasoning with salt because there is PLENTY of salt here between the Chorizo, the chips, and the cheese.)  I sautéed them over high heat just for a minute until they were opaque and slightly curled.

P1040150     P1040152

P1040155     P1040157


Go ahead and assemble your nachos!  Make sure you use an oven-proof platter with plenty of room to spread everything out.  Chips, then cheese, and then the toppings.  If you are using lettuce, don’t put that on until you are ready to eat the nachos.

P1040158     P1040162
Put this in the oven at 450 degrees for about ten minutes.  Everything will be all melty and crispy.  This is when you drizzle the cream over the top and add your lettuce.

P1040164     P1040166

P1040167

P1040170


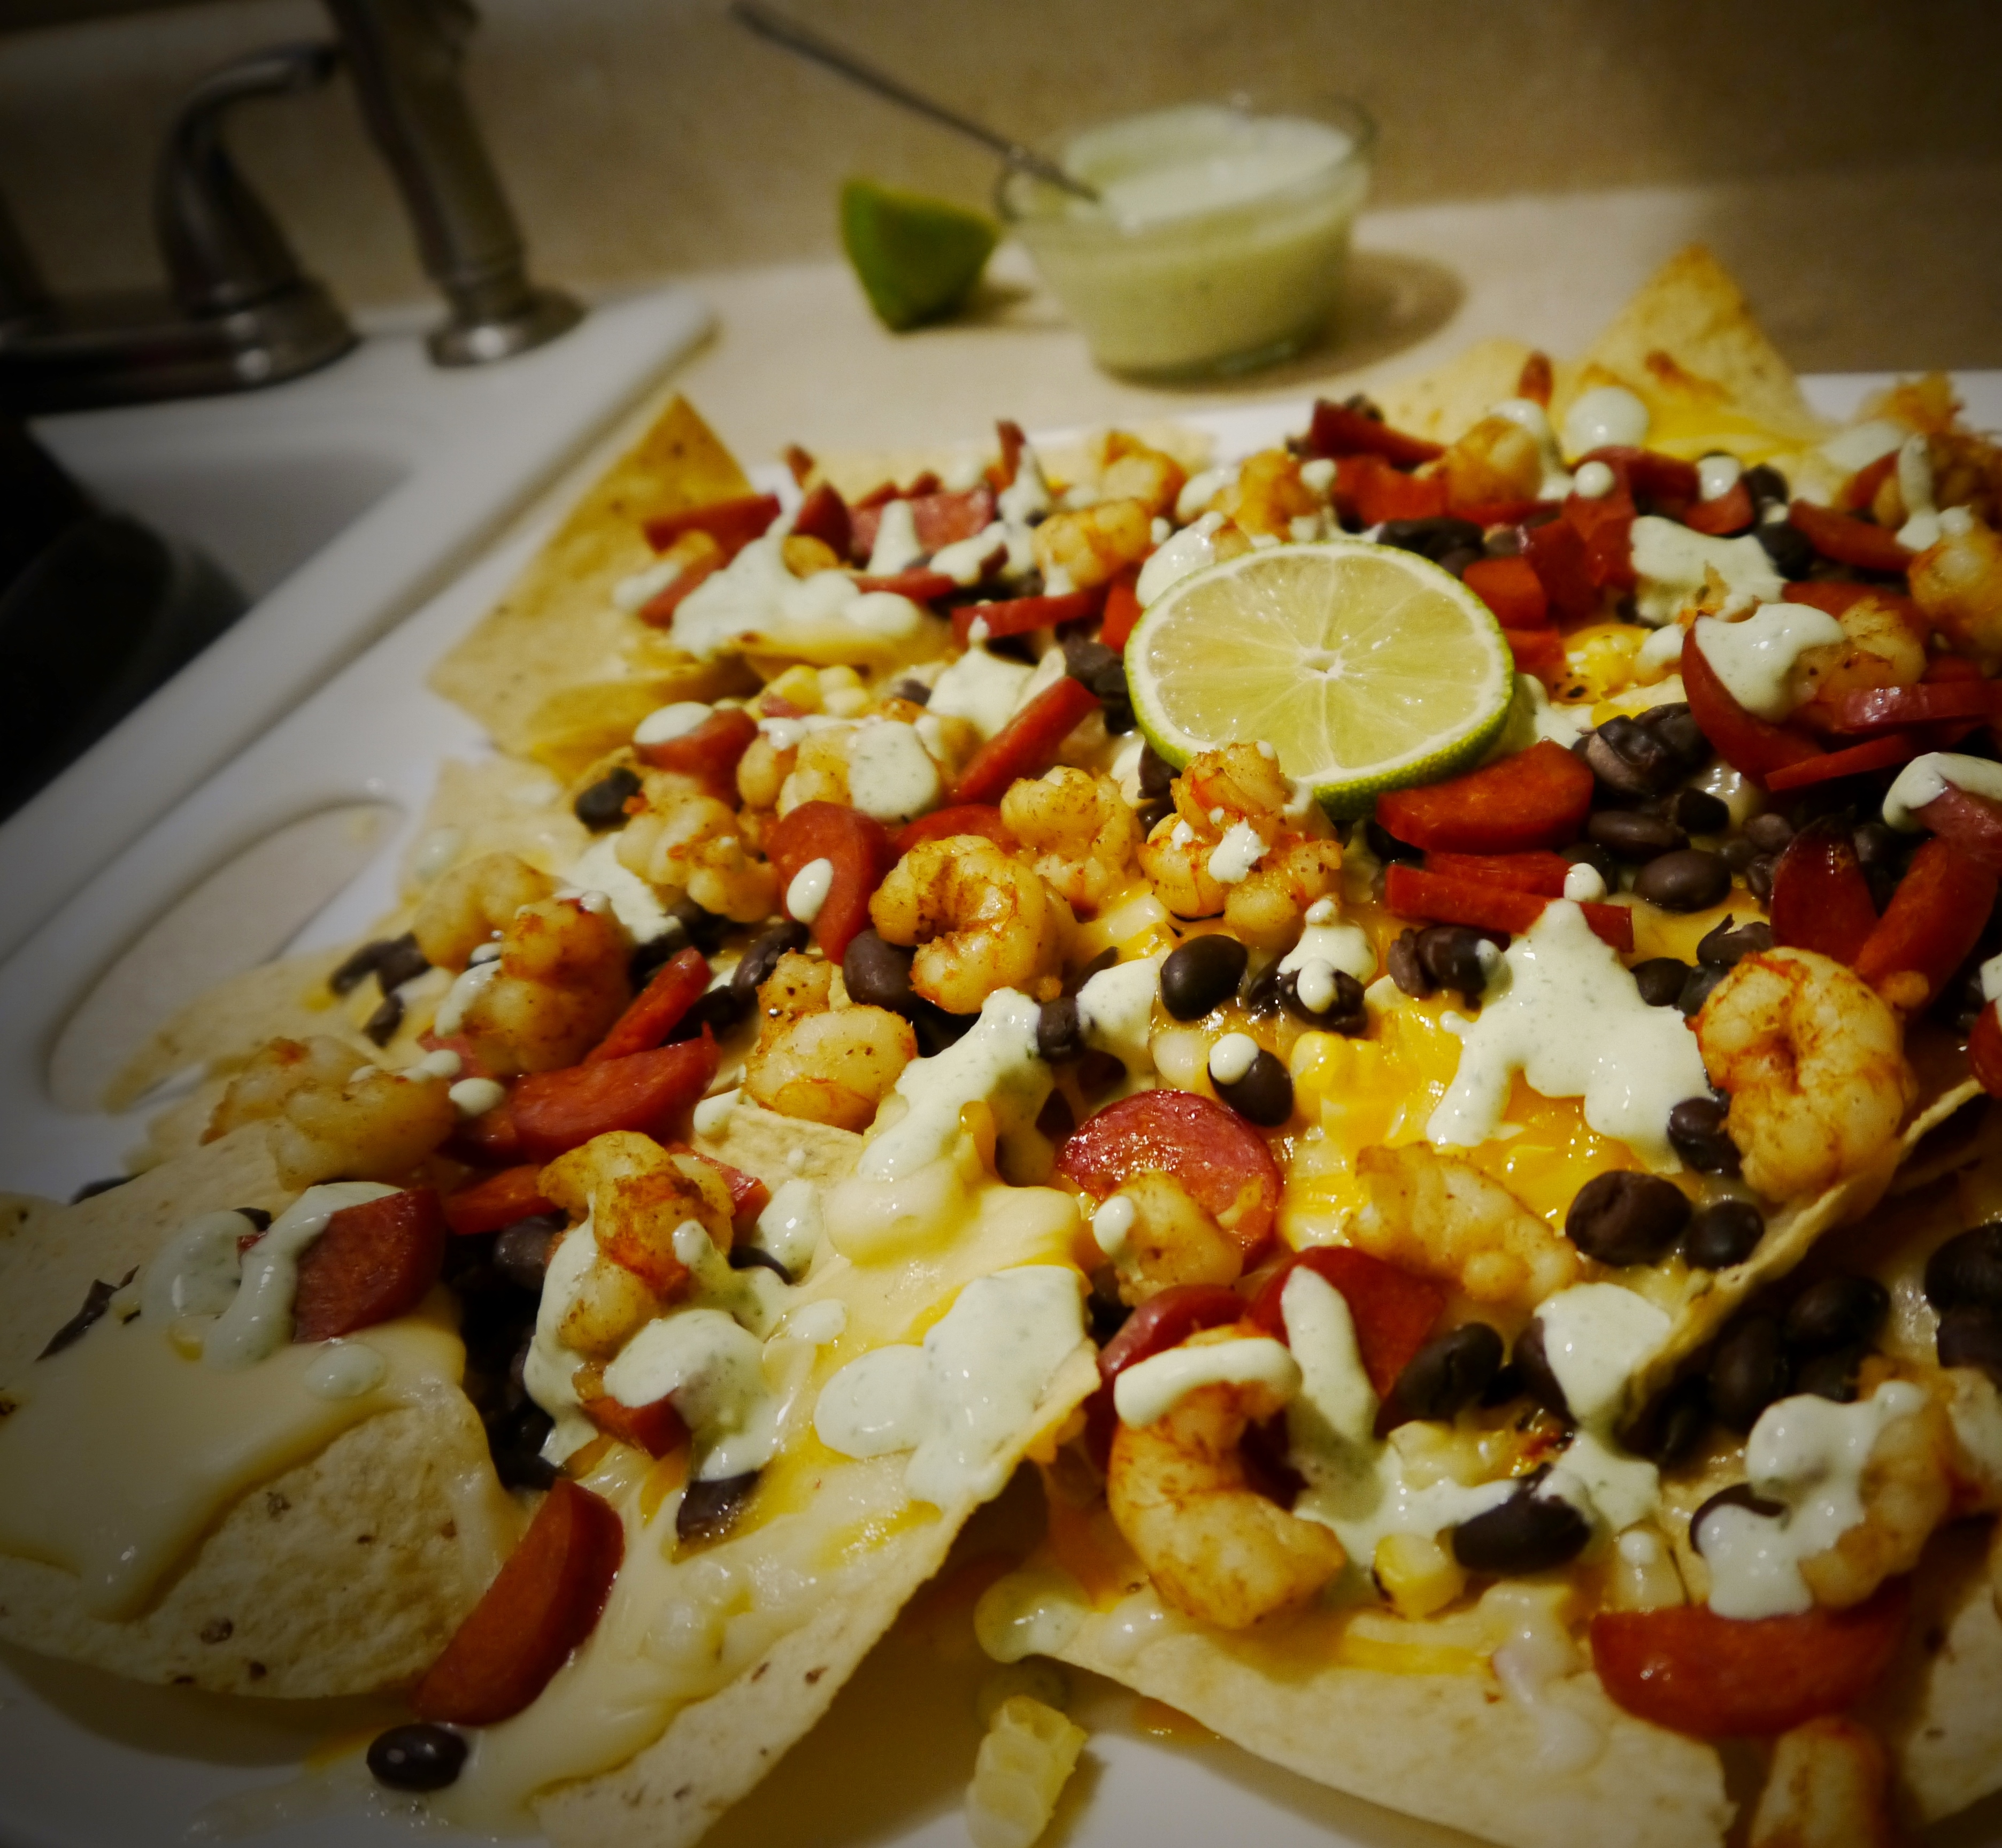
The verdict:  DELICIOUS!  The Chorizo is JUST spicy enough to keep things interesting, but not so much that the whole family won’t enjoy it.  The Garlic Cilantro Cream adds a very fresh and bright twist to something that can be so mundane and tired.  (Save the leftovers and drizzle it over grilled chicken or fish!)  As I stated before, the possibilities with nachos are pretty much endless.  Play around with the flavor combinations until you find one that is perfect.


Gator Bites and Charred Corn Crepe Stack

Ever since we visited the Alligator Farm in St. Augustine and had that delicious alligator at Singleton’s a few months back, our oldest son has been clamoring for more alligator.  I will admit that it has been a while since I last prepared alligator, but it was a huge hit.  I also went ahead and FINALLY tried out this Charred Corn Crepe recipe I have been drooling over for a while now.  (If you have never visited the Smitten Kitchen blog, go do it.)  Summer is slipping away from us, so it seemed like the perfect time to squeeze in a delicious fresh corn recipe before we all start thinking about Autumn.

Alligator is extremely lean and very high in protein.  It contains twice the amount of protein per serving as chicken and nearly three times the protein per serving as pork.  Just 3 ounces will give most people nearly 100% of the protein they need in an entire day.  The best part?  It is farmed and, therefore, completely sustainable.  It is farmed right here in the United States.  (Interestingly, the meat is considered a byproduct.  These animals are farmed for their skin.)

I started with a one-pound package of frozen Alligator Tail Meat.  One thing to look for when buying gator meat… is it tenderized?  If it isn’t, you will wind up with a tough meal.  No one wants to set themselves up for failure.  This particular brand is very thoroughly tenderized.  Don’t expect to open it and see a one-pound piece of meat.  It is thinly sliced and nearly shredded from being put through a tenderizing machine.

P1040085


I thawed the alligator meat, and then cut the meat into bite-sized chunks.  As an added measure against any toughness, I soaked it in milk for a few hours.  Buttermilk would be great, too.

P1040087     P1040089


After a thorough soak in the milk, I put it straight into the breading.  This time, I used a boxed breading that I brought home from the store.  It has a great mixture of corn flour and white flour, but no actual corn meal.  It is perfectly seasoned.  It just takes some of the work out of it for you.

P1040094     P1040095


Once each piece was thoroughly coated, I set it aside and heated the oil.  I use Canola oil and I heated it over medium-high heat.

P1040098

P1040102


I don’t use thermometers much when frying.  One tip is to always get the oil hotter than you THINK you need it because, when you add multiple items to the pan, the temperature will drop significantly.  The best way to tell if the oil is hot enough is to drop a test piece into the pan.  You should see bubbles immediately.  If you don’t, it isn’t hot enough.  This is what it should look like when you drop your test piece in:

P1040103


Because the pieces of alligator are so thin, this won’t take ANY time at all.  As soon as they are brown, I fished them out.  MAYBE 30 – 60 seconds.  Immediately drain the cooked pieces on a layer of paper towels.

P1040105     P1040108

P1040112     P1040111


Now the options are all yours.  I have seen these served with everything from garlic butter to honey mustard for dipping.  We opted for the Bahamian Man-O-War sauce that we serve in the Café.  Tartar Sauce would be great.  You could even put these in a roll and eat it like a Po’ Boy.  Over a salad.  In a wrap.

They were crispy and SO TENDER!!

The Charred Corn Crepe recipe was also a success.  I recommend giving it a try while corn is still abundant.

P1040118     P1040114

P1040117     P1040121


The kids loved it.  It is fun to eat things we don’t normally think of as “food”.  It even inspired some VERY imaginative bath tub play later on in the evening.

P1040127


What to do with leftover Risotto? Risotto Cakes with Sautéed Shrimp.

IMG_20130904_200323[1]


Last night was a busy one, so you won’t find step-by-step photos on this post, but it was too easy and delicious not to share.  Night before last, we had an amazing dinner of Yellow-Eye Snapper over Sun-Dried Tomato Risotto with Lemon Beurre Blanc.  However, my SD card decided to eat up all the photos.  So… no blog post.  Sad.  Knowing we had a busy week ahead of us, I made EXTRA risotto with anticipation of turning it into a very easy meal later in the week.  I hate wasting food.  Don’t do it.  You paid for it, you made it… use it!  Last night, I used it and it was just as amazing as I expected.

Risotto Cakes

  • 3 cups leftover risotto
  • 2 eggs
  • 1/4 cup breadcrumbs
  • 1/2 cup finely shredded cheese (Fontina, Romano, Gruyere, anything works!)

Combine the cold leftover risotto with the eggs, breadcrumbs (I actually didn’t have any breadcrumbs so I crushed up some crackers), and cheese.  I used pepper jack because it is what we had in the fridge but you can literally use anything.  My risotto did not originally have any cheese in it so I used 1/2 cup.  If you added cheese to your risotto when you first made it, you may want to scale it back a bit.  Form it into patties.  I made six.  You could make them smaller for appetizers.  Refrigerate them until you are ready to go.  Sauté over medium heat with a little olive oil until crispy, browned, and hot all the way through.

I topped these with crumbled feta cheese and a little balsamic glaze.  These are so versatile that you can pretty much finish them off with anything.  Garlic Aioli, mushrooms, or goat cheese are all great topping options.  They would also be fantastic on a little bed of arugula or over any salad.

I served these alongside a handful of sautéed shrimp.  I used a 31/40 Peeled & Deveined Farm-Raised Shrimp.  I marinated them in a little white wine, lemon juice, and Italian seasoning.  Cooked them just for a minute over high heat until just pink, opaque, and curled.


IMG_20130904_201919[1]

Sometimes the simplest meals are the best!


Steamed Littleneck Clams with Garlic-Andouille Broth

In addition to being affordable and widely available, clams are very healthy!  They are high in good fats (Omega-3’s and more) and low in bad fats.  It is said that they have more iron than a steak.  Even though they basically contain the same amount of protein as chicken (ounce per ounce), they actually contain more vitamins and minerals than chicken or other seafood.  If you need an energy boost, head for the clams… they contain lots of Vitamin B-12!

I know seafood is always a healthy choice, so I personally tend to break it down into “ease of use”.  It doesn’t get any easier than steamed clams.  It requires basically NO work or effort at all and dinner is ready in under 5 minutes.

I started with 3 dozen Littleneck Clams.  They are about 7/8″ across.  Our oldest son is who requested the clams, so I opted for the Littleneck mostly just because they are bite sized and easy for him to handle.

P1030934


The first thing you should do when you bring home your clams is to rinse and inspect them.  (Never tie or seal the bag they are in while you are storing them in the fridge – they are a live animal and they need oxygen.)  Look for any cracked or broken shells and discard those clams.  If there are any open clams that do NOT promptly close when you give them a little squeeze, discard those too.  They should be pretty firmly closed.

P1030937     P1030938


I like to rinse them in a colander in the sink with cold water.  I know some people like to submerge them in cold water because it may help them expel any sand they have, but I don’t find it to be necessary at all and out of 3 dozen, only one clam we ate had sand in it.  The farmed clams are pretty clean!

P1030936


The next thing you should do it get your broth flavorings ready.  This is completely customizable and the possibilities are endless.  We keep it pretty simple in our house.  I use a little sliced onion and minced garlic along with my salted butter.  For this particular meal, we wanted to stretch the clams a bit so I added some chopped Andouille sausage.  Chorizo or smoked sausage also work famously, adding a little bit of smoky salthy flavor and a little bit more substance.  There is something so delicious about the clams combined with the spicy, smoky sausage.

P1030925     P1030927

P1030929


Once your clams and flavorings are ready to go, get out the biggest pot you have and put it over high heat (it needs to have a lid).  I used a cast iron dutch oven with a lid.  The more room they have in there, the better.  Put just enough water in to cover the bottom of the pot and add a few tablespoons of butter.  You want this to come to a boil so that it produces LOTS of steam.  The clams aren’t going to be boiled, they will steam.

P1030931


Add your flavorings and allow this to boil for a minute so the onions soften and the flavors have a chance to get all cozy together in there.  Allow it to come back up to a boil so that you see steam before you add the clams.

P1030939     P1030943


Add the clams to the pot all at once and immediately spread them out as evenly as possible (some will be stacked on top of each other).  Put the lid on it.

P1030945


After two minutes, open the lid and stir them.  You will see that the clams on the bottom have started opening.  Move them around a bit.  Replace the lid.  Check periodically every few minutes until 90% or more are open and remove them from the heat.

P1030947


Clams are a little like popcorn.  If you wait for ALL the clams to be opened, you will overcook the opened ones.  ALL clams will not open.  There will be a few that don’t.  Discard those.  Basic rule with shellfish… discard anything that is open before you start and anything that DOES NOT open when you cook it.

Start fishing the clams out with a slotted spoon.  Then get a ladel and pour the broth over the clams.  It’s so amazingly simple and delicious.  Kids and adults alike will LOVE this.  Don’t forget a piece of warm crusty bread to dip in the broth.

P1030949     P1030951

P1030952


Healthier Honey Shrimp

So many of my favorite shrimp recipes contain butter.  I’m not talking about a little bit of butter… I’m talking about a LOT of butter.  Scampi, Beurre Blanc, and etc.  I am a firm believer in “all things in moderation” and I love cooking with butter, but sometimes we all need to scale it back a little and find healthy alternatives that can be our daily go-to recipes.

For this recipe, I used Extra Large Key West Pink Shrimp.  There are approximately 21 – 25 shrimp per pound.  I peeled and deveined them, but left the tails on.  You could remove them if you prefer.

P1030877

Healthy Honey Shrimp:

This serves 2 to 3 adults (or 2 adults and 2 kids, in our case).

  • 1 pound cleaned shrimp (tails on or off)
  • 1/4 cup melted coconut oil
  • 3 to 4 tablespoons local raw honey
  • 1/4 cup low sodium soy sauce
  • the juice of 1 small lime
  • 2 cloves of garlic, minced
  • 1 tablespoon Sriracha (optional)

Gather the ingredients for the marinade.  Combine the ingredients in a small bowl.  The coconut oil will separate from the rest of the ingredients, but you can easily whisk it all together with a fork or a small wire whisk.

P1030872      P1030873

P1030876

Pour the marinade over the cleaned shrimp.  Cover and allow this to rest in the refrigerator for at least an hour.  You could leave this for up to four hours, but if you leave it too long the citrus will start to break down the shrimp.  I think an hour or two is plenty.

P1030880     P1030884

While that is resting, let’s chat about honey.  If you are going to have honey in your house, it should always be local and ALWAYS be raw.  In this recipe, the honey will be cooked so it isn’t as imperative to use raw honey.  I still prefer to use it just because I know it has not been heated, pasteurized, or processed at all.  Consuming local honey can even help with seasonal allergies!  (Remember… never give honey to babies and very young children!)  Because we live in Florida, we are lucky enough to have access to local Orange Blossom honey.  It is my favorite!

P1030889

Back to the shrimp.  There are two ways to do this.  You can either skewer them and put them on the grill (I suppose you could also use a grill basket, if you have one) OR you can cook them in a large pan on the stove.

I was going for the quickest method here, so we cooked ours inside.  Get the largest pan you have VERY hot.  The shrimp are going to cook in no time and you want the sauce to bubble and thicken like a glaze.  This is going to require high heat.  Over high heat, put the shrimp directly into the pan.  You don’t need any oil or cooking spray because there is coconut oil in the marinade already (by the way, the coconut oil has solidified in the fridge – that’s okay).  I used a slotted spoon to put the shrimp in the pan.  After all the shrimp were transferred, I added several additional spoonfuls of the marinade to the pan with them.

You will immediately note the sauce bubbling and thickening.  Keep those shrimp moving in the pan with a wooden spoon.  Make sure they get cooked on both sides.

P1030891     P1030895

As soon as they are all curled and opaque (no longer translucent), remove the pan from the heat.

P1030896

These are best served over brown or black rice, since we are going with the “healthy” theme.  If you aren’t concerned about starches and carbohydrates, Jasmine rice would be great.  I served them over black rice.  Black rice (also called Forbidden Rice) is extremely high in nutritional value.  It has a nutty taste and texture that is similar to brown rice.  It becomes a deep purple color when it is cooked and is said to have the same antioxidants as blueberries and blackberries.

P1030900     P1030903

P1030906     P1030908

P1030909

This is delicious, easy, fast, and guilt-free.  I had all the ingredients on-hand (this is a big one for me when I am searching for recipes).

And if you are wondering if your kids will eat it…

P1030912

Simply Broiled Florida Lobster Tails

First of all:  From now on, I promise to always make sure my camera battery is charged before I start making a fabulous dinner that is intended to become a blog post.  It is a shame that about half of the photos in this post had to be taken with my cell phone, but I suppose I should just be thankful that I had it handy.

So, it is Florida Lobster season here.  It’s very exciting because it means we have access to fresh (never frozen) local Lobster tails!  I really wanted to get adventurous with some fancy lobster dish, but decided to start the season off with simply broiled tails and go from there.

When broiling or grilling tails, I like to have the meat up on top of the shell.  The meat cooks more evenly without the risk of becoming overcooked.  Besides, the presentation is basically unbeatable.  We like to call this “piggyback” at Cod & Capers.  While it is very simple to do at home, your fishmonger should be happy to do this for you at no charge.  If you decide to tackle it yourself, you just cut down the back of the tail with kitchen shears, separate the shell a little bit, and lift the meat up and out on top of the shell (while leaving it still attached to the shell at the tip of the tail).

P1030735     IMG_20130811_185943_617


Once you have your lobster tails ready to go, go ahead and make your basting liquid.  I think I do something different every time, but the idea is basically always the same:  butter, garlic, and some seasoning.  You can add or omit whatever you think you would like.  This is just going to season the meat and keep it moist during cooking.


Lobster Basting Liquid:

  • 4 tablespoons melted unsalted butter
  • 1 teaspoon paprika
  • 2 cloves fresh minced garlic
  • 1/4 teaspoon salt
  • 1/4 teaspoon pepper
  • 1/2 teaspoon blackening seasoning or Old Bay
  • 1/4 cup white wine

P1030732     P1030733


Turn on your broiler.  Mine has three settings and I put it on Medium for this.  You know your oven best, so use your judgement.  If it does not have different heat settings, I would suggest leaving the oven door cracked so a little bit of heat can escape.

Spoon a generous amount of your basting liquid over each tail before putting it under the broiler (be sure that the pan or dish you are using can stand the high heat of a broiler).

IMG_20130811_190803_378


Check on them every few minutes.  This entire process normally takes under ten minutes.  About halfway through (when the meat is just beginning to turn opaque), you can brush them with a little additional liquid if needed.  When everything is sizzling, the meat is completely opaque, and the meat feels firm to the touch, they are finished.  Err on the side of undercooking!  You can always put them back in but it is a SHAME to ruin a good lobster tail.  Enjoy!!

IMG_20130811_194423_658

IMG_20130811_194429_585     IMG_20130811_194411_877


Channeling the Tropics with Rum-Glazed Shrimp

Well, it’s been raining a lot here and I am SICK of it!  I have been trying to imagine myself somewhere sunny and tropical every time I have to walk from my car to a store in the rain.  I have been wanting to try this Rum-Glazed Shrimp recipe I found on Pinterest for a while, but I knew I wanted to switch it up a little.  After some consideration, I made a plan and revised the recipe and set to work.  I chose the perfect rainy evening for it, too.

(Recipe adapted from the Cook Like a Champion blog’s Rum Glazed Shrimp recipe.)

I started with 1.5 pounds of Fresh White Shrimp for Fernandina Beach, FL.  These were Extra Large sized shrimp (about 20 to a pound, but a fairly rough count).  I tossed them with the juice of one lemon and two cloves of fresh minced garlic.

P1030628     P1030629


I allowed the shrimp to marinate in this mixture while I prepared the glaze.

Now, in this recipe, I used Organic Coconut Palm Sugar.  I have really come to prefer it over Brown Sugar and substitute it whenever possible.  It has a rich and caramel-like flavor and (because it is less processed) it also has more nutrients than white or brown sugar.  It has the same number of calories as brown and white sugar, but the glycemic index is lower.  If you are watching your sugar or carbs, this is a great alternative!  (By the way, it is an even switch.  You can substitute it at a 1:1 ratio when a recipe calls for brown sugar, which makes it easy!)

P1030637


Rum Glaze:

  • 1/2 Cup Dark Rum
  • 1/2 Cup Coconut Palm Sugar (you can use dark brown sugar)
  • 1 Stick of Unsalted Butter (cut into cubes)
  • 3 Tablespoons Dijon Mustard
  • 2 Tablespoons White Vinegar
  • 1/4 Teaspoon Cinnamon
  • 1/4 Teaspoon Pepper

Put all the ingredients for the glaze in a medium saucepan and bring it to a boil over medium-high heat.  After it comes to a boil, reduce it to a simmer and let it go until it is thick and looks like a syrup.  It took about 10 minutes for me.  When it coats the back of a spoon and comes down in a thick ribbon, it’s there!

P1030639

P1030653     P1030655


Normally, I would have grilled these shrimp.  However, the weather was “raining on my parade”, so to speak.  Time to whip out the little-used grill pan and crank the gas stove all the way up.  No problem.  I skewered my shrimp so I would have more control over flipping them all at once, ensuring even cooking.

P1030646


We got a new product in the store called Jaali Bean.  It is a lentil & rice kit.  The “Warmly Spiced” version contains orange lentils and rice.  I thought the cinnamon and spices in it would pair nicely with the Rum Glaze, so I decided to test it out.  First impression… the packet of WHOLE seasonings is a major plus.  I highly recommend this item.  The aroma of comforting spices immediately filled my kitchen.  If you are like me, you know all about the health benefits of lentils but don’t have many great ideas for cooking them!  Ready in just 20 minutes, this could be the solution.

P1030647     P1030649


I got this started while I skewered and cooked the shrimp and it was ready by the time the shrimp were finished cooking.  (This is also the perfect time to make yourself a cocktail, since you have the rum out already!)

P1030658


I sautéed the shrimp over high heat until slightly browned on each side.  I reduced the heat to low and brushed the glaze on each side before removing them from the pan.

P1030667

P1030675     P1030670


I plated the shrimp right next to the lentils and rice.  The result… a perfect balance between sweet and savory.  I could taste the rum but it didn’t overwhelm the shrimp.  The cinnamon and spices in the lentils and rice were wonderful with the shrimp.  Try this… either on the grill or in the kitchen.  It doesn’t disappoint!!

P1030677     P1030682


In Search of Shrimp… a field trip to Mayport, FL.

This weekend, we traveled north to Jacksonville, FL.  One half of our family is from there.  I remember my Dad taking us to see the shrimp boats docked by the Navy Base in Mayport just outside of Jacksonville when I was little.  Only as an adult have I become enough of a shrimp snob to tell the difference in the different types of shrimp.  My usual go-to shrimp is the Key West Pink Shrimp.  I also love Rock Shrimp and Royal Reds.  All of these are from Florida.  In the past few years, I have had the pleasure of enjoying the occasional treat of a TRULY FRESH shrimp from Mayport, FL.  They are White Shrimp.  They are some of the only shrimp that I have had the chance to enjoy before they have ever been frozen (most shrimp are frozen immediately after being caught to ensure freshness).  Shipments of them do not come in often and, when they do, I always have to have some!  They are so delicious and the texture is unique; they just have this freshness to them that I love.  They are my favorite.

First of all, Mayport is gorgeous.  It is one of those places you could just pick up and move to regardless of whatever obligations are at your current location.  It’s slow, sleepy, and about as “old Florida” as it gets.  Old wood homes with big wrap-around porches.  Marsh everywhere you look.  People are fishing on the side of every road you turn down.

P1030444     P1030441


Keeping up tradition, my husband took our boys to see the shrimp boats while I was visiting with family.  Upon his return, he told me that he found the most amazing looking seafood place and we just HAD to go back later for dinner.  I’m ALWAYS game for field trips that involve food.  And when they involve my FAVORITE shrimp, you know I’m there!  I googled the name of the restaurant and was a little nervous about the reviews, but I knew we weren’t going to be in a rush.  I have patience for days and those shrimp would be worth it.

P1030419     P1030406


This is Singleton’s Seafood Shack.  Bursting at the seams with charm and nostalgia.  I love it already.  (Given the location of this restaurant and how important the shrimping industry is to their economy, I found this sticker on the door hilarious.  Just for the record, I love imported shrimp.  I believe it is important to find balance in our seafood diets between farmed and wild items.  I figure every serving of imported shrimp I eat saves one future serving of wild Florida shrimp for my kids to enjoy one day.  I certainly have my preferences, but you won’t see me turn down an imported shrimp!)

P1030518      P1030528


There are herds of “wild” cats EVERYWHERE in Mayport.  They are extremely friendly, well cared-for, and very well-fed.  If I were a cat, I would be happy in Mayport.   We were greeted by many kitties as we approached Singleton’s!

P1030522     P1030523

P1030529     P1030530


We sat on the comfy, rustic patio.  The menu was small, but it had everything you would want from a Seafood Shack.  The gator tail appetizer had me even more excited about dinner.  Lightly breaded and fried to perfection.  The most tender gator I have ever had (winning over gator I have eaten in Louisiana and the Everglades).

P1030534     P1030536


I ordered the Fried Shrimp and my husband ordered the Grilled Shrimp so we could share (neither one of us could decide).  Everything comes with Hush Puppies… and they were good Hush Puppies (the really sweet ones with lots of onions).  The shrimp were so lightly breaded that you could see the coloring of the actual shrimp.  Perfect.  We ate every single one.

P1030552     P1030556


Just for the record, the service was great!!!  Everyone was friendly.  Our food came out in a reasonable amount of time.  I can see how some people visiting might be turned off by the plastic utensils and rolls of paper towels or the overall casual nature of the place, but I think it was the best part.  We even had kitties keeping us company while we ate.  The view and the sunset were amazing.  What more can you really want?

P1030558     P1030540


The shrimp quest was successful.  I got my fix, at least for a little while.


Singleton’s Seafood Shack

4728 Ocean St, Atlantic Beach, FL 32233

Crab and Bacon Quiche

Quiche is an interesting food.  You can look at it two ways: it is either a food having an identity crisis (is it breakfast, brunch, or dinner?) or it is an extremely versatile food.  I prefer it for lunch or dinner.  A slice of quiche and a salad is the perfect summer meal to keep things on the light side.

IMG_20130714_192409


No matter when you eat it, one thing that is the base of almost every quiche is a pie crust.  Making a basic pie crust is scary to many people.  It doesn’t have to be.  If you don’t want to attempt it, buy a refrigerated one or a frozen one.  (The refrigerated ones even allow you use your own pie dish so no one has to know you didn’t make it!)  I find the refrigerated pie crusts to be a little thin.  I like a thicker crust, especially for a quiche.  For savory pies, I like to add a little yellow cornmeal to the crust dough.  It adds a crunch, some color, and flavor.  I did not do a step-by-step photo tutorial on the pie crust, but here is the recipe I use.  I prefer to do this by hand with a pastry blender, but I have watched my mom cut in her butter/shortening in the food processor for years.  It works!!

All pie crusts are basically 3 parts flour, 2 parts shortening, and 1 part water.  You can use all butter, all shortening, or a combination of the two.  I use a combination.  I am not really sure why, but this is how my Gramma has always done it and it’s her recipe.  Why mess with perfection?

NOTE:  For this and other savory pie recipes, I replace half of the flour in the following recipe with yellow cornmeal. 

Basic Pie Crust:

  • 1 1/2 cups all-purpose flour
  • 1/4 teaspoon fine salt
  • 4 tablespoons cold unsalted butter (1/2 stick), cut into small pieces
  • 4 tablespoons vegetable shortening
  • 4 to 5 tablespoons ice water

Put flour and salt into a medium size bowl.  Cut in the shortening/butter using a fork or a pastry blender until all the pieces are smaller than peas and it reminds you of a wet sandy mixture.  Add the ice water one tablespoon at a time until it comes together into a ball.  If you DO opt to add cornmeal, you might need a little more water to get it to form a ball.  Just add it a little bit at a time.  Shape it into a disc, cover it in plastic wrap, and refrigerate for at least 30 minutes.  (You can do this a day ahead, too!)  Roll it out and place in your pie dish.

P1030321     P1030323


On to the quiche…

Crab and Bacon Quiche:

  • 4 eggs, beaten
  • 1 cup half & half
  • 8 ounces lump crabmeat
  • 8 slices of bacon, cooked and crumbled
  • 1 cup shredded cheese
  • 3 tablespoons white wine (optional)
  • 1/2 teaspoon pepper


P1030307     P1030315


Preheat your oven to 350 degrees and gather your ingredients.  I had some crumbled feta that needed to be eaten, so I used 3/4 cup shredded cheddar cheese and 1/4 cup feta.  You can really use any type of cheese you want for this.  I never add salt to the quiche because the cheese and bacon already have so much salt.

Open your crab meat, drain it, and check it thoroughly with your hands for shell fragments or cartilage.  Once you do this, you will be amazed how much crab meat they actually pack into those 8-ounce containers!

P1030308     P1030310


Mix all of the ingredients together in a bowl and pour it into your pie shell.

P1030316     P1030327

P1030328


Bake at 350 degrees for around 45 minutes.  As soon as the center is set (not wiggly) and it’s brown and bubbly, it’s done.  I sprinkled a little extra bacon and shredded cheese on top halfway through cooking.  Let it sit for about 15 minutes before you slice it.  The possibilities are almost endless with this.  You can use cooked shrimp, cooked lobster, and any combination of cheeses!  Enjoy!!

P1030329     P1030333

P1030336     P1030338

P1030337     P1030340

P1030344     P1030345


Breakfast for dinner… but it’s not what you think! Cereal-Coated Hogfish with an Orange Juice Reduction.

This post brings eggs, milk, cereal, and freshly-squeezed orange juice to the party… but it’s not for breakfast!!

Hogfish is abundant right now, and it’s one of my favorite fish to eat!  Commonly mislabeled as “hog snapper”, hogfish is actually not a snapper at all.  It is really in the wrasse family.  Whatever it is, it’s delicious.  It’s mild and the texture is like no other fish.  In fact, it is SO mild that it can actually be bland depending on how you cook it.  It was time for a little experimentation.

We had a lot of oranges.  While they are delicious, one can only eat so many oranges.  The solution?  Juice them.

P1030259


I don’t commonly juice my own oranges, but it was a rainy day.  Why not?  Even our oldest son got in on the fun.

P1030260     P1030261


We ended up with quite a bit of orange juice.

P1030263    P1030266


While most of it will go in the fridge for Sunday breakfast, I wanted to reduce some of it for the fish.  To do this, you will take a few cups of orange juice and put it in a pan on the stove.  Once it comes to a boil, reduce the heat to medium and allow it to simmer.  The liquid will be GREATLY reduced in volume, darker in color, and thick like a syrup.  It’s concentrated and delicious.  You do not add anything to it.  Keep an eye on it, you don’t want to burn it.  It takes a while… be patient.  (You can use any store-bought orange juice for this, too.  It works just as well.)  This is a great finish to any seafood and it’s even better on top of steamed carrots!

P1030267


Kitchen tip:  If you ever ARE juicing your own lemons or oranges, don’t throw away the rinds.  Throw them in a pot of boiling water with some vanilla extract or some rosemary and you won’t believe how amazing your house will smell.

P1030269

Next… on to the cereal.  I will admit that I bought cereal JUST to try this.  This cereal is not something I would even normally allow the kids to eat, but we’re having fun here… right?  I used a VERY crunchy, sweet cereal.  I am sure you will recognize it!  I crunched it up inside of a zip top bag.  (This is something else the kids can help with.)

P1030274    P1030279

   P1030276

I rinsed my fish under cool water so it would be nice and moist.  I set up flour, an egg wash, and the cereal all in a row on the counter.  For the egg wash, I whisked two eggs in a cup of milk.

P1030282

First, it went into the flour.  Then the egg wash.  Then the cereal.   I set the coated fish on wax paper.

P1030286     P1030287

P1030288     P1030289

Now back to the orange juice.  You can tell by the rings on the pan that the liquid has reduced by at least half.  It’s dark and syrup-like.  Done!  Remove it from heat.

P1030291     P1030293

In a large skillet, I heated some coconut oil over medium-high heat and got ready to pan-fry the fish.  Be careful.  The sugar in the cereal can cause it to burn easily.  This fish is delicate enough and thin enough that it will cook thoroughly and quickly in this heat without burning.  I cooked the fish for about 2 minutes on each side (watch it, it will depend on the temperature of your stove).  Watch for the desired color and flip it once you have achieved the color you want.  Cook on this side for the same amount of time.  Drain on paper towels.

If you were doing this with a thicker piece of fish, you would probably want to transfer it to the oven at this point and allow it to finish cooking in the oven until it is cooked all the way through.

P1030295     P1030296

I nestled the fish on top of some brown rice and drizzled the orange juice reduction on top.

P1030299     P1030303

P1030304     P1030306

The verdict?  This was fun, different, and delicious!!  The orange juice was tart enough to balance the sweetness of the cereal, but the fish had amazing crunch!  Next time you are craving breakfast for dinner, don’t forget to include FISH!