Shrimp Cakes

P1080191

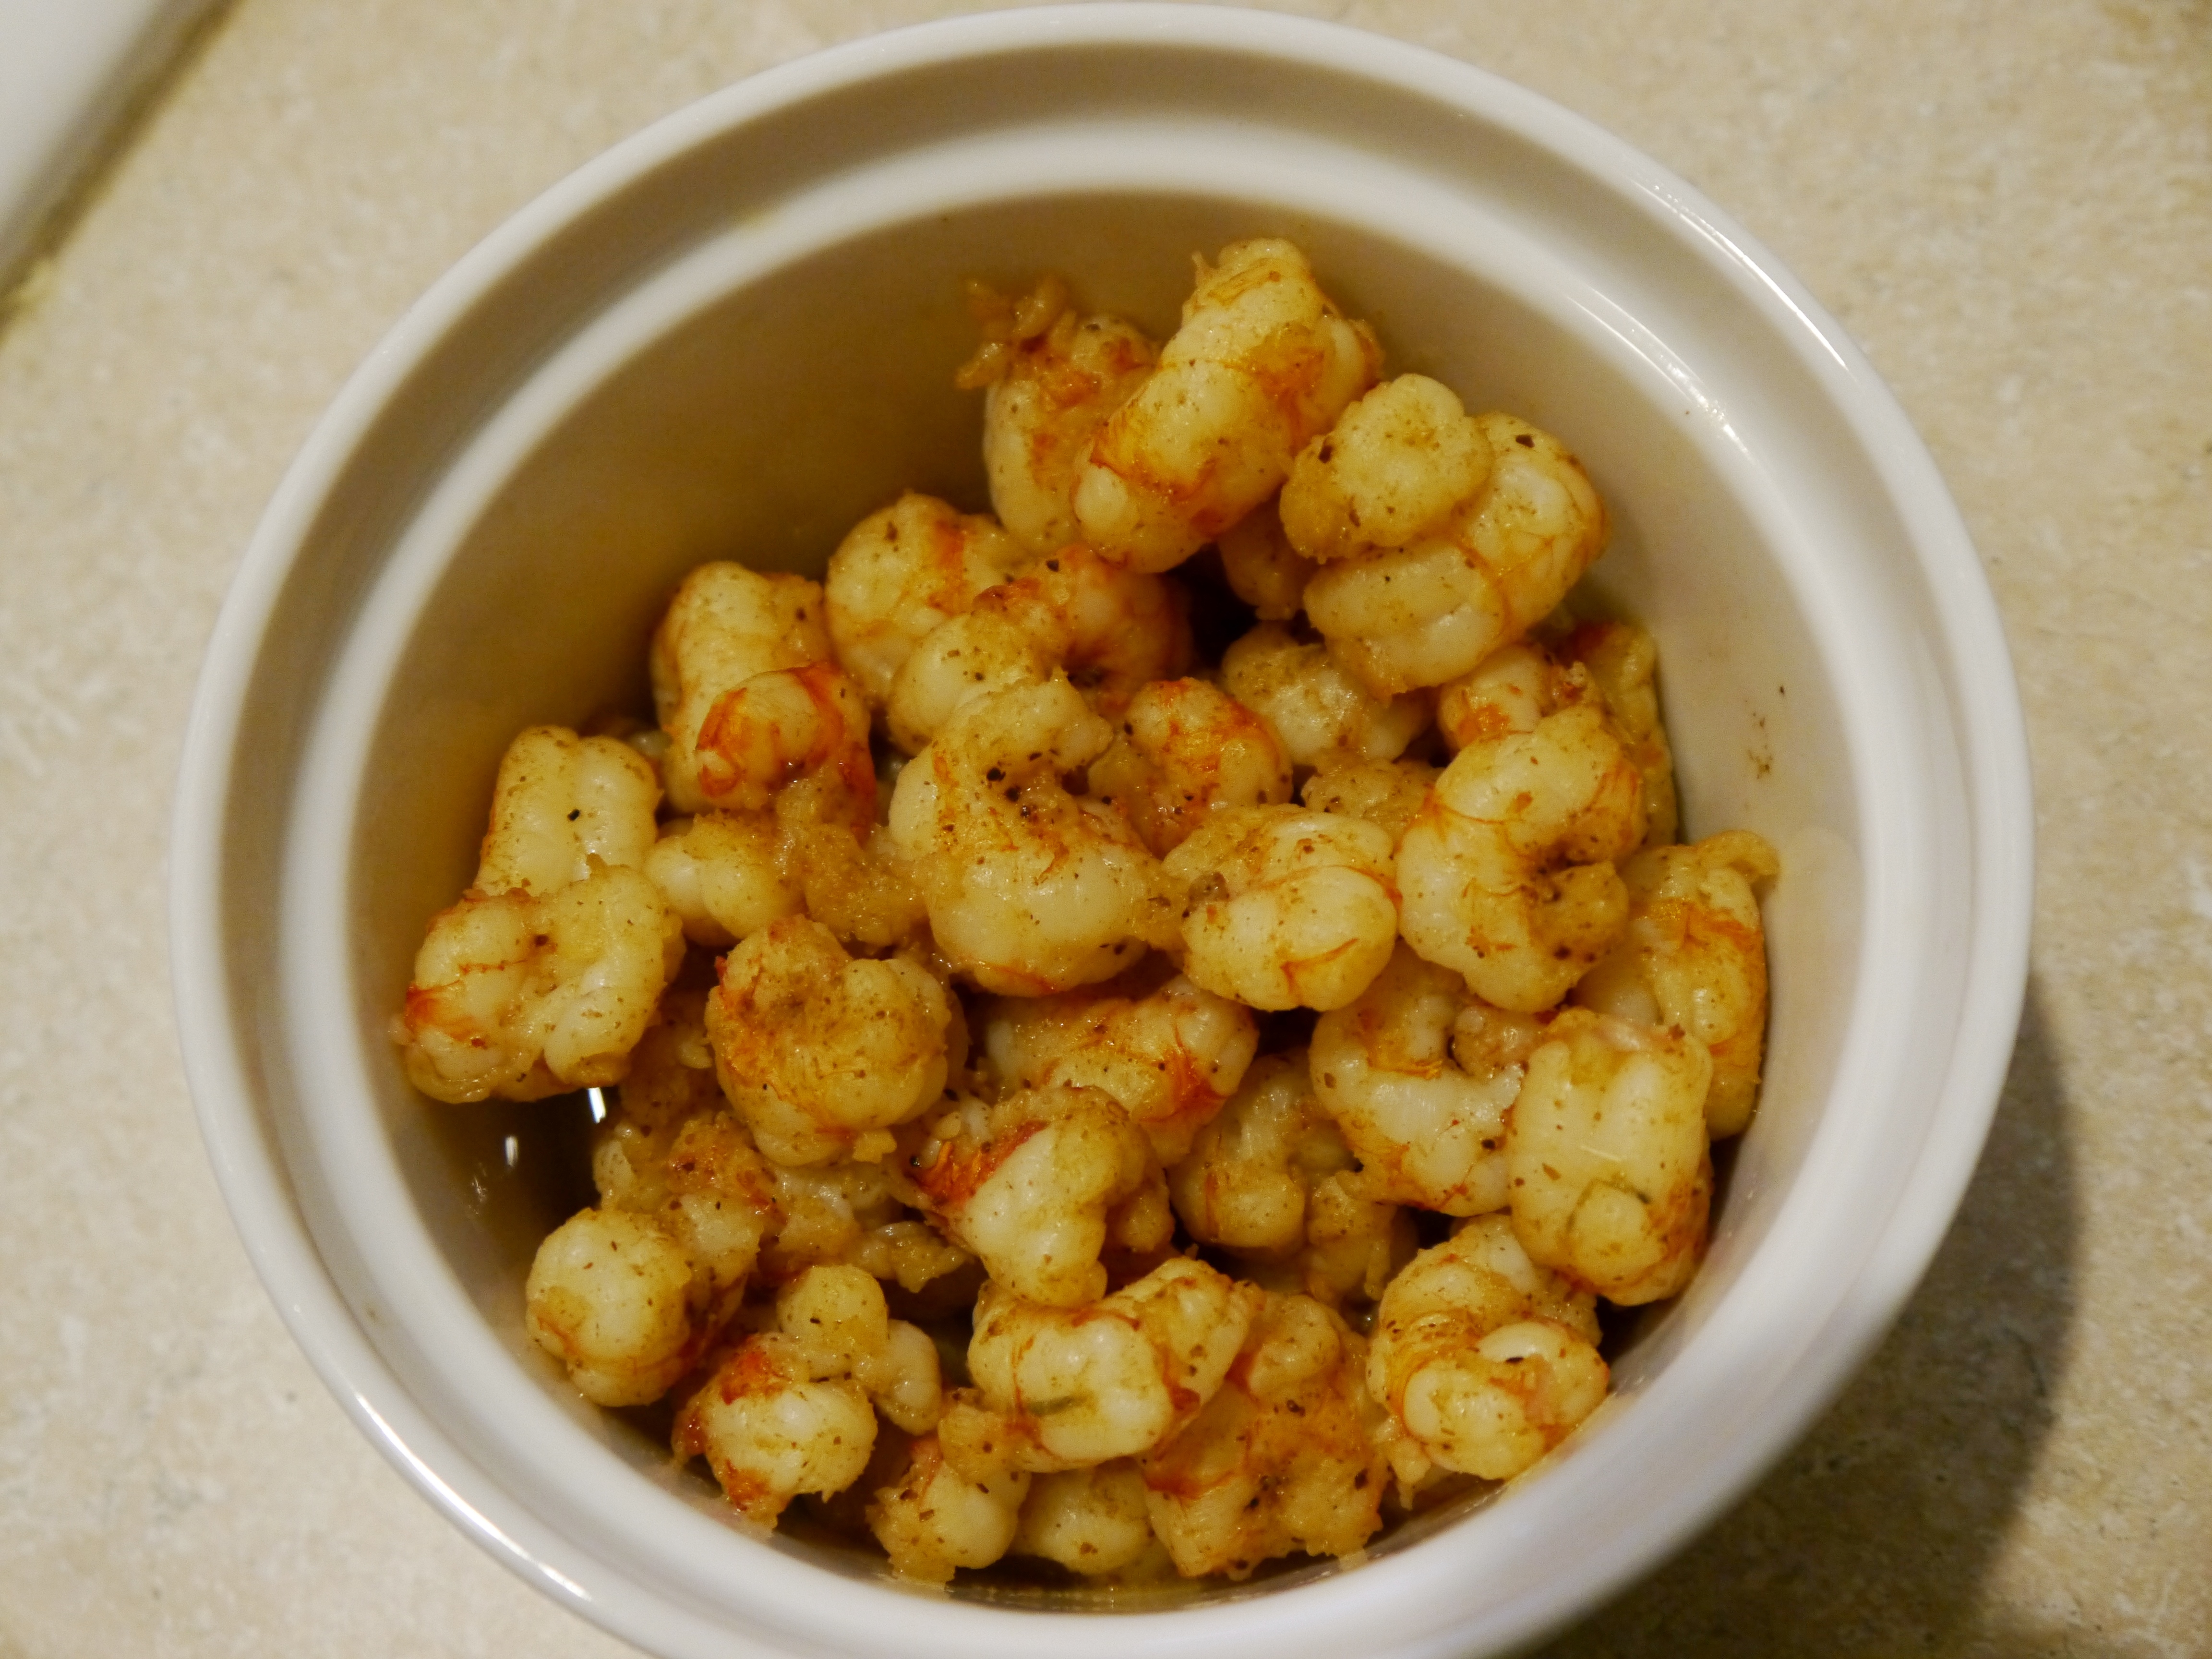
We had Rock Shrimp on special in the Market last week.  It prompted a conversation with a friend in which Shrimp Cakes were mentioned; I realized it had been quite some time since we have made Shrimp Cakes.  Shrimp are already so versatile and this is just one more way they can be prepared!

I used Rock Shrimp for this since they were already peeled and deveined (and they’re small, so you’ll do less chopping).  Some people may opt to put the shrimp in the food processor; I really like seeing big pieces of shrimp, so I just chopped them with a knife.


Shrimp Cakes  (Serves 4)

  • 1 pound Shrimp  (raw – peeled & deveined)
  • 2 Eggs
  • 3/4 cup Panko Breadcrumbs
  • 1 teaspoon Paprika (or Smoked Paprika)
  • 1 teaspoon Salt
  • 1 teaspoon Pepper
  • Finely Chopped Chives or Scallions
  • Olive Oil and Butter for Sautéeing


Start by making sure there are no stray bits of shell in the shrimp and roughly chopping them.  Put them in a large mixing bowl.

P1080179   P1080180


Measure the remaining ingredients and add to the shrimp.  I used Smoked Paprika in the recipe because it added a nice smoky flavor to the Shrimp Cake.  You could use Paprika, Smoked Paprika, or even a Spicy Paprika if you wanted to.  You could also substitute Blackening Seasoning or Old Bay, but you might want to reduce or eliminate the salt because some of those seasonings have a lot of salt hiding in them!  (We have been keeping chickens for nearly ten years now, but I still get excited every single time I crack open an egg and see that deep golden yolk!  Nothing beats a fresh egg!)

P1080181   P1080183


Mix until combined and make sure that everything is evenly distributed.

P1080185   P1080186


Form handfuls of the mixture into cakes.  You need to firmly compress the cakes so they hold together.  The eggs and breadcrumbs sort of act like glue to hold everything together, but they will be fragile until you introduce heat.  I made ours into six smaller sized cakes.  You want them to be thin enough that they will cook through fairly quickly, but not so thin that they will fall apart.  Heat the Olive Oil (or oil of your choice) over medium heat and then carefully add the cakes to the pan.  I cooked them for about 5 minutes on each side over medium heat.  When you see the shrimp at the bottom turning opaque and the egg is holding them together, it is safe to carefully flip them with a spatula.  It’s very important NOT to disturb them until it’s time to flip them.  Until the egg starts to cook, they will be fragile; once the heat starts to cook the egg, they’re fairly sturdy.

P1080187   P1080189


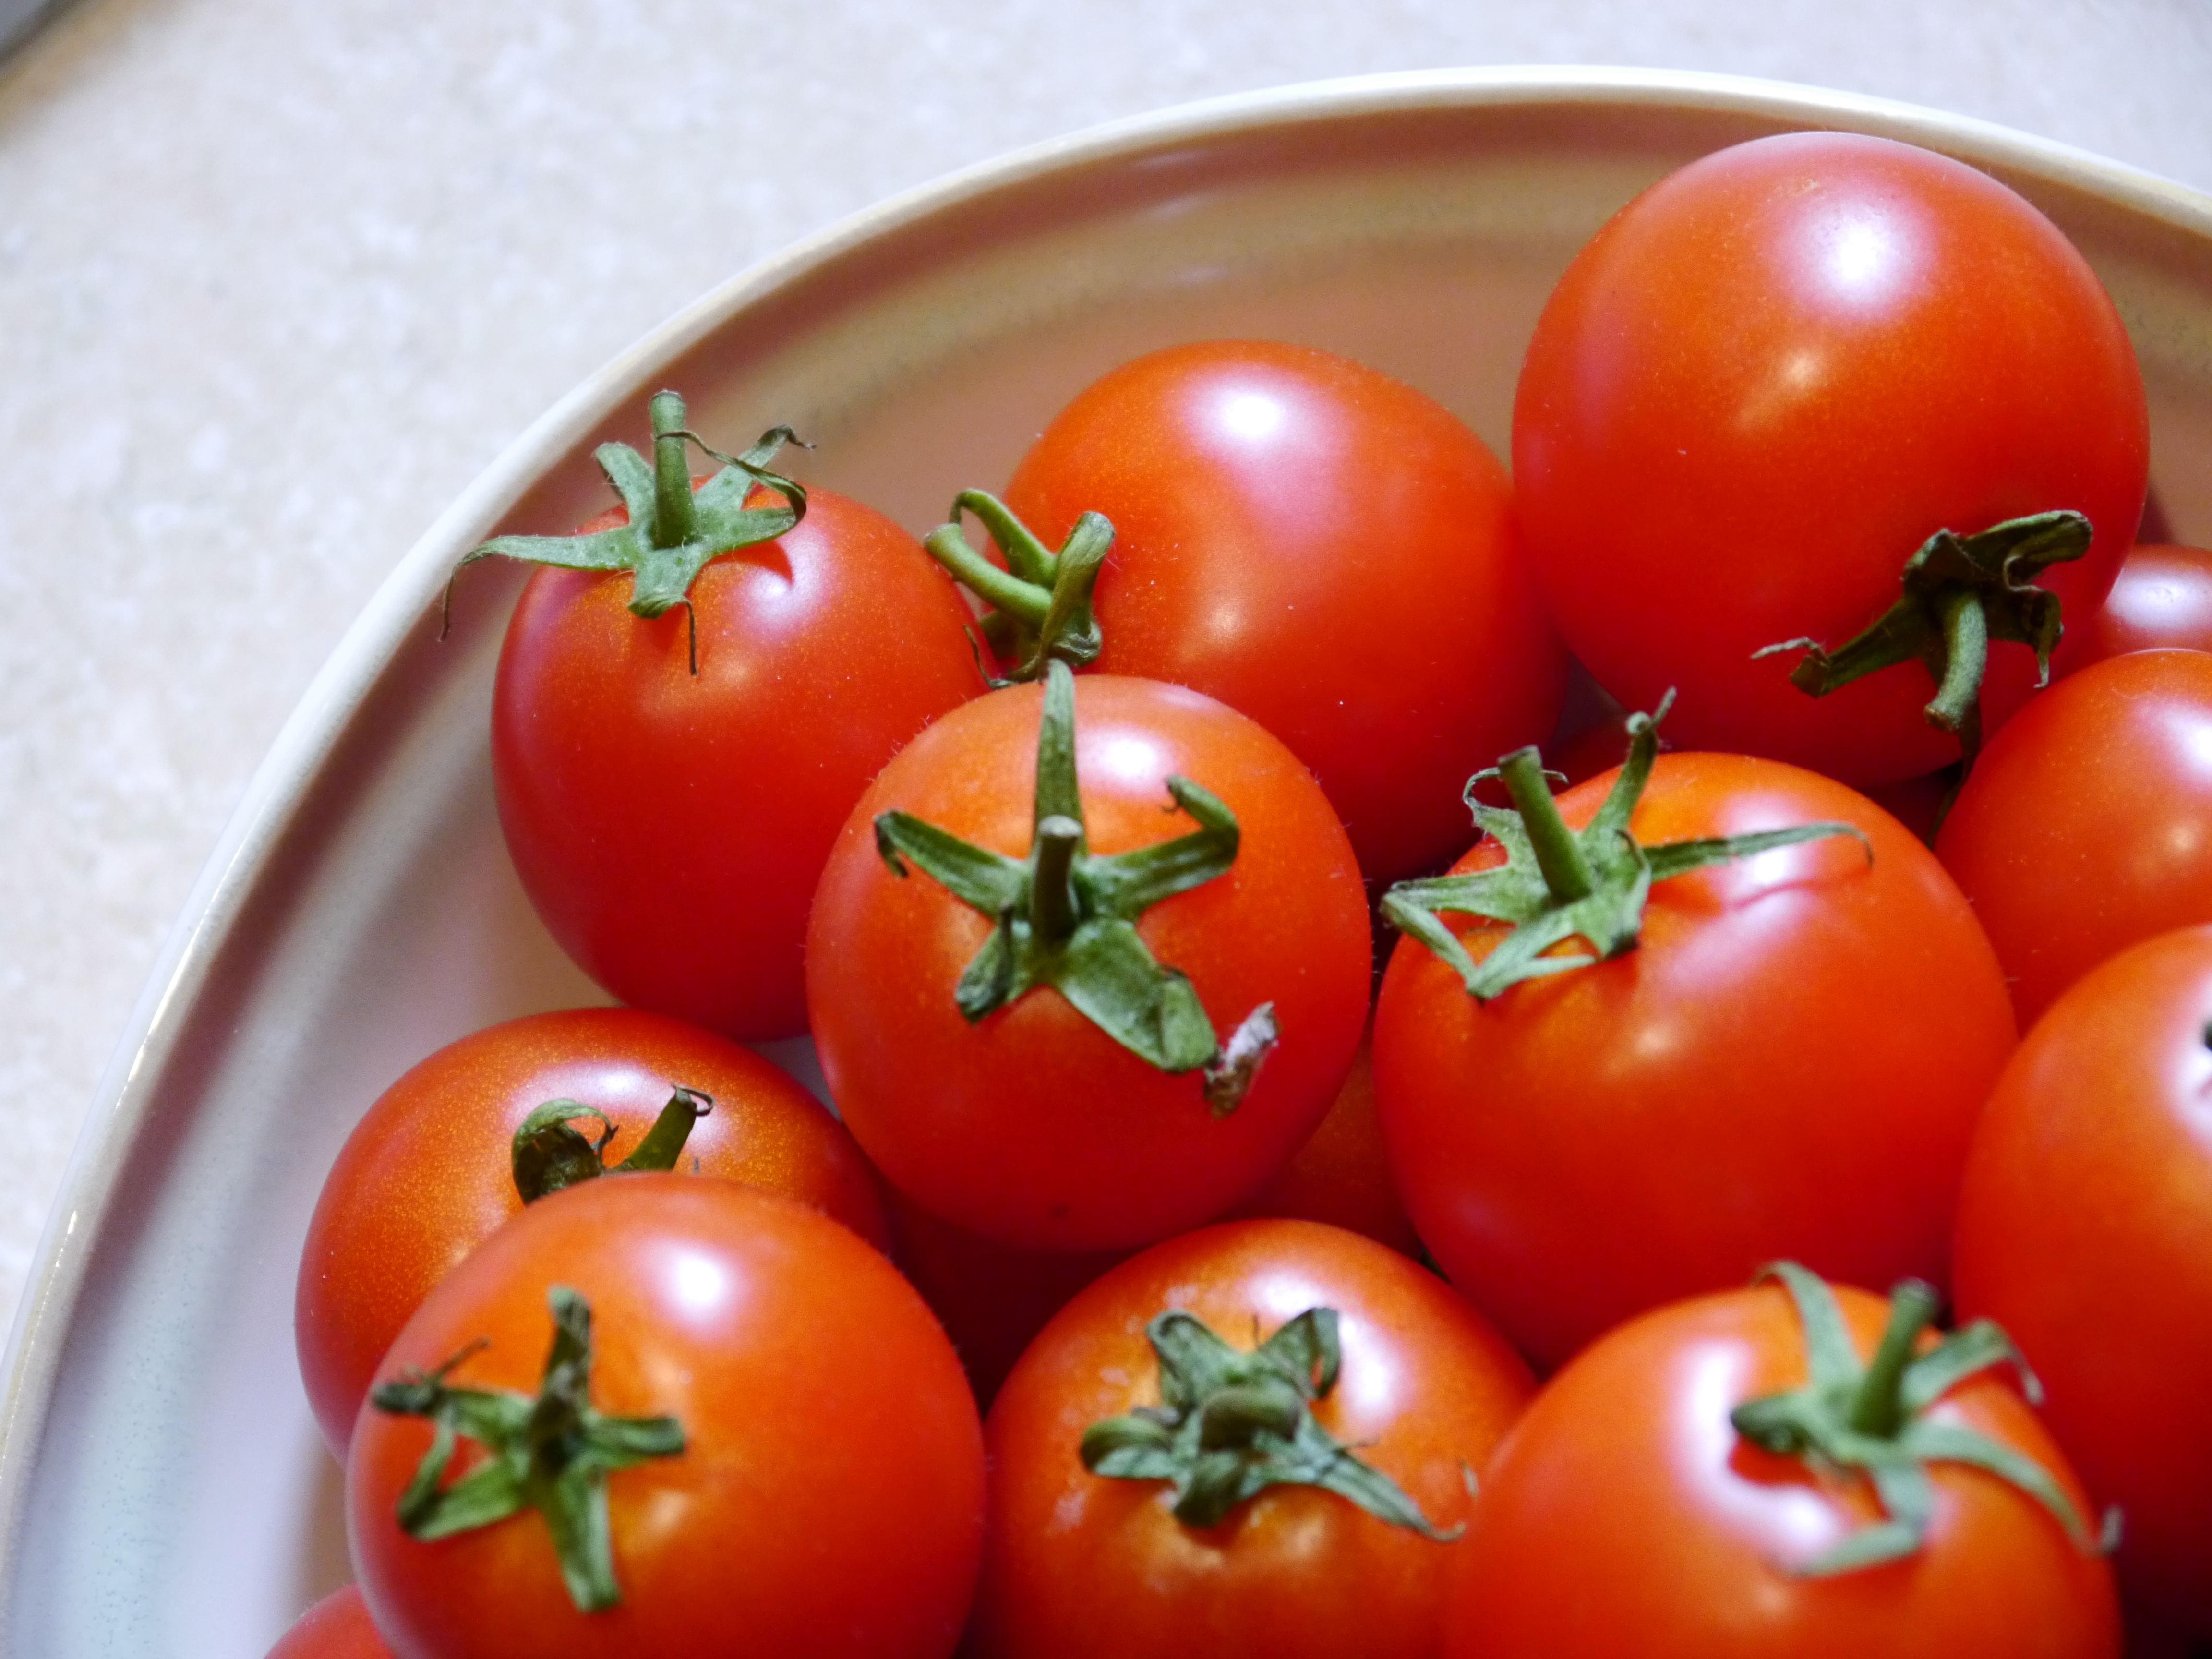
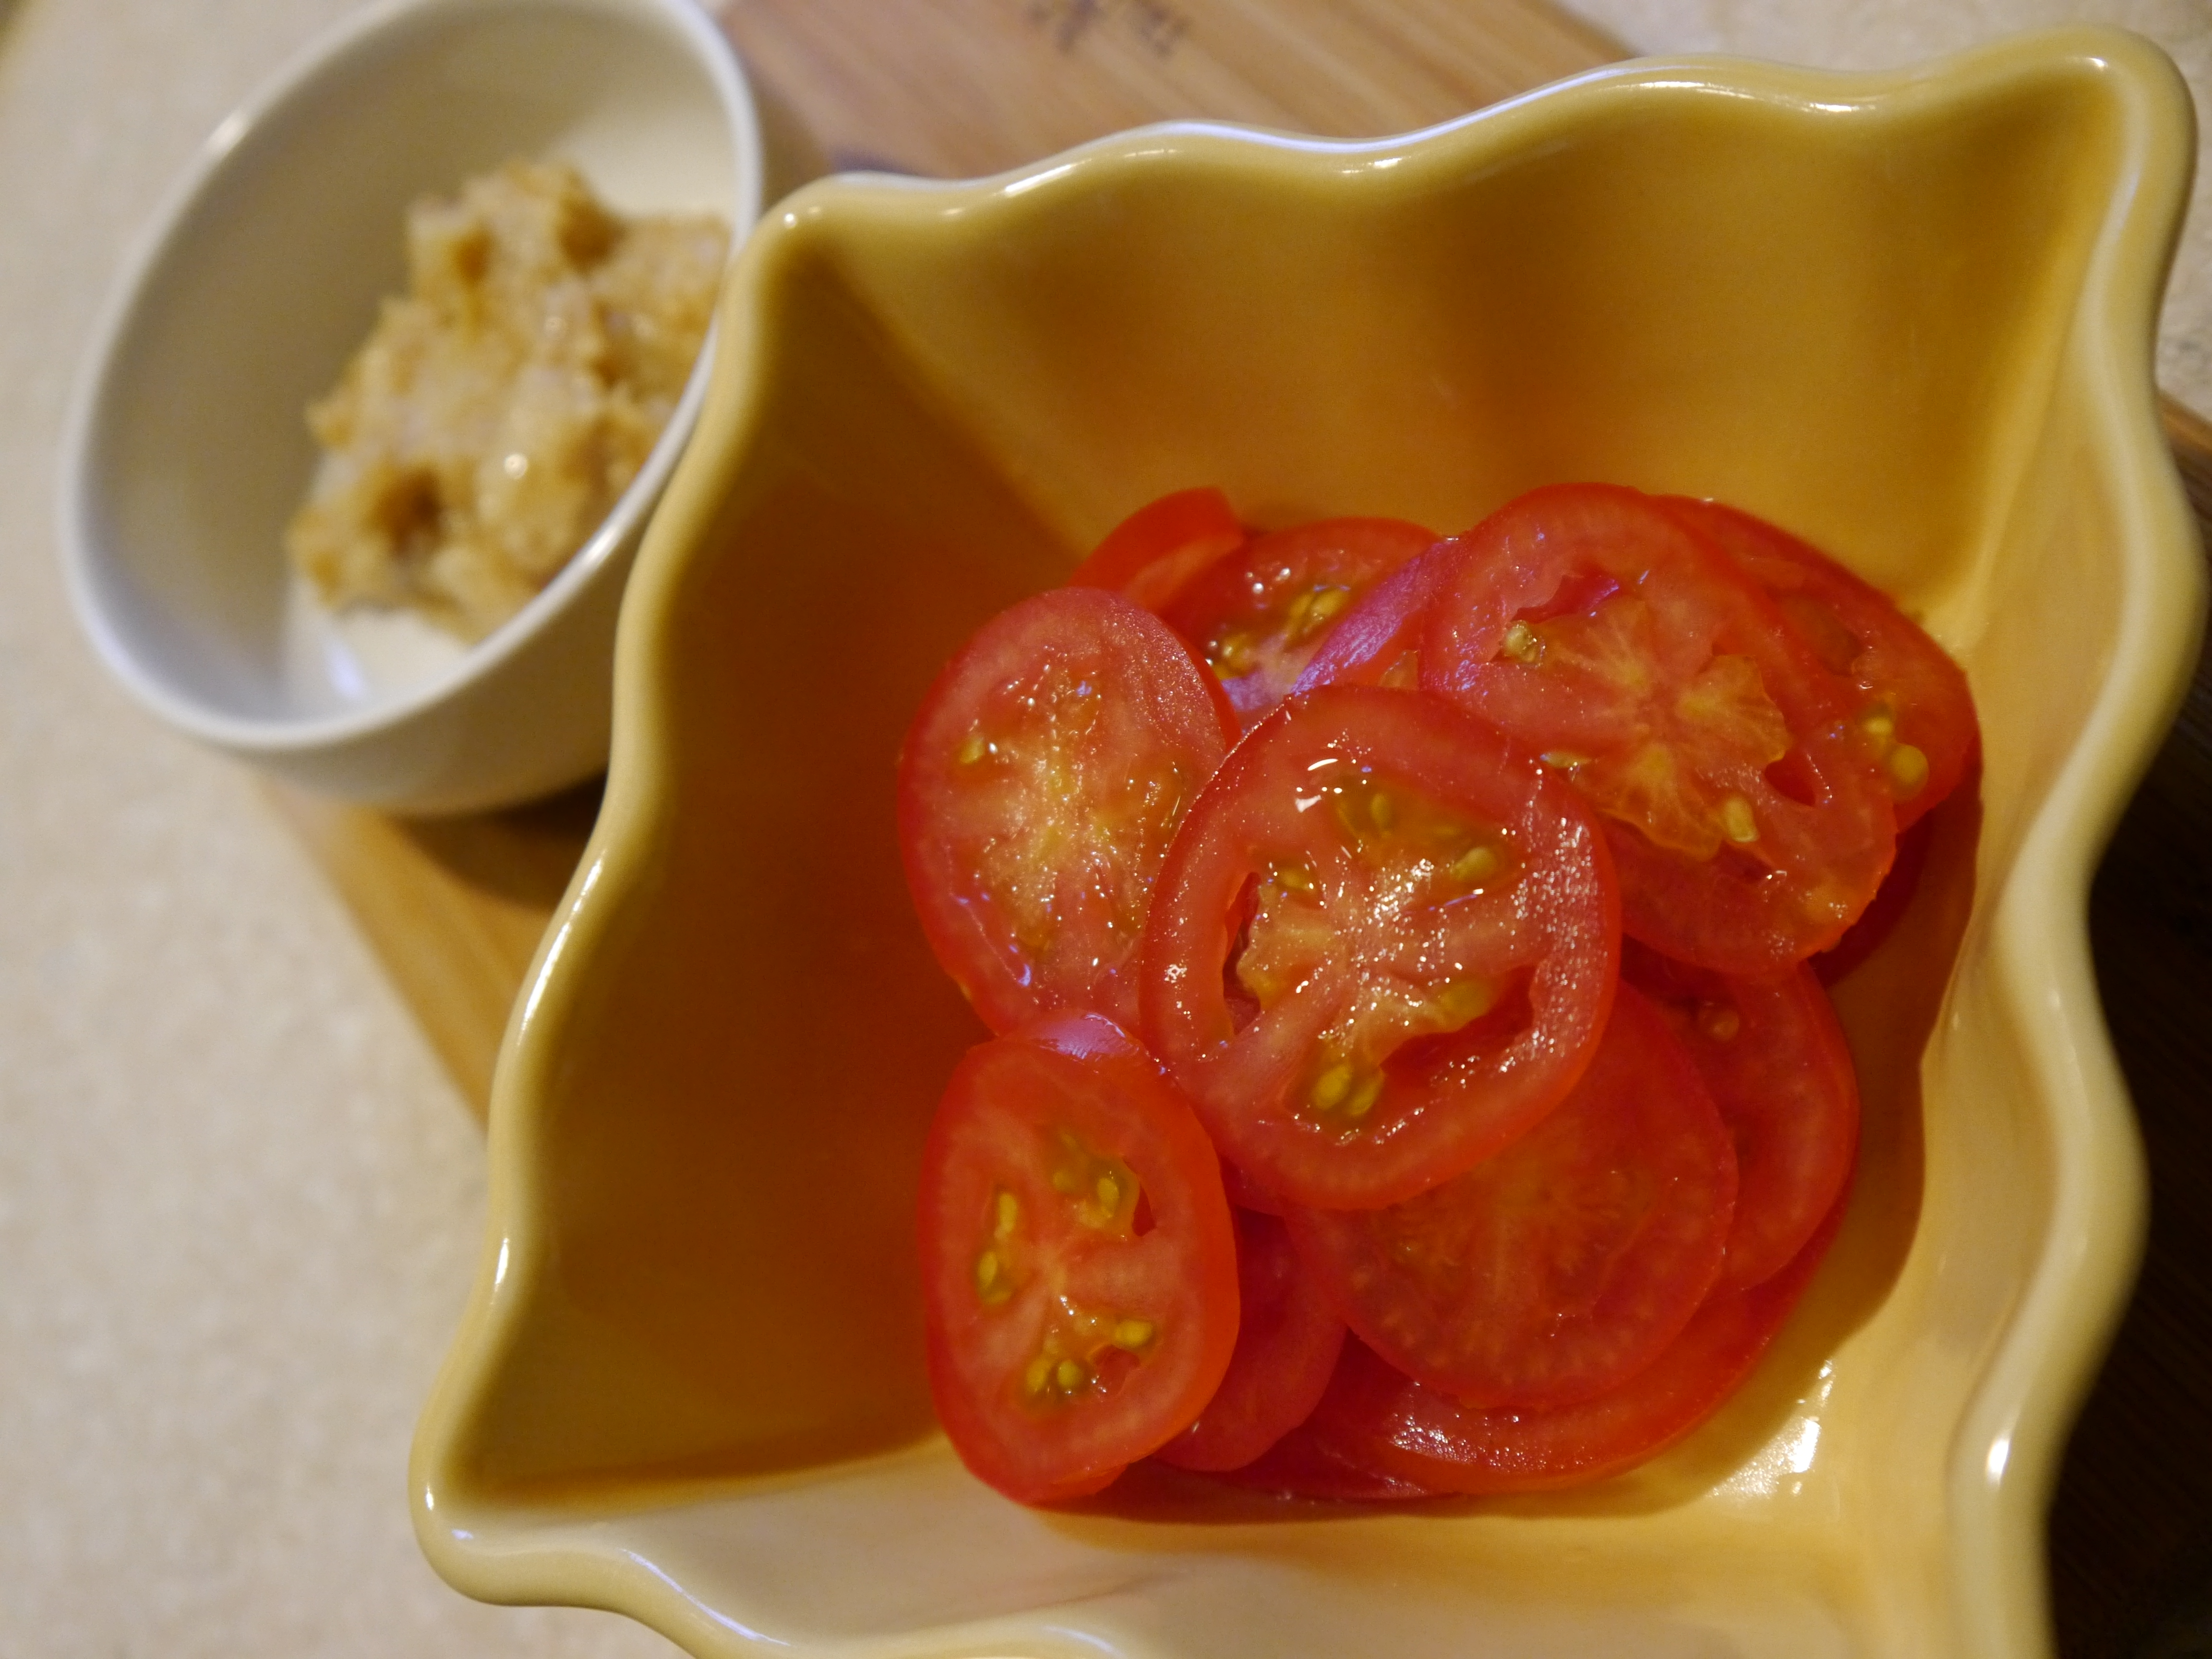
When I flipped them, they were perfectly browned and crispy!  We decided to top them with some homegrown tomatoes from the garden and more chives.

P1080191   P1080194


You could use ANY sauce with these… Tartar Sauce, Remoulade, Aioli, etc.  We all love the Mustard Sauce from the store.  We used the Mustard Sauce because it saved me some time, but a spicy mayo (Sriracha and Mayonnaise mixed together) would have been great with the smokiness from the Paprika, too!

P1080199   P1080203

P1080204


This could be EASILY converted into a gluten-free recipe with the substitution of a gluten-free breadcrumb.  You can also adjust the seasonings.  This is a very quick and easy dinner that the entire family will enjoy!


Roasted Garlic & Rock Shrimp Pizza

A trip to a wonderful U-Pick farm inspired this delicious meal!  We had an abundance of freshly-picked tomatoes to use.

P1040617     P1040618


The first step was to get my pizza dough started.  Of course, you can always use a store-bought dough for this.  Pizza dough is VERY easy and inexpensive to make.  It just requires a little bit of forethought so it has time to rise.  (Get the kids involved in this!  They love helping and making their own little pizzas!)

Pizza Dough

  • 1 teaspoon sugar
  • 1 packet of Active Dry Yeast
  • 1/2 teaspoon salt
  • 2 teaspoons Olive Oil
  • 2-1/4 cups Unbleached All-Purpose Flour
  • 1 cup warm water

Put the water and sugar in a large bowl.  Sprinkle the yeast over the top of the water and allow it to stand for around 5 minutes.  It will become foamy-looking.

P1040604     P1040605


Mix in the flour until it is just combined.  Turn it out onto a lightly floured counter.

P1040607     P1040608


Knead it for a few minutes until it turns into an elastic ball, adding more flour to the surface if needed.  Place it in an oiled bowl.  Put a little more oil over the top of it.  Cover it and allow it to stand in a draft-free area for around 45 minutes.  It will nearly double in size.

P1040609     P1040610

P1040612     P1040613


Press down the dough without removing it from the bowl.  Cover it back up.  Allow it to rise again for around 30 minutes.  After this second rise, turn the dough out onto a floured surface and roll it out to your desired size.  This either makes 4 personal-sized pizzas or two large pizzas.

P1040614     P1040639


During the second rise was the perfect time to roast some garlic.

Roasting garlic is super easy.  All you have to do is take your head of garlic and cut the top off.  Drizzle some olive oil over it, loosely wrap it in foil, and bake it at 400⁰ for around 35 minutes.  It will be fragrant and the color of the cloves becomes more golden than white.  The cloves will become very soft and (after it cools), you can squeeze the garlic right out.  Amazing!!

P1040592     P1040594

P1040598     P1040599

P1040600     P1040622

P1040627     P1040634


Once your dough has been rolled out, it is time to assemble your pizza.  You can bake a pizza on a cookie sheet, on a pizza stone, or one of these handy round metal pans with little holes in it.  I promise it will be delicious no matter what you bake it on.

Get all your toppings ready.  I quickly cooked my rock shrimp in a pan over high heat.  (I did not cook them all the way through because since I knew they were going to spend time in the oven.)  I used a mozzarella/parmesan cheese blend.

P1040635     P1040624

P1040641


If you are using a red sauce, go ahead and put it on.  I just brushed my dough with olive oil and seasoned it.  Then, I added the roasted garlic and VERY carefully spread it out on the dough as gently as possible.

P1040642     P1040643

P1040644


Add the rest of your toppings!

P1040646     P1040647


Bake this in a preheated 400⁰ oven until it is brown, bubbling, and fragrant.  Everyone likes their pizza cooked differently.  Some love it well-done, some might not.  Keep an eye on it.  I baked mine for around 15 minutes.

P1040650     P1040651

P1040654


Pizza is one of those things… once you learn the method, the possibilities are literally ENDLESS!!  Anything in your fridge can go on a pizza.  Leftover veggies, chicken, sausage… small amounts of various leftover cheeses.  Have fun and ENJOY!


Dynamite Rock Shrimp

P1040285

It seems like almost every restaurant has their own version of a spicy, sweet Asian-inspired shrimp appetizer.  I don’t think anyone will deny that it is delicious!  A good customer and friend of ours shared the recipe with me for the sauce from the restaurant that (in my mind) put these shrimp on the map!  I was so excited to try it.  It was pretty hard to decide on a name for this recipe, but everyone at the house agreed that they were dynamite… so we will go with that.

If you have young children in your house, you know that sometimes you have extra kitchen “helpers” milling around while you are trying to get dinner together.  I always try to find ways to get them involved in the process.  This dinner was pretty simple, but it involved frying.  I don’t like them in the kitchen with oil on the stove.  It seemed like the perfect time to give them a project… making butter!!  I have them do this from time to time when we have some heavy cream leftover from a recipe.  We used their homemade butter on the rice we had with this meal.  See the Homemade Butter post to learn how!

I started by making the sauce.  I combined the mayonnaise and the chili sauce in a bowl and added Sriracha to taste.  The recipe called for a few drops of Srircaha.  I added almost a teaspoon.  This is really going to depend on your taste.  After it’s combined, set it aside while you prepare the shrimp.

Dynamite Shrimp Sauce:

  • 1/2 cup Mayonnaise
  • 1/4 cup Sweet Chili Sauce
  • Srircaha to taste

P1040264     P1040265


For the shrimp, I wanted to use rock shrimp because they are bite-sized.  You could use any shrimp you like!  Any time you are going to fry something and THEN coat it in sauce, you have to have a really crispy breading or you will end up with a soggy mess.  One trick that can be used to get really crispy breading is to add a little cornstarch to it.

I used one pound of rock shrimp.  I rinsed them and bathed them in an egg/milk mixture.  This will help the coating stick to them.

P1040270     P1040271


I just breaded them with flour and cornstarch seasoned with pepper, paprika, and salt.  (I think I ended up with a ratio of 3:1 flour to cornstarch.)

P1040266     P1040273


Toss the shrimp to really coat them well in the flour mixture.

P1040274


Heat some oil on the stove.  You’re going to want it very hot.  I have a gas stove and had it turned almost all the way up.  The shrimp cook very fast so you have to make sure they are going to get very crispy without overcooking them.  When they are golden brown, firm, and crispy they can be removed from the oil and drained on a paper plate.  While they are still very hot, GENTLY toss them with the sauce.

P1040275     P1040278


You can serve these any way you’d like.  We enjoyed them over Jasmine rice topped with our Homemade Butter.

P1040276


I topped them with a few red pepper flakes and wasabi sesame seeds.  Absolutely amazing!!

P1040279     P1040282

P1040283     P1040284


Rock Shrimp & Chorizo Nachos

One of my favorite things about football season (besides the football) is the food!  Apparently, I have passed this trait on to our kids.  One of their favorite things is having “snacks for dinner”.  This stems from Sunday afternoons watching football on the couch together… surrounded by meatballs, pizza, wings, potstickers, seared tuna, pigs in a blanket, and spinach dip.  The return of football has prompted requests for “snacks for dinner” so we decided to kick off the season with something new and delicious!

This is one of those great ‘clear the fridge’ or ‘clear the pantry’ concepts!  Whatever you have on-hand and whatever you like is what you should use.  So, you will see what WE used, but you can alter this to suit your own taste.

Rock Shrimp & Chorizo Nachos:

  • Tortilla Chips
  • Rock Shrimp  (I used 3/4 lb for 4 people)
  • Corn
  • Black Beans
  • Cheese  (I used Pepper Jack and Cheddar)
  • Sliced Chorizo
  • Additional Toppings  (lettuce, tomato, onion, jalapeno, etc.)
  • Raw Garlic & Cilantro Cream  (see below)


I started by prepping all the ingredients.  I charred the corn over the gas stove, but this is completely optional.

P1040131     P1040134


P1040140     P1040139


Raw Garlic & Cilantro Cream:  This is really easy.  It’s a great way to cool off spicy things, but the raw garlic actually gives it quite a bite of its own.  I put one cup of sour cream in the blender with a bunch of fresh cilantro, the juice of one lime, and 2 cloves of raw garlic.  I added water, one teaspoon at a time, just until it was thin enough to blend and become combined. 

On to the rock shrimp…  they are like little tiny lobster tails.  They are already peeled and deveined.  Just rinse and dry and you’re ready to go.  They have a firm, snappy texture and a clean sweet flavor.  I seasoned them with a very small amount of cumin and chili powder.  (Avoid seasoning with salt because there is PLENTY of salt here between the Chorizo, the chips, and the cheese.)  I sautéed them over high heat just for a minute until they were opaque and slightly curled.

P1040150     P1040152

P1040155     P1040157


Go ahead and assemble your nachos!  Make sure you use an oven-proof platter with plenty of room to spread everything out.  Chips, then cheese, and then the toppings.  If you are using lettuce, don’t put that on until you are ready to eat the nachos.

P1040158     P1040162
Put this in the oven at 450 degrees for about ten minutes.  Everything will be all melty and crispy.  This is when you drizzle the cream over the top and add your lettuce.

P1040164     P1040166

P1040167

P1040170


The verdict:  DELICIOUS!  The Chorizo is JUST spicy enough to keep things interesting, but not so much that the whole family won’t enjoy it.  The Garlic Cilantro Cream adds a very fresh and bright twist to something that can be so mundane and tired.  (Save the leftovers and drizzle it over grilled chicken or fish!)  As I stated before, the possibilities with nachos are pretty much endless.  Play around with the flavor combinations until you find one that is perfect.