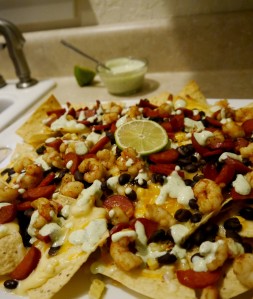
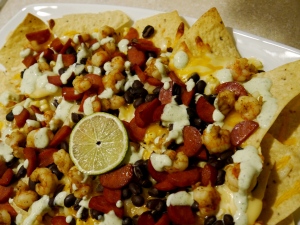
Rock Shrimp & Chorizo Nachos

One of my favorite things about football season (besides the football) is the food!  Apparently, I have passed this trait on to our kids.  One of their favorite things is having “snacks for dinner”.  This stems from Sunday afternoons watching football on the couch together… surrounded by meatballs, pizza, wings, potstickers, seared tuna, pigs in a blanket, and spinach dip.  The return of football has prompted requests for “snacks for dinner” so we decided to kick off the season with something new and delicious!

This is one of those great ‘clear the fridge’ or ‘clear the pantry’ concepts!  Whatever you have on-hand and whatever you like is what you should use.  So, you will see what WE used, but you can alter this to suit your own taste.

Rock Shrimp & Chorizo Nachos:

  • Tortilla Chips
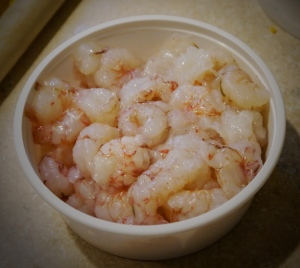
  • Rock Shrimp  (I used 3/4 lb for 4 people)
  • Corn
  • Black Beans
  • Cheese  (I used Pepper Jack and Cheddar)
  • Sliced Chorizo
  • Additional Toppings  (lettuce, tomato, onion, jalapeno, etc.)
  • Raw Garlic & Cilantro Cream  (see below)


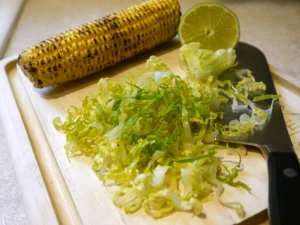
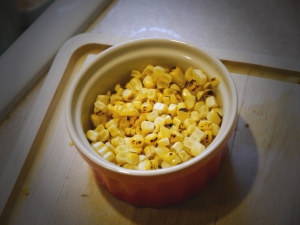
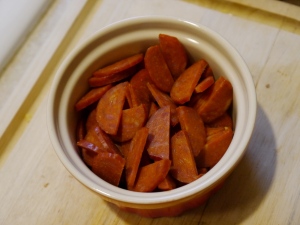
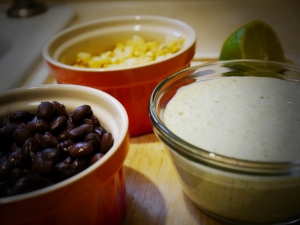
I started by prepping all the ingredients.  I charred the corn over the gas stove, but this is completely optional.

P1040131     P1040134


P1040140     P1040139


Raw Garlic & Cilantro Cream:  This is really easy.  It’s a great way to cool off spicy things, but the raw garlic actually gives it quite a bite of its own.  I put one cup of sour cream in the blender with a bunch of fresh cilantro, the juice of one lime, and 2 cloves of raw garlic.  I added water, one teaspoon at a time, just until it was thin enough to blend and become combined. 

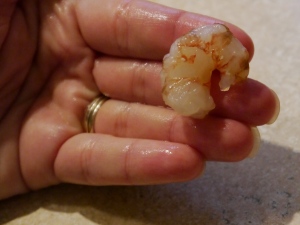
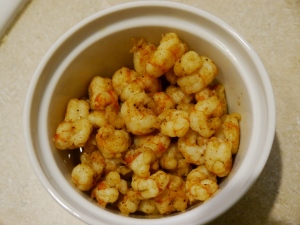
On to the rock shrimp…  they are like little tiny lobster tails.  They are already peeled and deveined.  Just rinse and dry and you’re ready to go.  They have a firm, snappy texture and a clean sweet flavor.  I seasoned them with a very small amount of cumin and chili powder.  (Avoid seasoning with salt because there is PLENTY of salt here between the Chorizo, the chips, and the cheese.)  I sautéed them over high heat just for a minute until they were opaque and slightly curled.

P1040150     P1040152

P1040155     P1040157


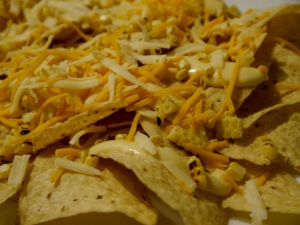
Go ahead and assemble your nachos!  Make sure you use an oven-proof platter with plenty of room to spread everything out.  Chips, then cheese, and then the toppings.  If you are using lettuce, don’t put that on until you are ready to eat the nachos.
P1040158     P1040162
Put this in the oven at 450 degrees for about ten minutes.  Everything will be all melty and crispy.  This is when you drizzle the cream over the top and add your lettuce.

P1040164     P1040166

P1040167

P1040170


The verdict:  DELICIOUS!  The Chorizo is JUST spicy enough to keep things interesting, but not so much that the whole family won’t enjoy it.  The Garlic Cilantro Cream adds a very fresh and bright twist to something that can be so mundane and tired.  (Save the leftovers and drizzle it over grilled chicken or fish!)  As I stated before, the possibilities with nachos are pretty much endless.  Play around with the flavor combinations until you find one that is perfect.


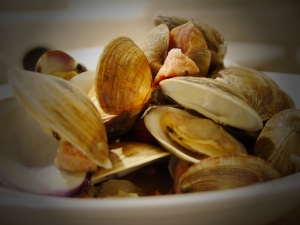
Steamed Littleneck Clams with Garlic-Andouille Broth

In addition to being affordable and widely available, clams are very healthy!  They are high in good fats (Omega-3’s and more) and low in bad fats.  It is said that they have more iron than a steak.  Even though they basically contain the same amount of protein as chicken (ounce per ounce), they actually contain more vitamins and minerals than chicken or other seafood.  If you need an energy boost, head for the clams… they contain lots of Vitamin B-12!

I know seafood is always a healthy choice, so I personally tend to break it down into “ease of use”.  It doesn’t get any easier than steamed clams.  It requires basically NO work or effort at all and dinner is ready in under 5 minutes.

I started with 3 dozen Littleneck Clams.  They are about 7/8″ across.  Our oldest son is who requested the clams, so I opted for the Littleneck mostly just because they are bite sized and easy for him to handle.

P1030934


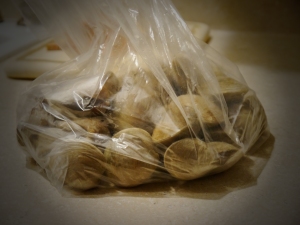
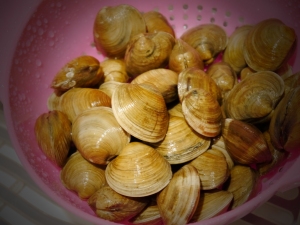
The first thing you should do when you bring home your clams is to rinse and inspect them.  (Never tie or seal the bag they are in while you are storing them in the fridge – they are a live animal and they need oxygen.)  Look for any cracked or broken shells and discard those clams.  If there are any open clams that do NOT promptly close when you give them a little squeeze, discard those too.  They should be pretty firmly closed.

P1030937     P1030938


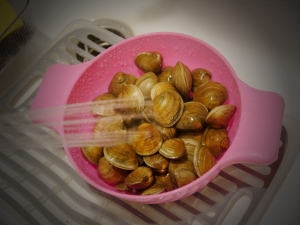
I like to rinse them in a colander in the sink with cold water.  I know some people like to submerge them in cold water because it may help them expel any sand they have, but I don’t find it to be necessary at all and out of 3 dozen, only one clam we ate had sand in it.  The farmed clams are pretty clean!

P1030936


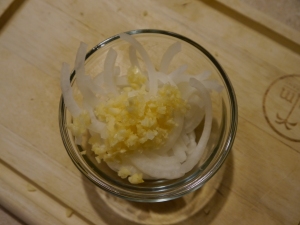
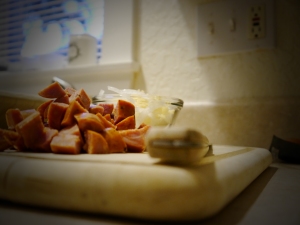
The next thing you should do it get your broth flavorings ready.  This is completely customizable and the possibilities are endless.  We keep it pretty simple in our house.  I use a little sliced onion and minced garlic along with my salted butter.  For this particular meal, we wanted to stretch the clams a bit so I added some chopped Andouille sausage.  Chorizo or smoked sausage also work famously, adding a little bit of smoky salthy flavor and a little bit more substance.  There is something so delicious about the clams combined with the spicy, smoky sausage.

P1030925     P1030927

P1030929


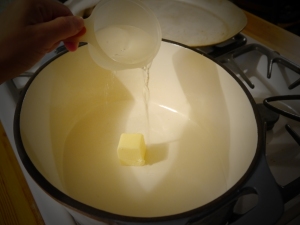
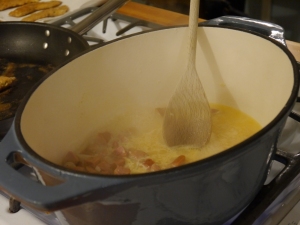
Once your clams and flavorings are ready to go, get out the biggest pot you have and put it over high heat (it needs to have a lid).  I used a cast iron dutch oven with a lid.  The more room they have in there, the better.  Put just enough water in to cover the bottom of the pot and add a few tablespoons of butter.  You want this to come to a boil so that it produces LOTS of steam.  The clams aren’t going to be boiled, they will steam.

P1030931


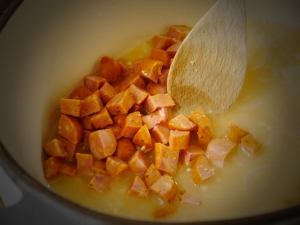
Add your flavorings and allow this to boil for a minute so the onions soften and the flavors have a chance to get all cozy together in there.  Allow it to come back up to a boil so that you see steam before you add the clams.

P1030939     P1030943


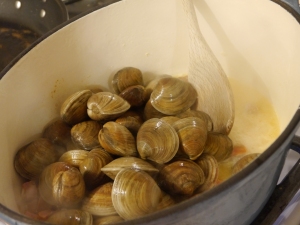
Add the clams to the pot all at once and immediately spread them out as evenly as possible (some will be stacked on top of each other).  Put the lid on it.

P1030945


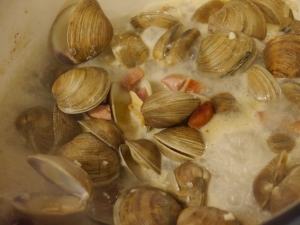
After two minutes, open the lid and stir them.  You will see that the clams on the bottom have started opening.  Move them around a bit.  Replace the lid.  Check periodically every few minutes until 90% or more are open and remove them from the heat.

P1030947


Clams are a little like popcorn.  If you wait for ALL the clams to be opened, you will overcook the opened ones.  ALL clams will not open.  There will be a few that don’t.  Discard those.  Basic rule with shellfish… discard anything that is open before you start and anything that DOES NOT open when you cook it.

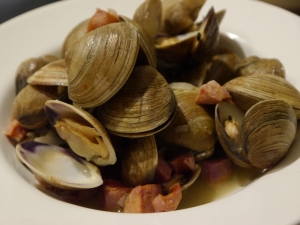
Start fishing the clams out with a slotted spoon.  Then get a ladel and pour the broth over the clams.  It’s so amazingly simple and delicious.  Kids and adults alike will LOVE this.  Don’t forget a piece of warm crusty bread to dip in the broth.

P1030949     P1030951

P1030952