Summer Berry Clafoutis – an easy brunch or dessert solution for leftover berries.

I had a LOT of red and blue berries leftover from our July 4th celebration.  I was faced with two options: make something delicious or freeze them for smoothies.  Of course, I decided to make something delicious.  It was a no-brainer.

This is such a classic.  I remember seeing Julia Child make one with cherries once on television.  It’s like a custard, but it’s easily sliced.  It reminds me of a crepe, but slightly different.  So hard to describe.  The only issue I have with the traditional version is the cup of heavy cream it contains.  I try to avoid it when I can.  Our youngest son is lactose intolerant.  I have varied the recipe I normally use to contain almond milk.  If you want, you can substitute it with heavy cream.  I find that the unsweetened vanilla almond milk gives it a wonderful, rich flavor.  Once you learn the method, the possibilities are endless.  You can use any combination of available berries or cherries you have.


What you will need:

  • 2 cups of berries or pitted cherries (wash and dry them thoroughly)
  • 2 eggs (room temperature)
  • 1 cup almond milk  (unsweetened – plain or vanilla)
  • 3/4 cups flour
  • 3/4 cups sugar
  • 1 teaspoon vanilla


Make sure your berries are clean and dry.  Start with a pie plate.  Butter and flour it.

P1030200     P1030209


Scatter the berries around the dish.

P1030214


Combine the flour and sugar in a large mixing bowl.  Set it aside.

P1030210


Whisk the eggs, almond milk, and vanilla together in a small bowl (I use vanilla bean paste instead of extract, but either is fine).  Now you will have a wet mixture and a dry mixture.

P1030216     P1030217


Whisk the wet mixture into the dry mixture.  Combine thoroughly.  Set this batter aside and allow it to rest for at least 15 minutes.  I cooked dinner while it was resting (around 30 minutes) and popped it into the oven just as we sat down to eat, ensuring a piping hot dessert.

P1030230


When the mixture has rested, pour it over the berries.  They will float to the surface.  Bake this at 400 degrees for about 25 minutes.

P1030232     P1030235


You will see it puff slightly.  The edges will brown and pull away from the sides of the dish.  It will not jiggle in the center.  Remove it from the oven.  Serve it warm!  It’s delicious with vanilla ice cream or just a dusting of powdered sugar.  Refrigerate the leftovers.  A cold slice makes a pretty amazing breakfast snack with a cup of coffee the next morning.  Don’t let your gorgeous berries go to waste!

P1030241

P1030255


Bacon-Wrapped Grouper with Spicy Coconut Raspberry Sauce

I will start this off by saying that this is not entirely my original idea.  Here’s the story: I once fell completely in love with a wonderful local restaurant that specialized in Bahamian fare.  Sadly, this restaurant closed only a short time after it opened.  This is a common occurrence in South Florida.  It’s tough out there!

A conversation at the office on Saturday had me thinking about some of the dishes I used to enjoy there.  One of my favorites was a Grouper Cheek appetizer.  It had bacon and a raspberry sauce.  Amazing.  I started wondering why I had never attempted to recreate this one at home, as I have done with several other things I find myself longing for.  I quickly decided to take the plunge and we were NOT disappointed.  Not one bit.

What is a Grouper Cheek?  It comes from a Grouper.  It actually comes from the area right between the mouth and the gill… the cheek, if fish really had “cheeks”.  It’s a tender little medallion of deliciousness.  Because this is considered a “byproduct” of processing fish, the price is great despite the excellent quality.  For example, the Grouper Cheeks at Cod & Capers are cut from the same fish that the gorgeous fillets are cut from.  The Grouper Cheeks are $7.95/lb and the fillet is $23.95/lb.  You can see the value here, right?  It’s not for everyone but it’s worth a try.  At the shop, we have a limited number of these available for purchase each day.  By the time I had this grand idea, they were nearly sold out.  I settled for a piece of Grouper fillet instead.  No big deal.  It’s interchangeable in most recipes.

This is what Grouper Cheeks look like, in case you are curious.

IMG_20130708_112014_727-1


What You Will Need:

  • 1 Small Container of Raspberries (there were about 30 in mine)
  • 2 Tablespoons Red Wine Vinegar
  • 1 Tablespoon Sugar
  • 1/4 Cup Unsweetened Natural Coconut
  • 1 Teaspoon Chipotle Powder (optional)
  • 1 Pound of Grouper
  • Bacon


I started with a pound of Grouper fillet.  I cut it into four equal pieces and got ready to wrap it in bacon.

P1030218   P1030221


Something I have learned when dealing with bacon:  in order to achieve the crispy texture without overcooking whatever is inside the bacon, skip the thick cut variety and go for the thinnest bacon you can buy.  I wrapped mine in two different directions and made sure that the bacon overlapped on the underside (it sticks to itself quite well) and that all the seams were hidden.

P1030224


This seemed like an appropriate time to season the fish.  Since I knew I wanted a little heat in the sauce, I wanted to have a little on the fish as well.  I knew I had to be careful about salt with all that bacon, so I decided to very lightly season it with my favorite blackening seasoning.  I put them back in the fridge while I tackled the sauce.

P1030228


I was a little unsure of where to start with the sauce.  I knew I liked the one I had before, but thought a little heat might be a nice addition.  I started with one small container of raspberries and 2 tablespoons of Red Wine Vinegar.  I put them in a small pan over medium heat until the berries were soft.  I smashed them against the side of the pan with a spatula until they were fairly smooth.

P1030196


It was extremely sour.  I added a tablespoon of sugar, 1/4 cup of unsweetened natural coconut, and a teaspoon of chipotle powder.  The smokiness of the chipotle will compliment the bacon nicely and still give the sauce subtle heat.  After everything was combined and allowed to simmer for a few minutes, I removed it from the heat and set it aside.  I tasted it and was satisfied with it.  If you find it too tart, you could add more sugar.  My raspberries were fairly sweet.  It was hard to imagine what it would taste like on the fish, but there was only one way to find out.  (You could strain it at this point, if you have an issue with seeds.  I like the rustic look and seeds don’t bother me one bit, so I left mine as is.)

P1030204    P1030205


Back to the fish.  I got out the biggest skillet I have (you need LOTS of room around the pieces of fish or they will just steam and your bacon will never get crispy).  I heated it over medium-high heat and did not use any oil or cooking spray since, after all, we are dealing with bacon here.  I put each piece of fish into the skillet with the bacon seams facing down.  You want to seal those seams right away.  I let them cook for about three minutes on this side and then carefully flipped them over and repeated the process.

P1030239


A quick touch test told me that the fish was still slightly undercooked in the center.  I transferred them to an oven-safe plate and allowed them to cook for a few more minutes in a 350-degree oven.  Here is what it looked like after it was finished cooking.

P1030246


I was really getting excited now.  The house was smelling great and I could nearly taste it.  I plated the fish and drizzled some of the sauce over the top.  The result was just as I had imagined it.  It was smoky, sweet, and spicy all at once.  This one is a keeper!

P1030248    P1030247


4th of July Food Adventures.

Who doesn’t love an excuse for a festive themed meal?  And what better reason than the celebration of our very own independence?  Sounds like the perfect time to play with your food.  Here’s a little sneak peek into our own celebration at home.


Citrus-Bourbon Tea and Red Sangria.

IMG_20130704_173255_542


Smoked Wahoo Dip (my husband smoked a Wahoo I caught in the Bahamas last month).

P1030173


Conch Fritters (with Conch we got in the Bahamas).

P1030176   P1030175


We all know there are few things more American than a hot dog.  Why not take it another step and go big with a Chili Dog Bar?

P1030190   P1030191


And, of course, no gathering would be complete without an array of delicious and festive desserts.

P1030188   P1030187

P1030185


We hope you and your loved ones had a great time celebrating the freedoms that we are blessed enough to enjoy.


Florida Orange Cinnamon Rolls

If you have out-of-town guests coming to visit you this summer, they will LOVE having this for breakfast!  It’s a Florida twist on an old classic.  I have made these many times and change the recipe a little each time I make them.  I believe it is safe to say that it has finally been perfected.

Here is what you will need for the dough:

  • 1/3 cup sugar
  • 1/3 cup butter, cut into cubes and softened
  • 1 large egg
  • 1 tablespoon orange zest
  • 1 teaspoon salt
  • 3 cups unbleached all-purpose flour
  • 1/2 cup warm orange juice
  • 1 envelope active dry yeast

For the filling:

  • 1/3 cup packed brown sugar (light or dark is fine – I used dark)
  • 2 tablespoons cinnamon
  • 1 tablespoon orange zest

For the glaze:

  • 1 cup powdered sugar
  • 2 tablespoons fresh orange juice
  • 1 teaspoon vanilla extract or vanilla bean paste


Sprinkle the yeast over the warm orange juice (do not heat it over 110 degrees or you risk killing the yeast).  Do not stir.

P1030102

Let it stand for around 5 minutes.  When you see it starting to foam, it’s ready!  It should look something like this.

P1030105

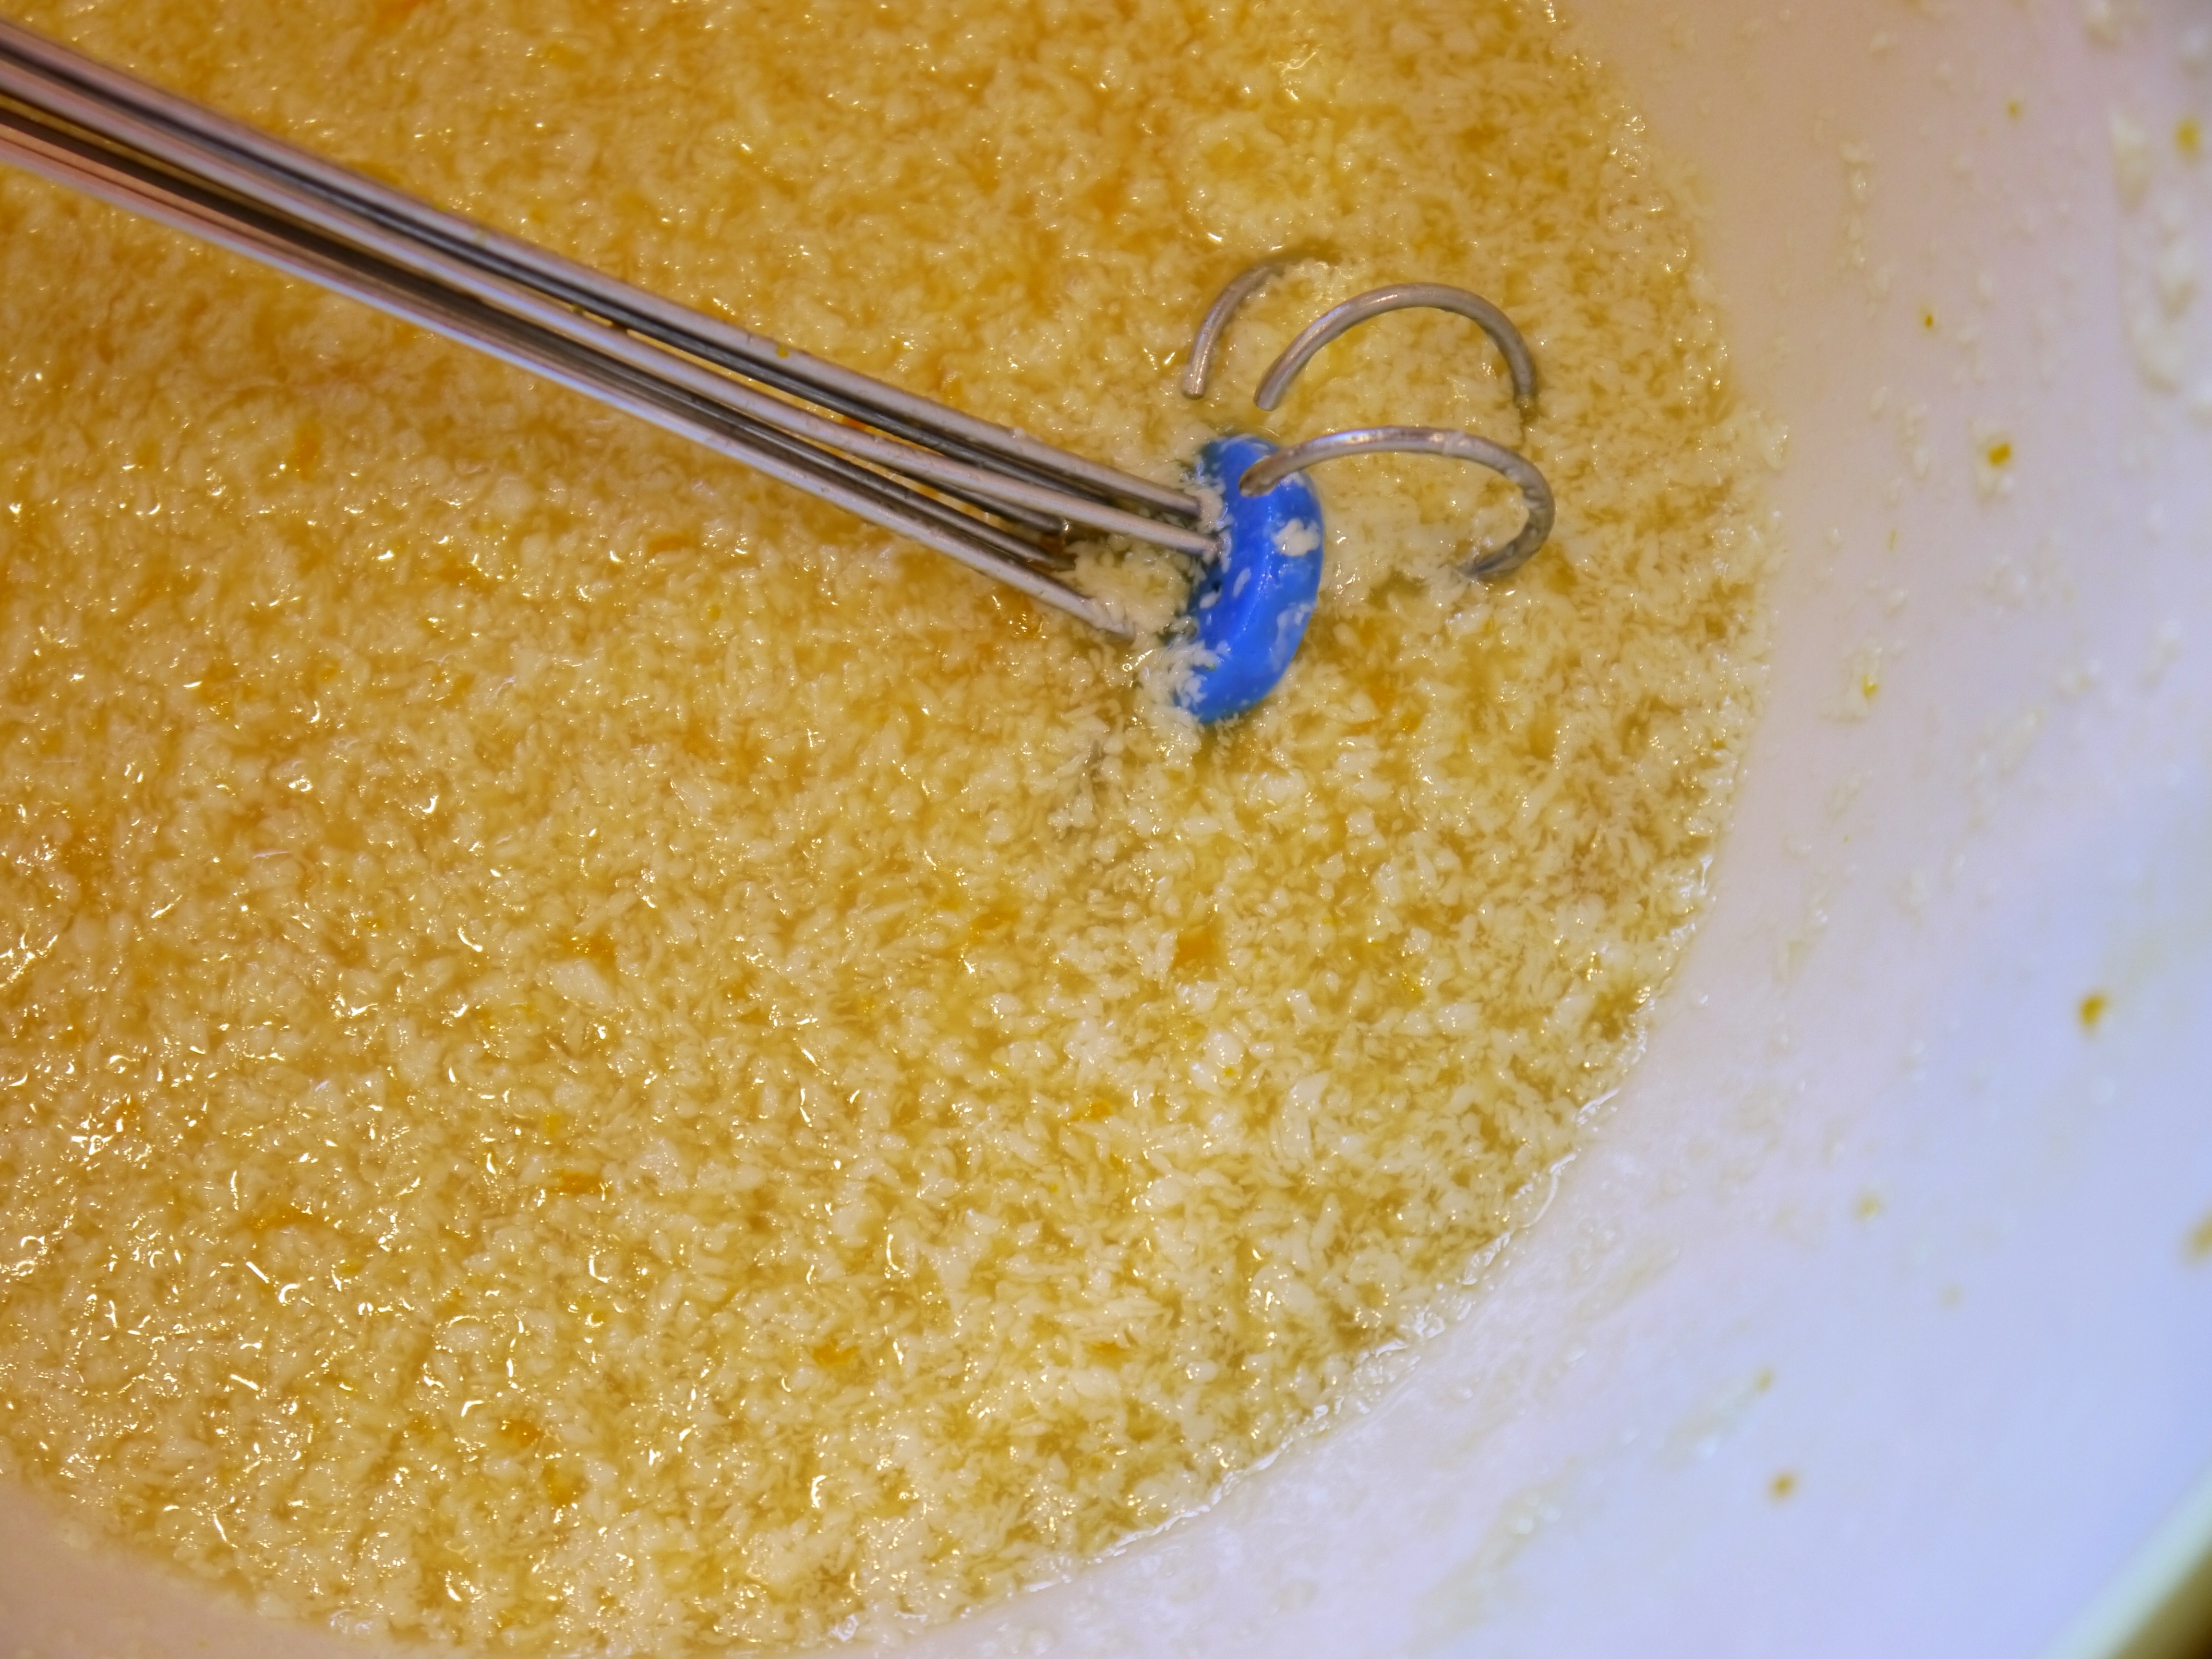
Whisk in the sugar, softened butter, the orange zest, and the egg.  The butter is softened, not melted.  You will see little bits of it in the mixture; it will not be smooth.  That is good.  Those little pockets of butter create the flakiness you want in the pastry.

P1030110

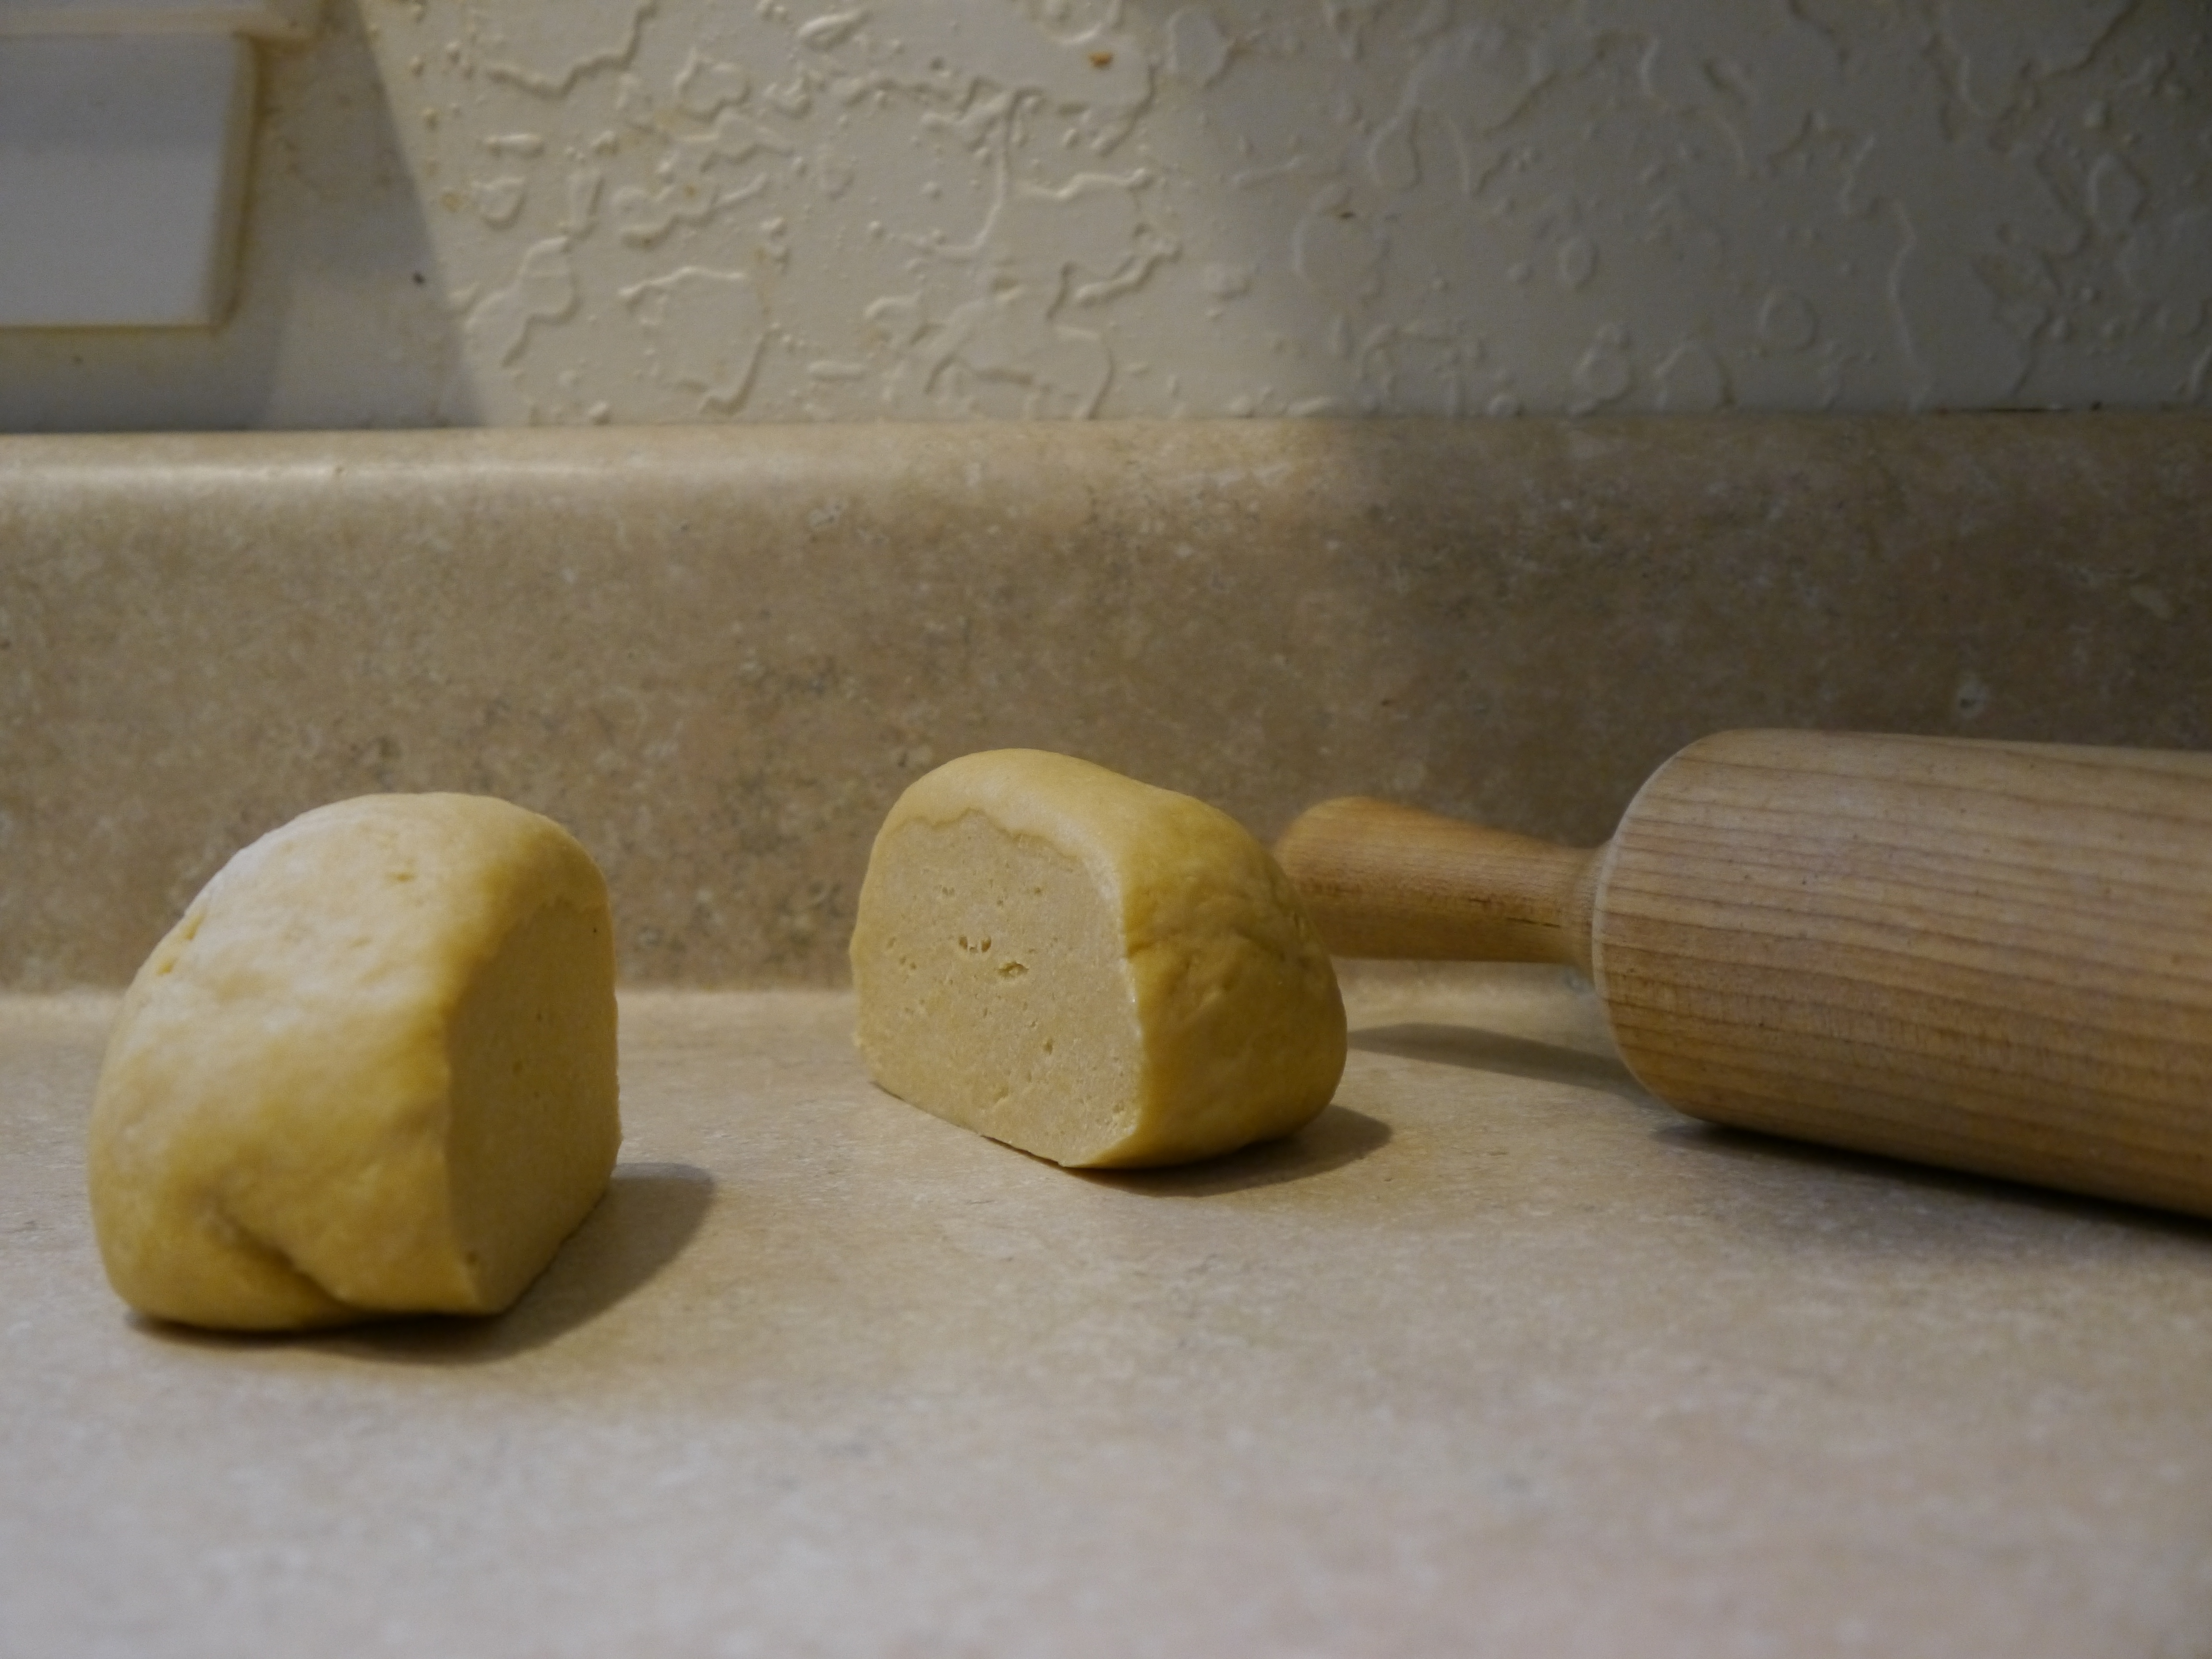
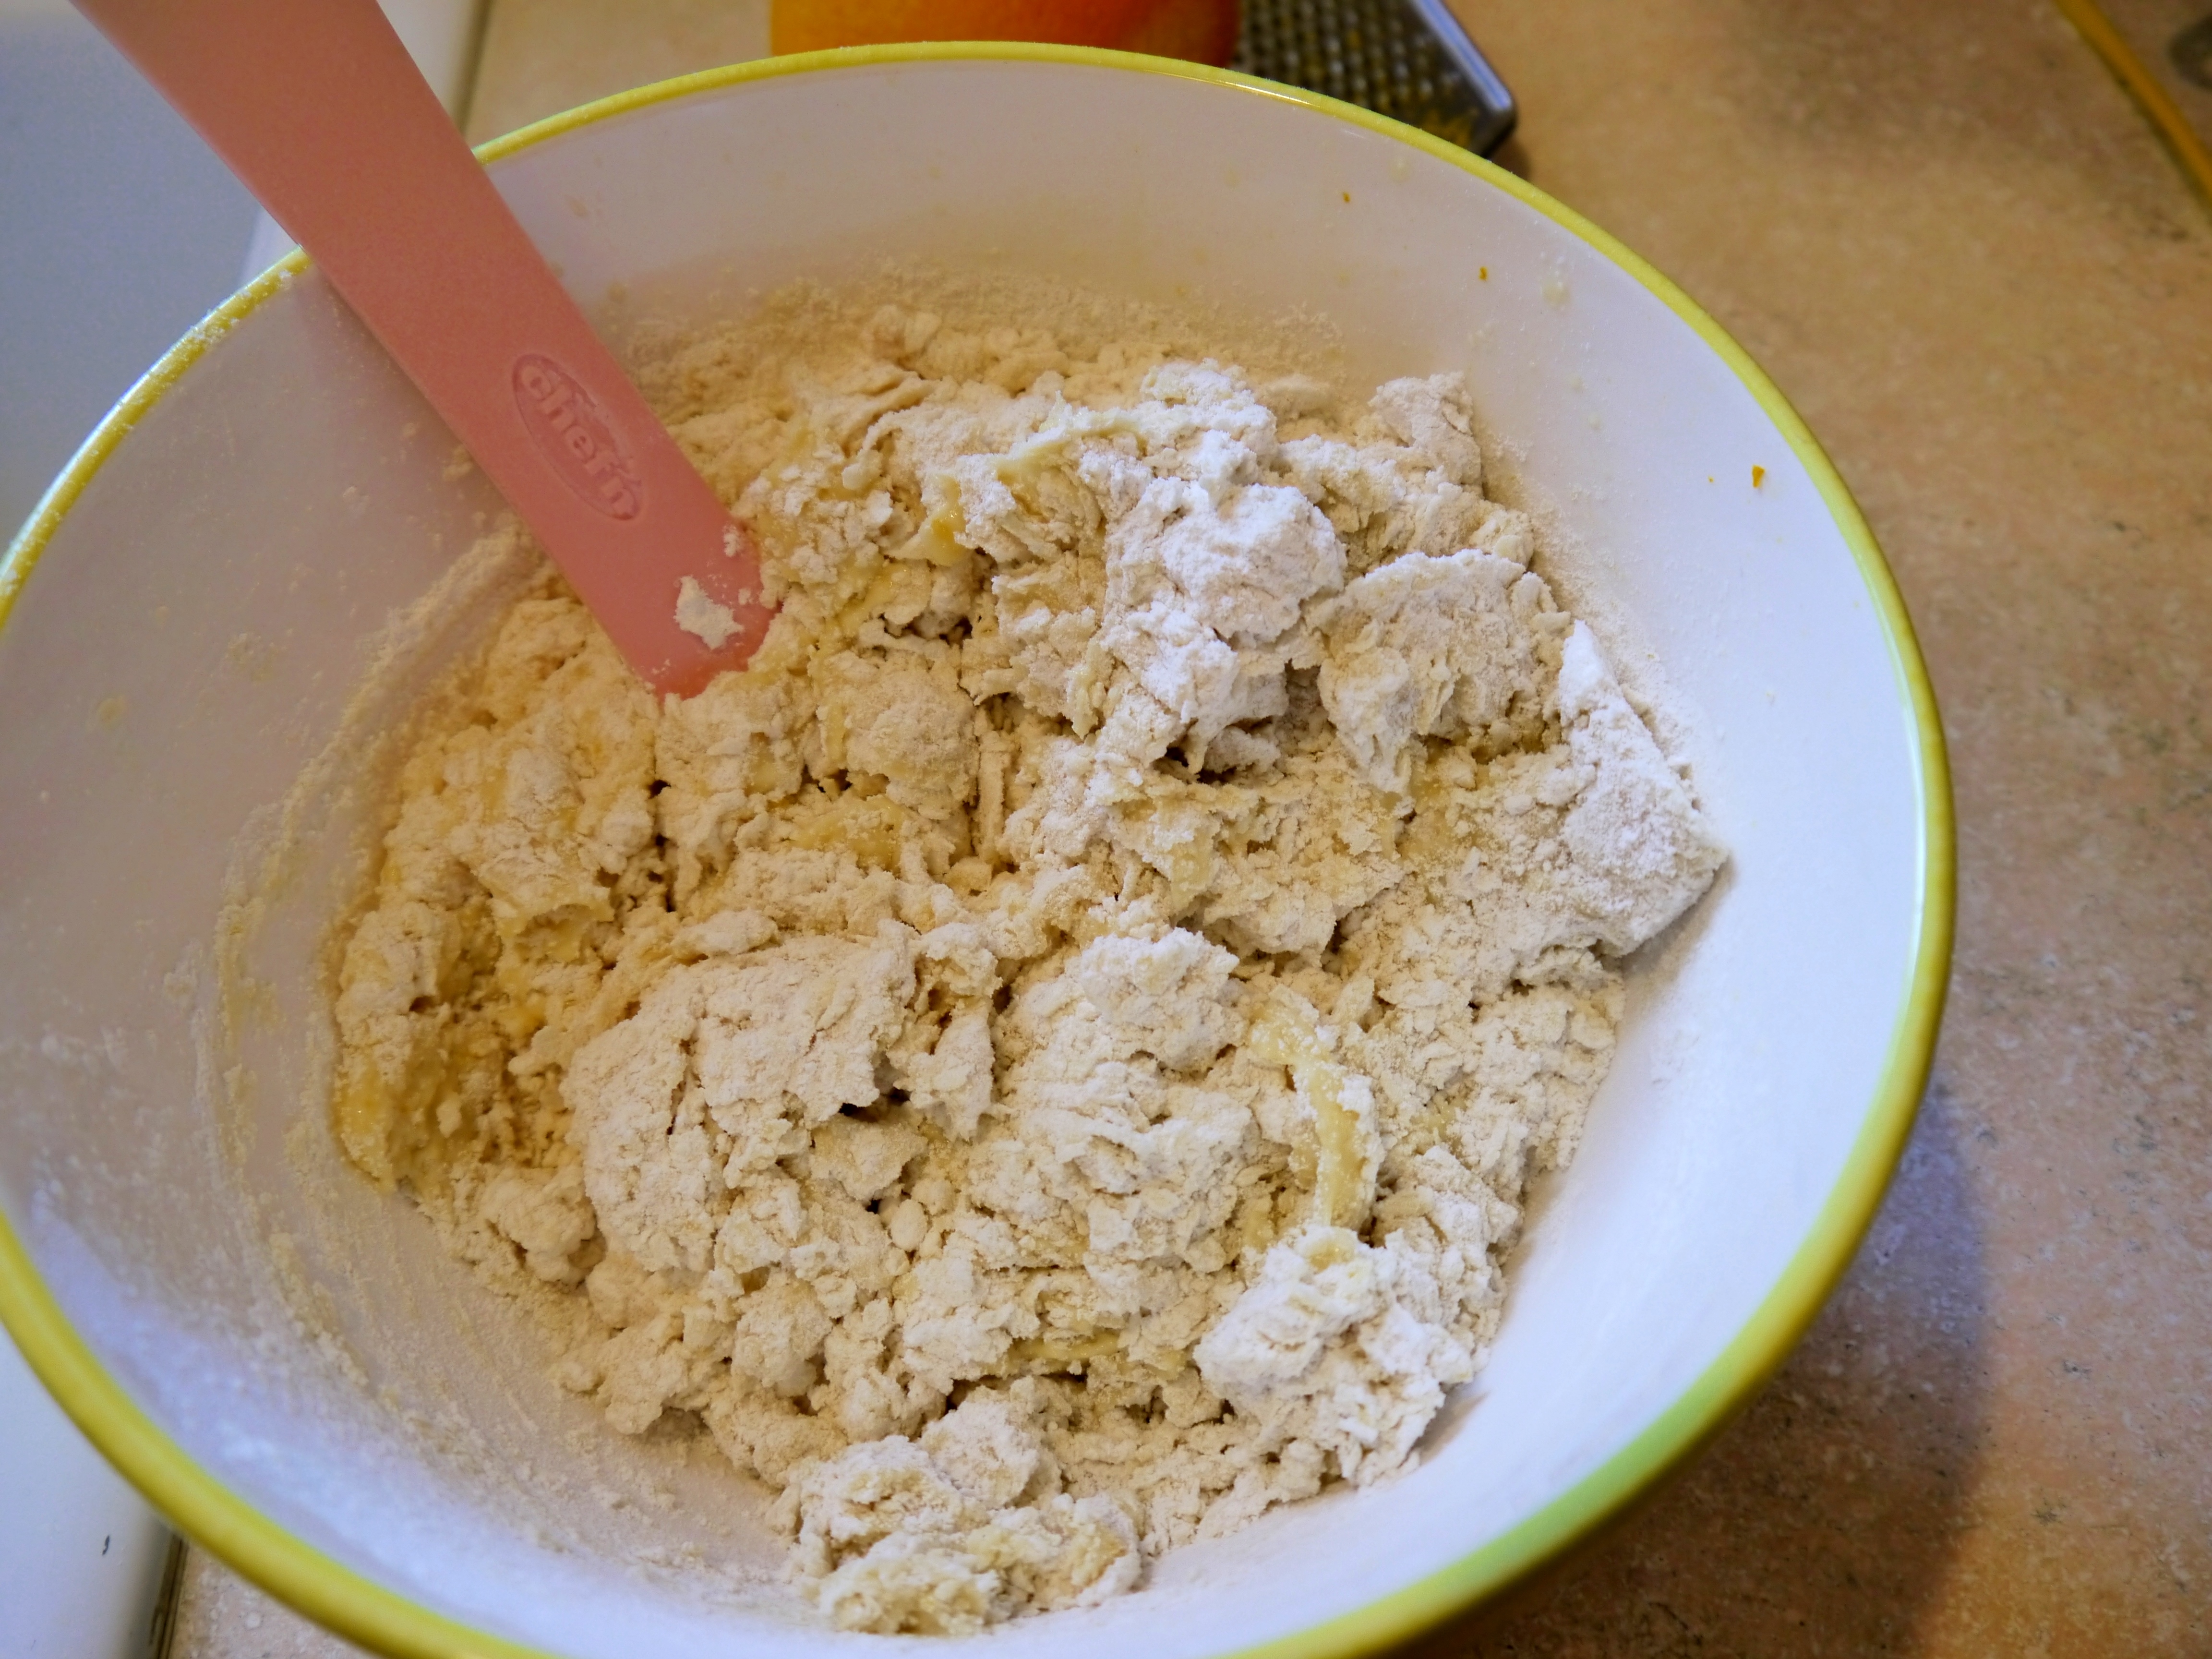
Stir in the flour, one cup at a time.  It will come together almost immediately.  It is a very soft dough.  Dump it out onto the counter and knead it JUST until smooth and combined.  If you overwork it, you might end up with tough cinnamon rolls.

P1030111     P1030112

Transfer the ball of kneaded dough into a greased bowl.  Cover it and leave it to rise for around an hour or until it has doubled in size.  (When you are rising yeast doughs, it needs to be around 85 degrees.  It was an overcast day so it took mine about 90 minutes to rise to the desired size.  If it’s very chilly in the house, you can always set the bowl on top of a heating pad.  Works like a charm.)

P1030113

While the dough is rising, you can prepare the filling.  Mix the brown sugar and cinnamon together.  I like to add some extra orange zest into this step.  (Tip: When you are zesting citrus, ALWAYS zest it over the bowl it will end up in.  While you are zesting, all the oils from the fruit spray everywhere.  You want those… that is where the flavor is.  Let them go into the bowl.  You can even see the oil on the side of the bowl I zested the orange into here.  Don’t waste it.)

P1030117    P1030119

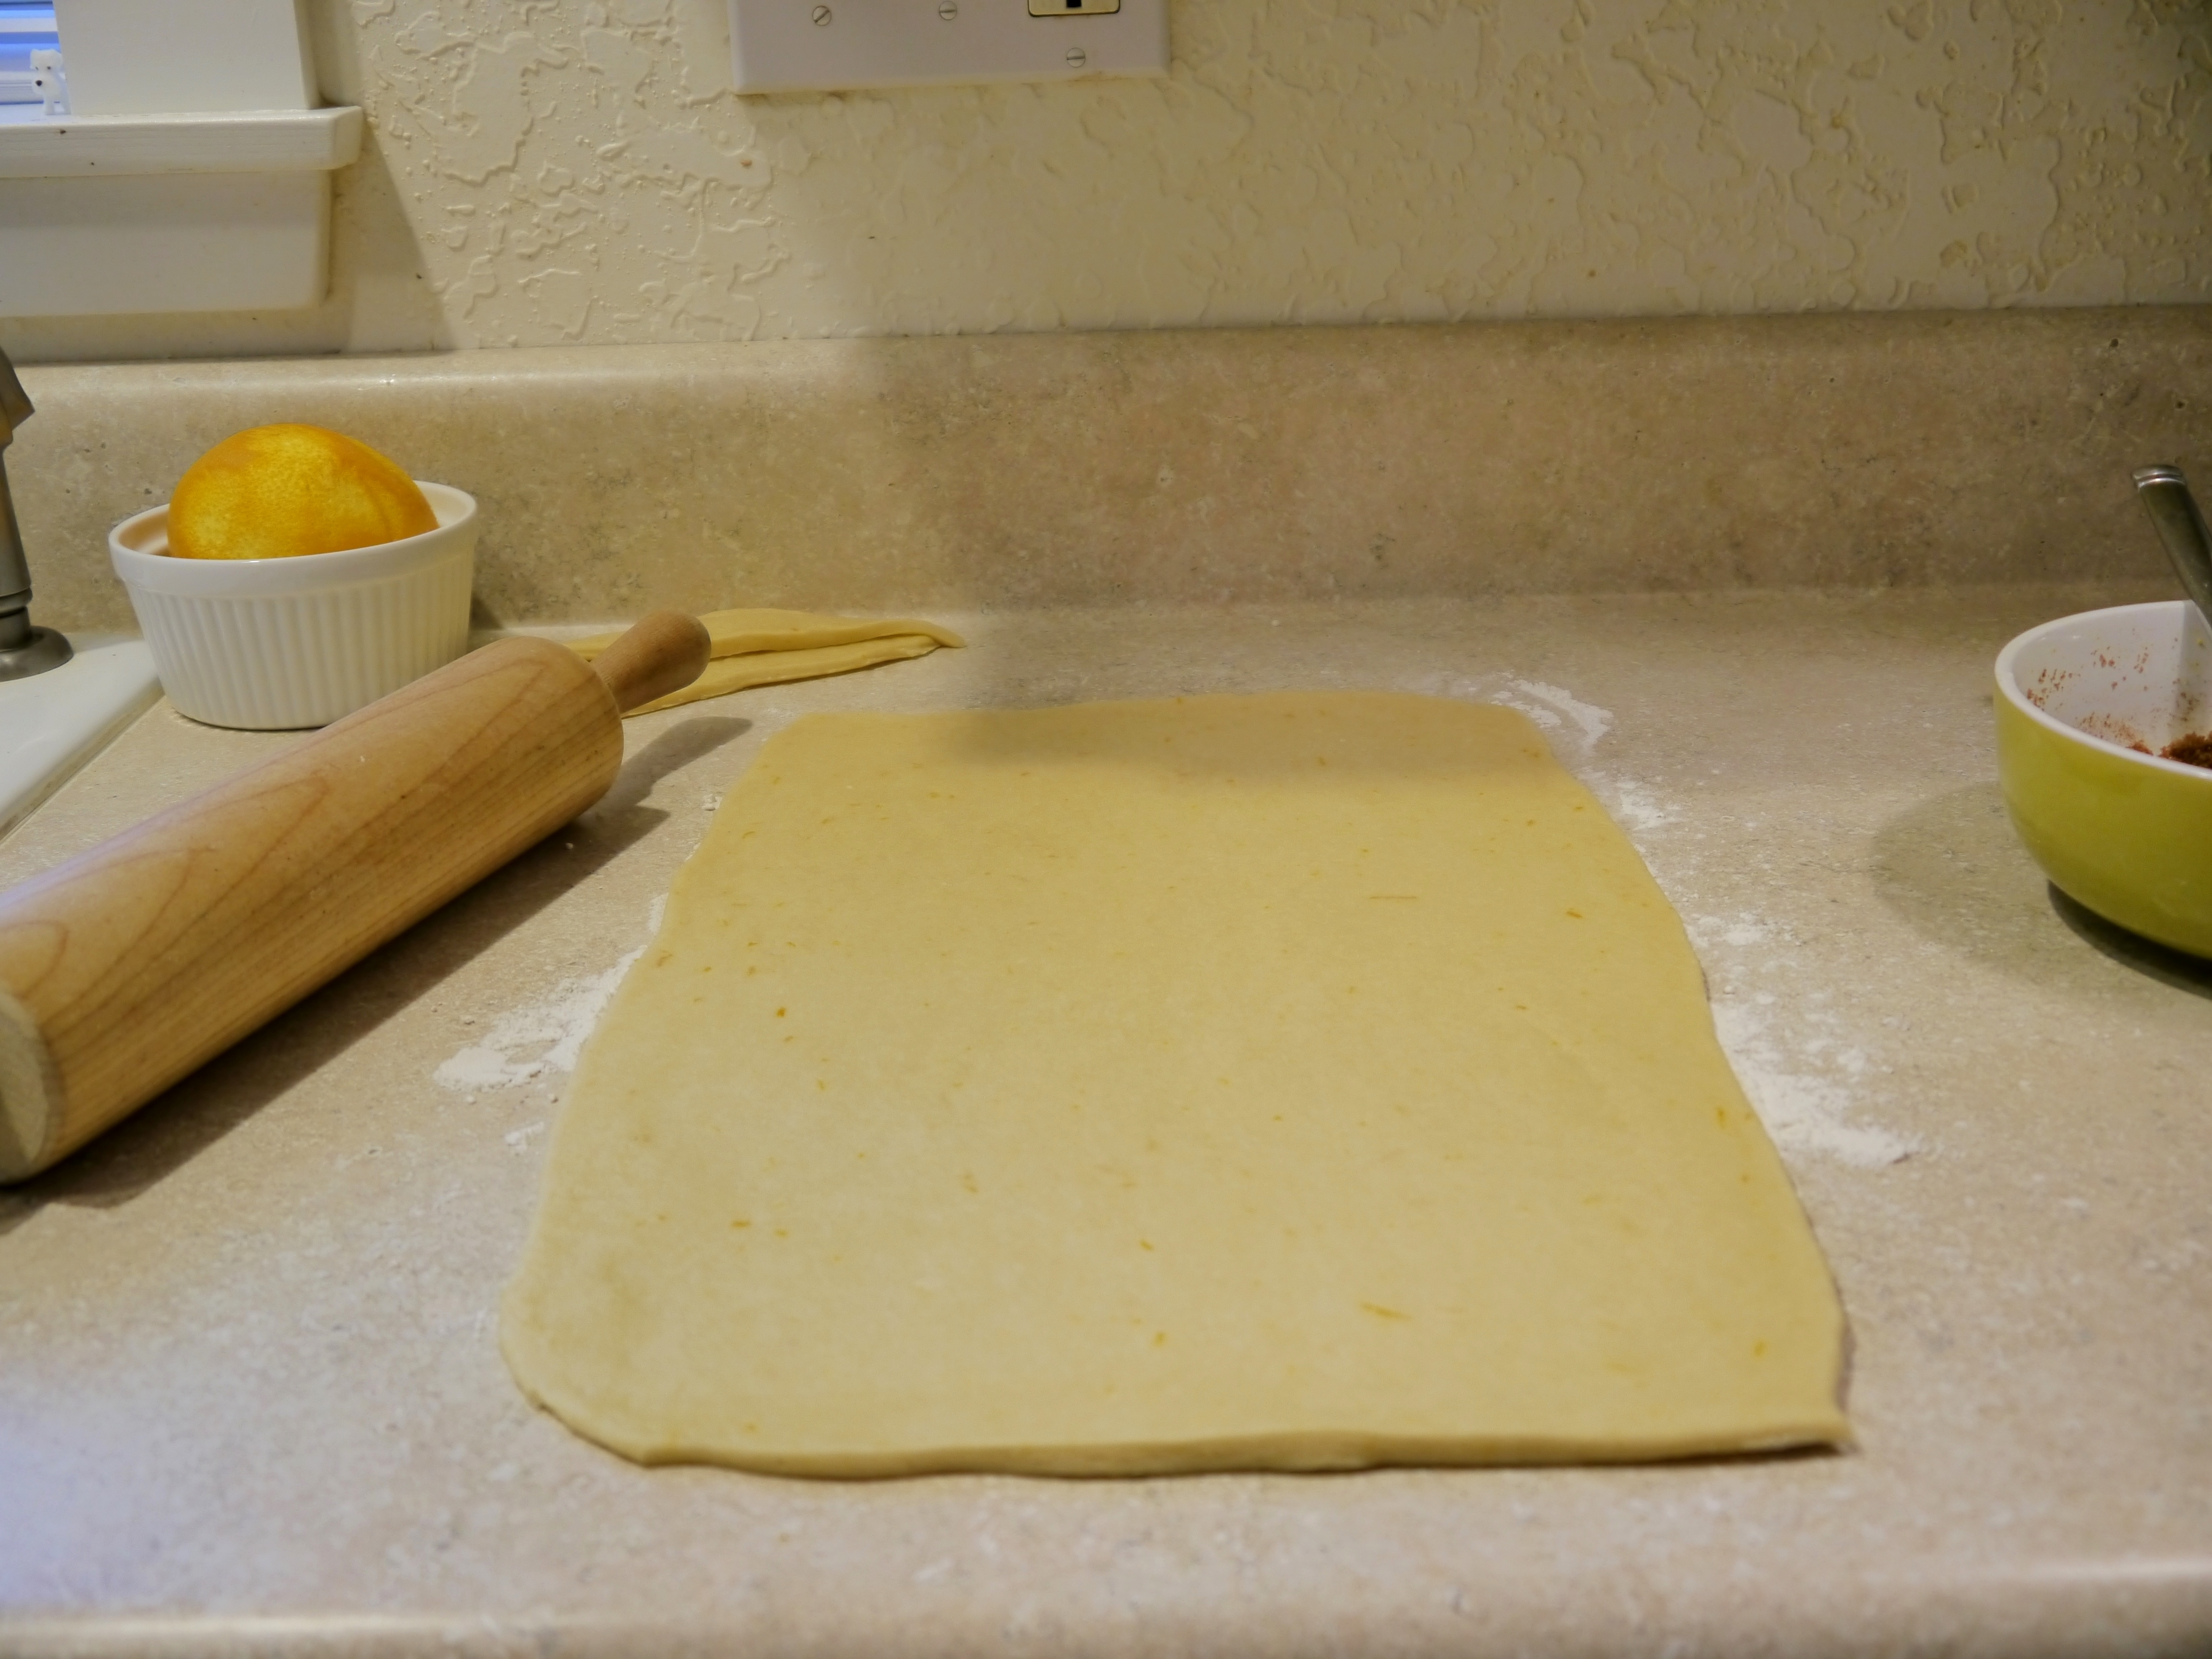
Back to the dough… this is what it looked like after 90 minutes of rise time.

P1030123

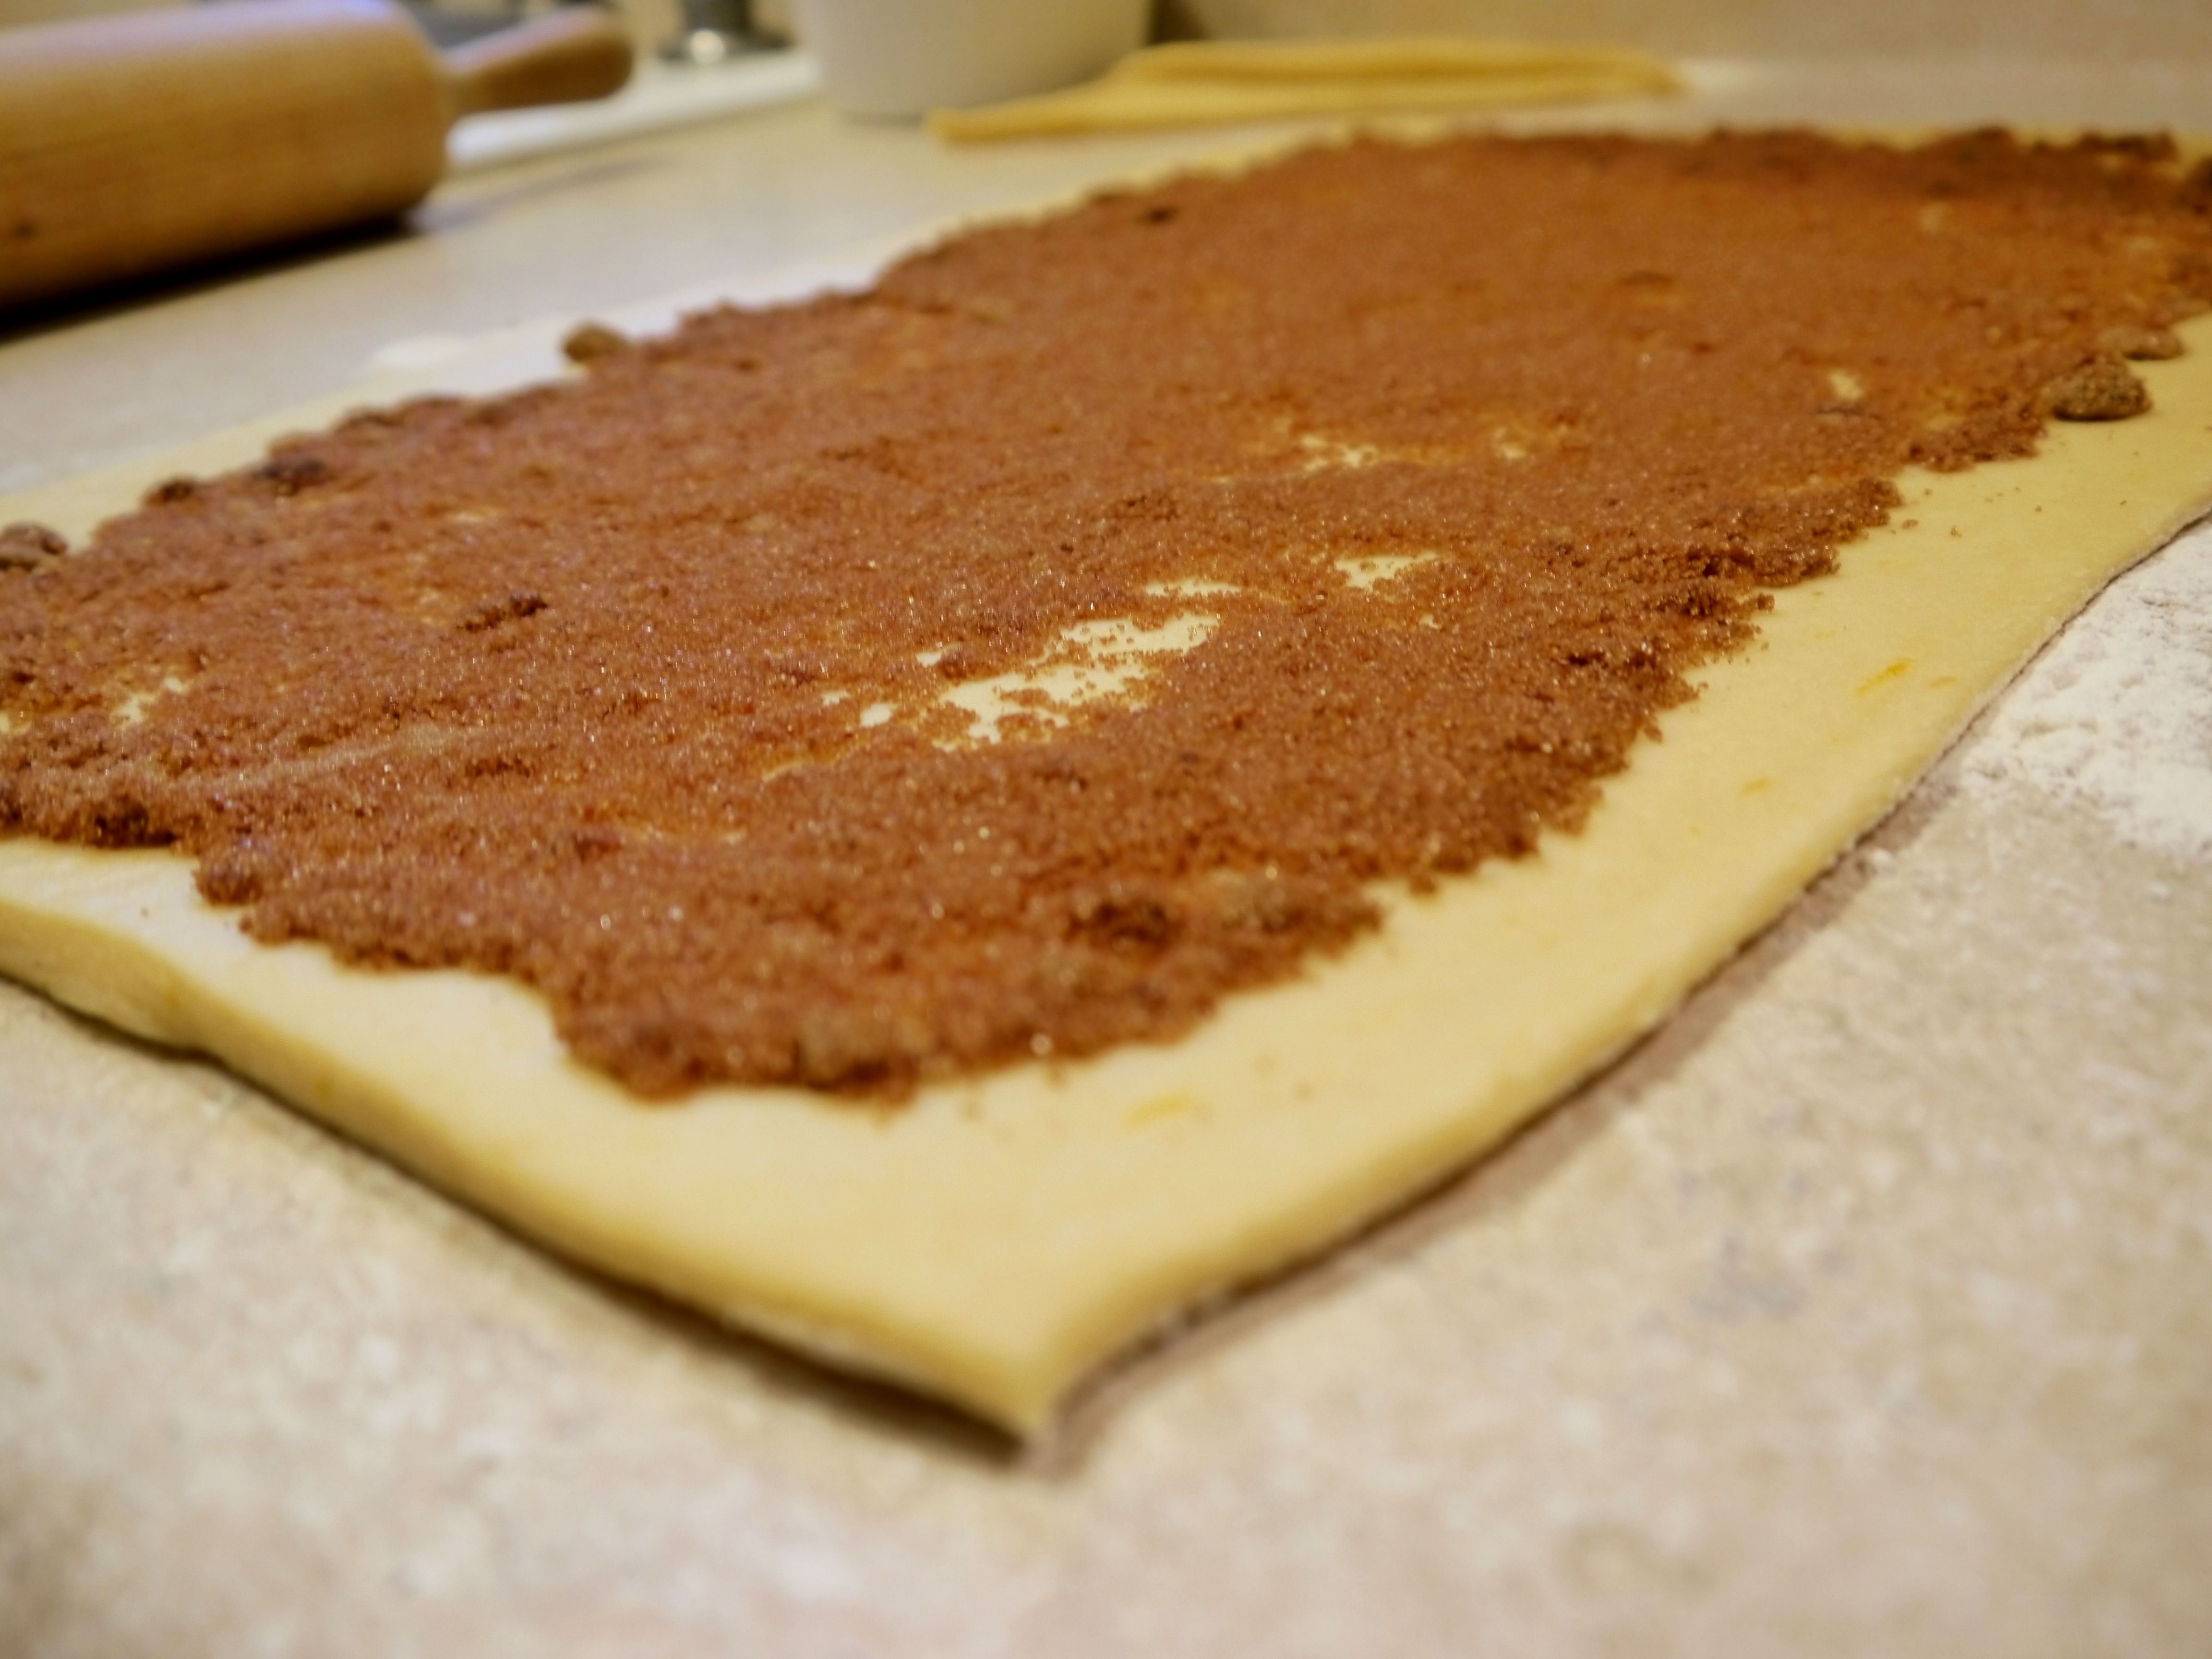
Roll it out into a rectangle.  10″ x 20″ is a good goal.  I had to trim a little off the short ends of my rectangle to get it into a more “square” shape.  Spread the filling over the dough, leaving a border of around 1/2″ on the long sides so you can get a good seal when you roll it up.

P1030124     P1030129

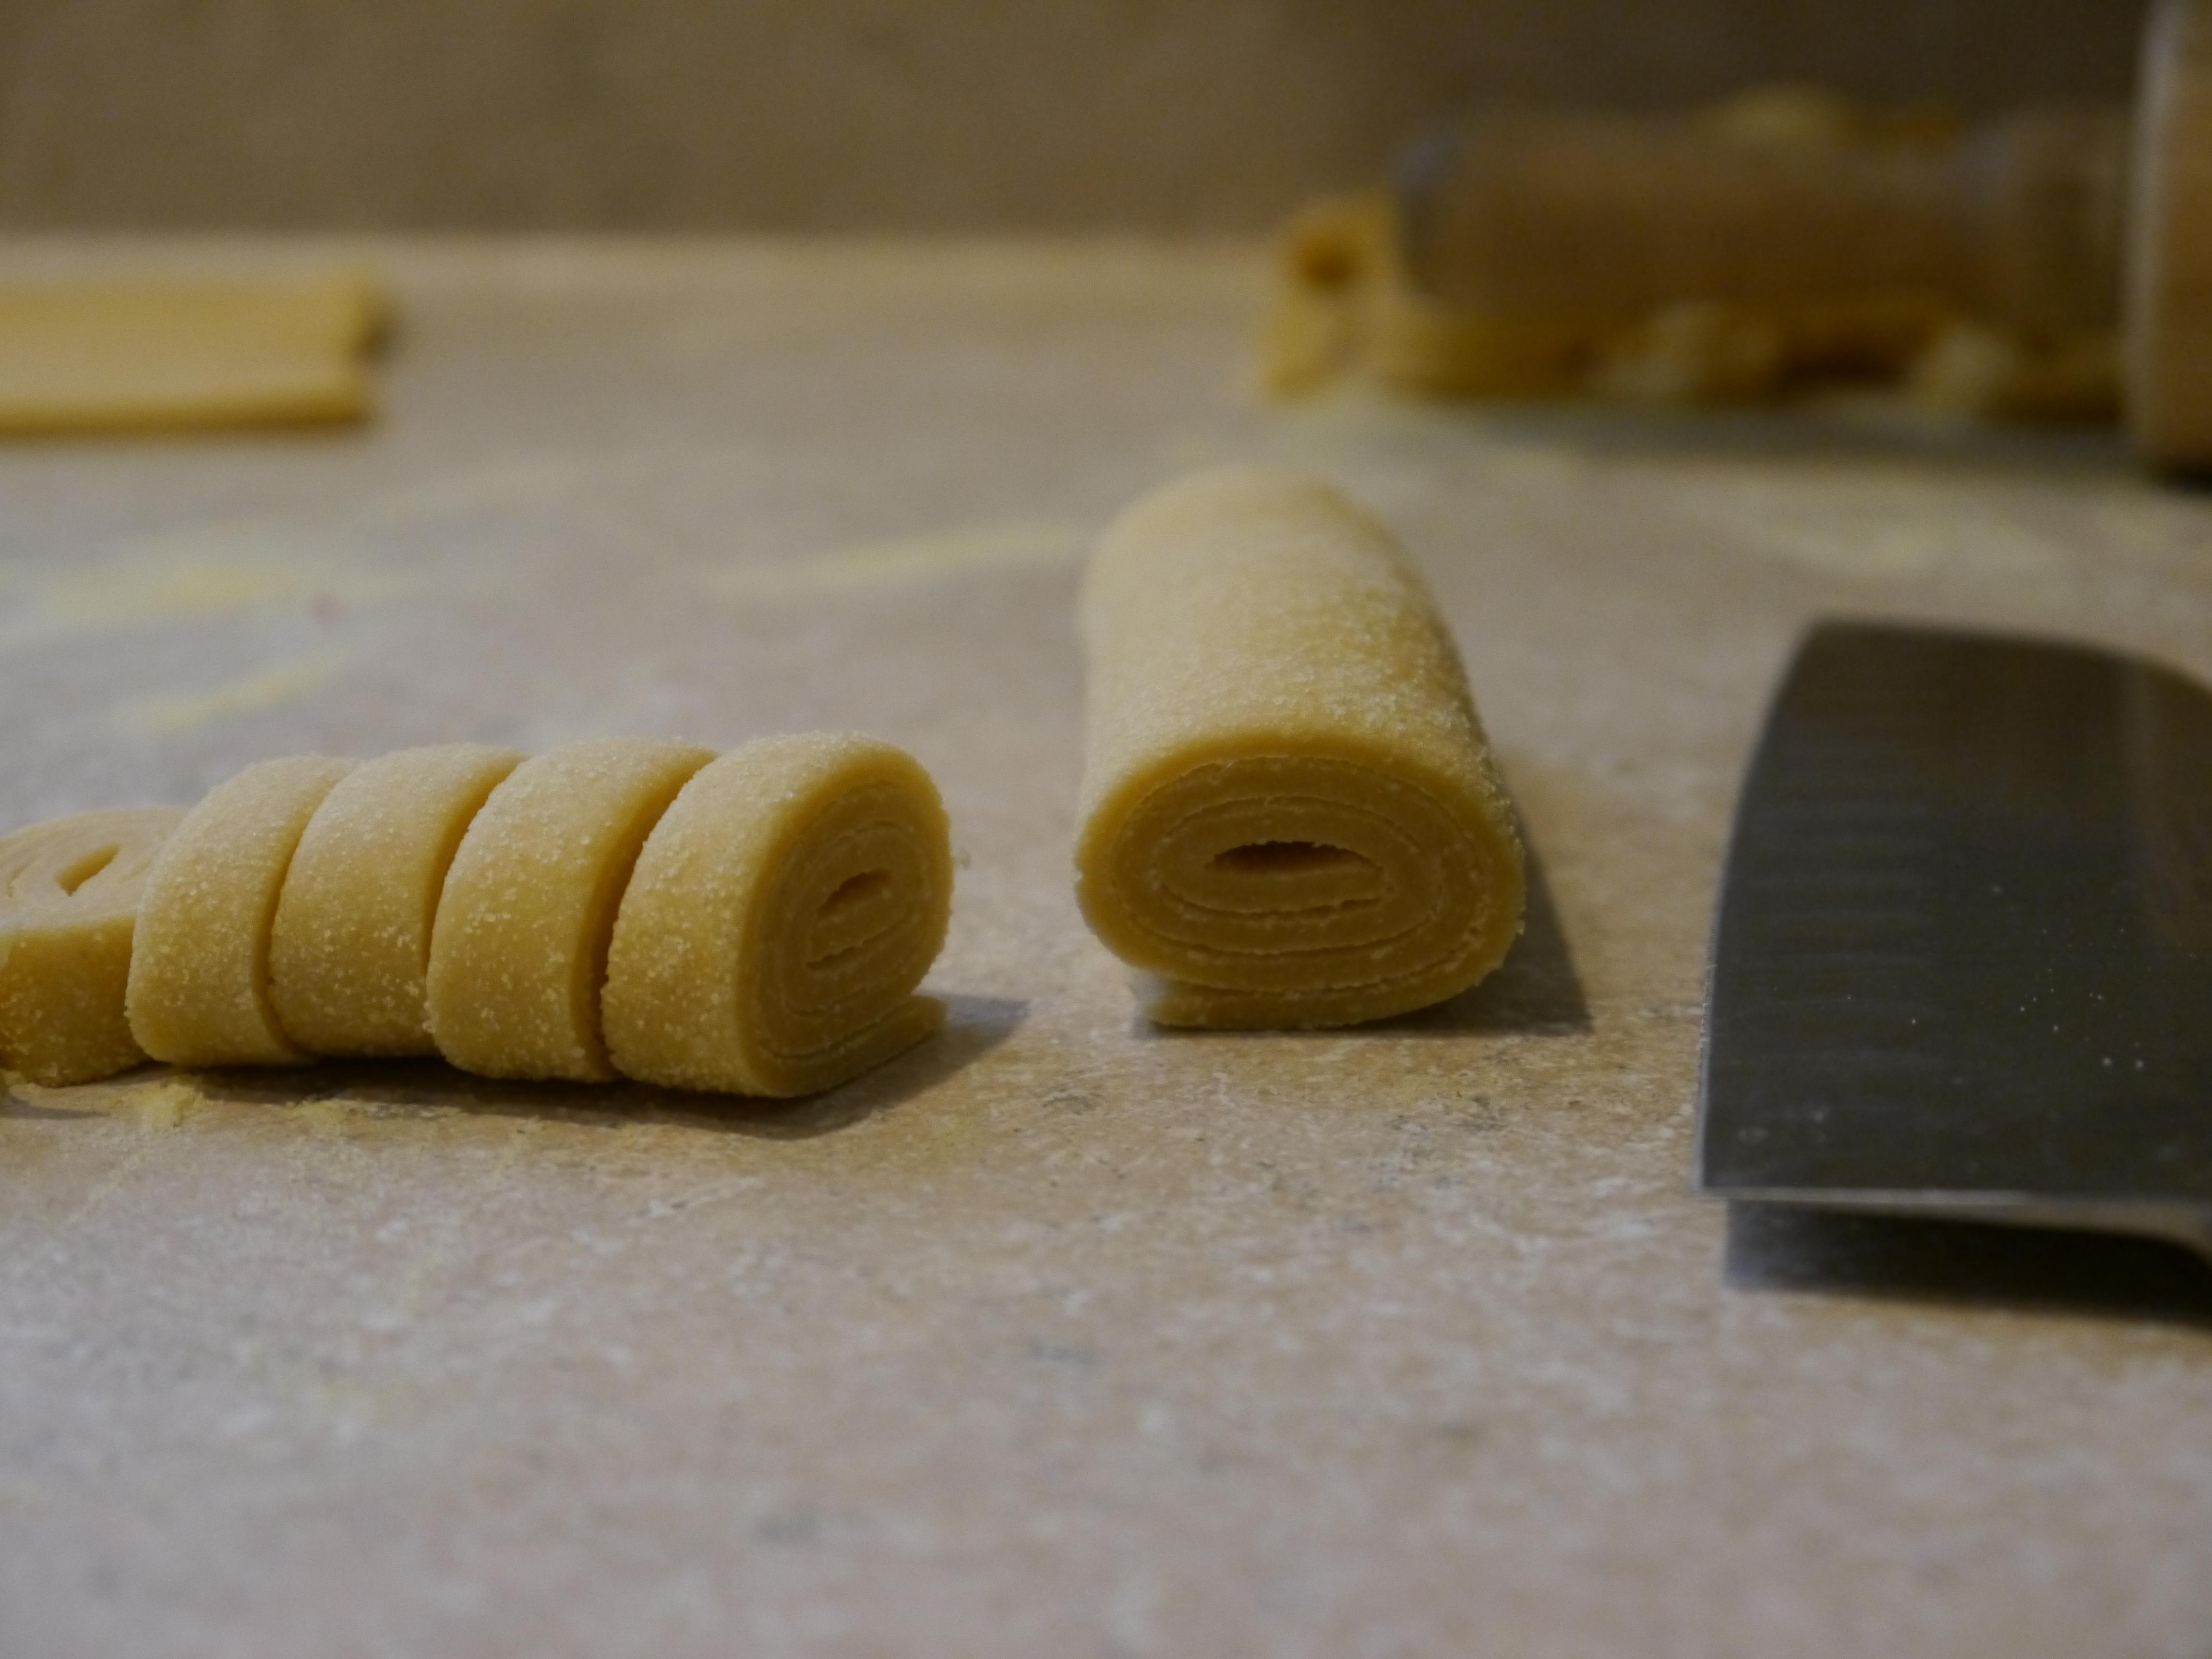
Roll it up, starting on one of the long sides.  Go slow and be careful with this step.

P1030130

The biggest chance for failure here is in the cutting of this roll.  You need to cut this roll into twelve slices.  The easiest way to accomplish this without squishing the slices is with thin string of some sort.  I know a lot of people who use dental floss for this (everyone has it in their house).  I like to use fishing line (shocking, I know) or plastic embroidery thread.  Just mark on the roll where you want to slice and simply slip the string under the roll at the desired spot, tie a simple knot (like in the first step of tying your shoes), and pull.  No squishing.  Perfect every time.

P1030148  P1030135

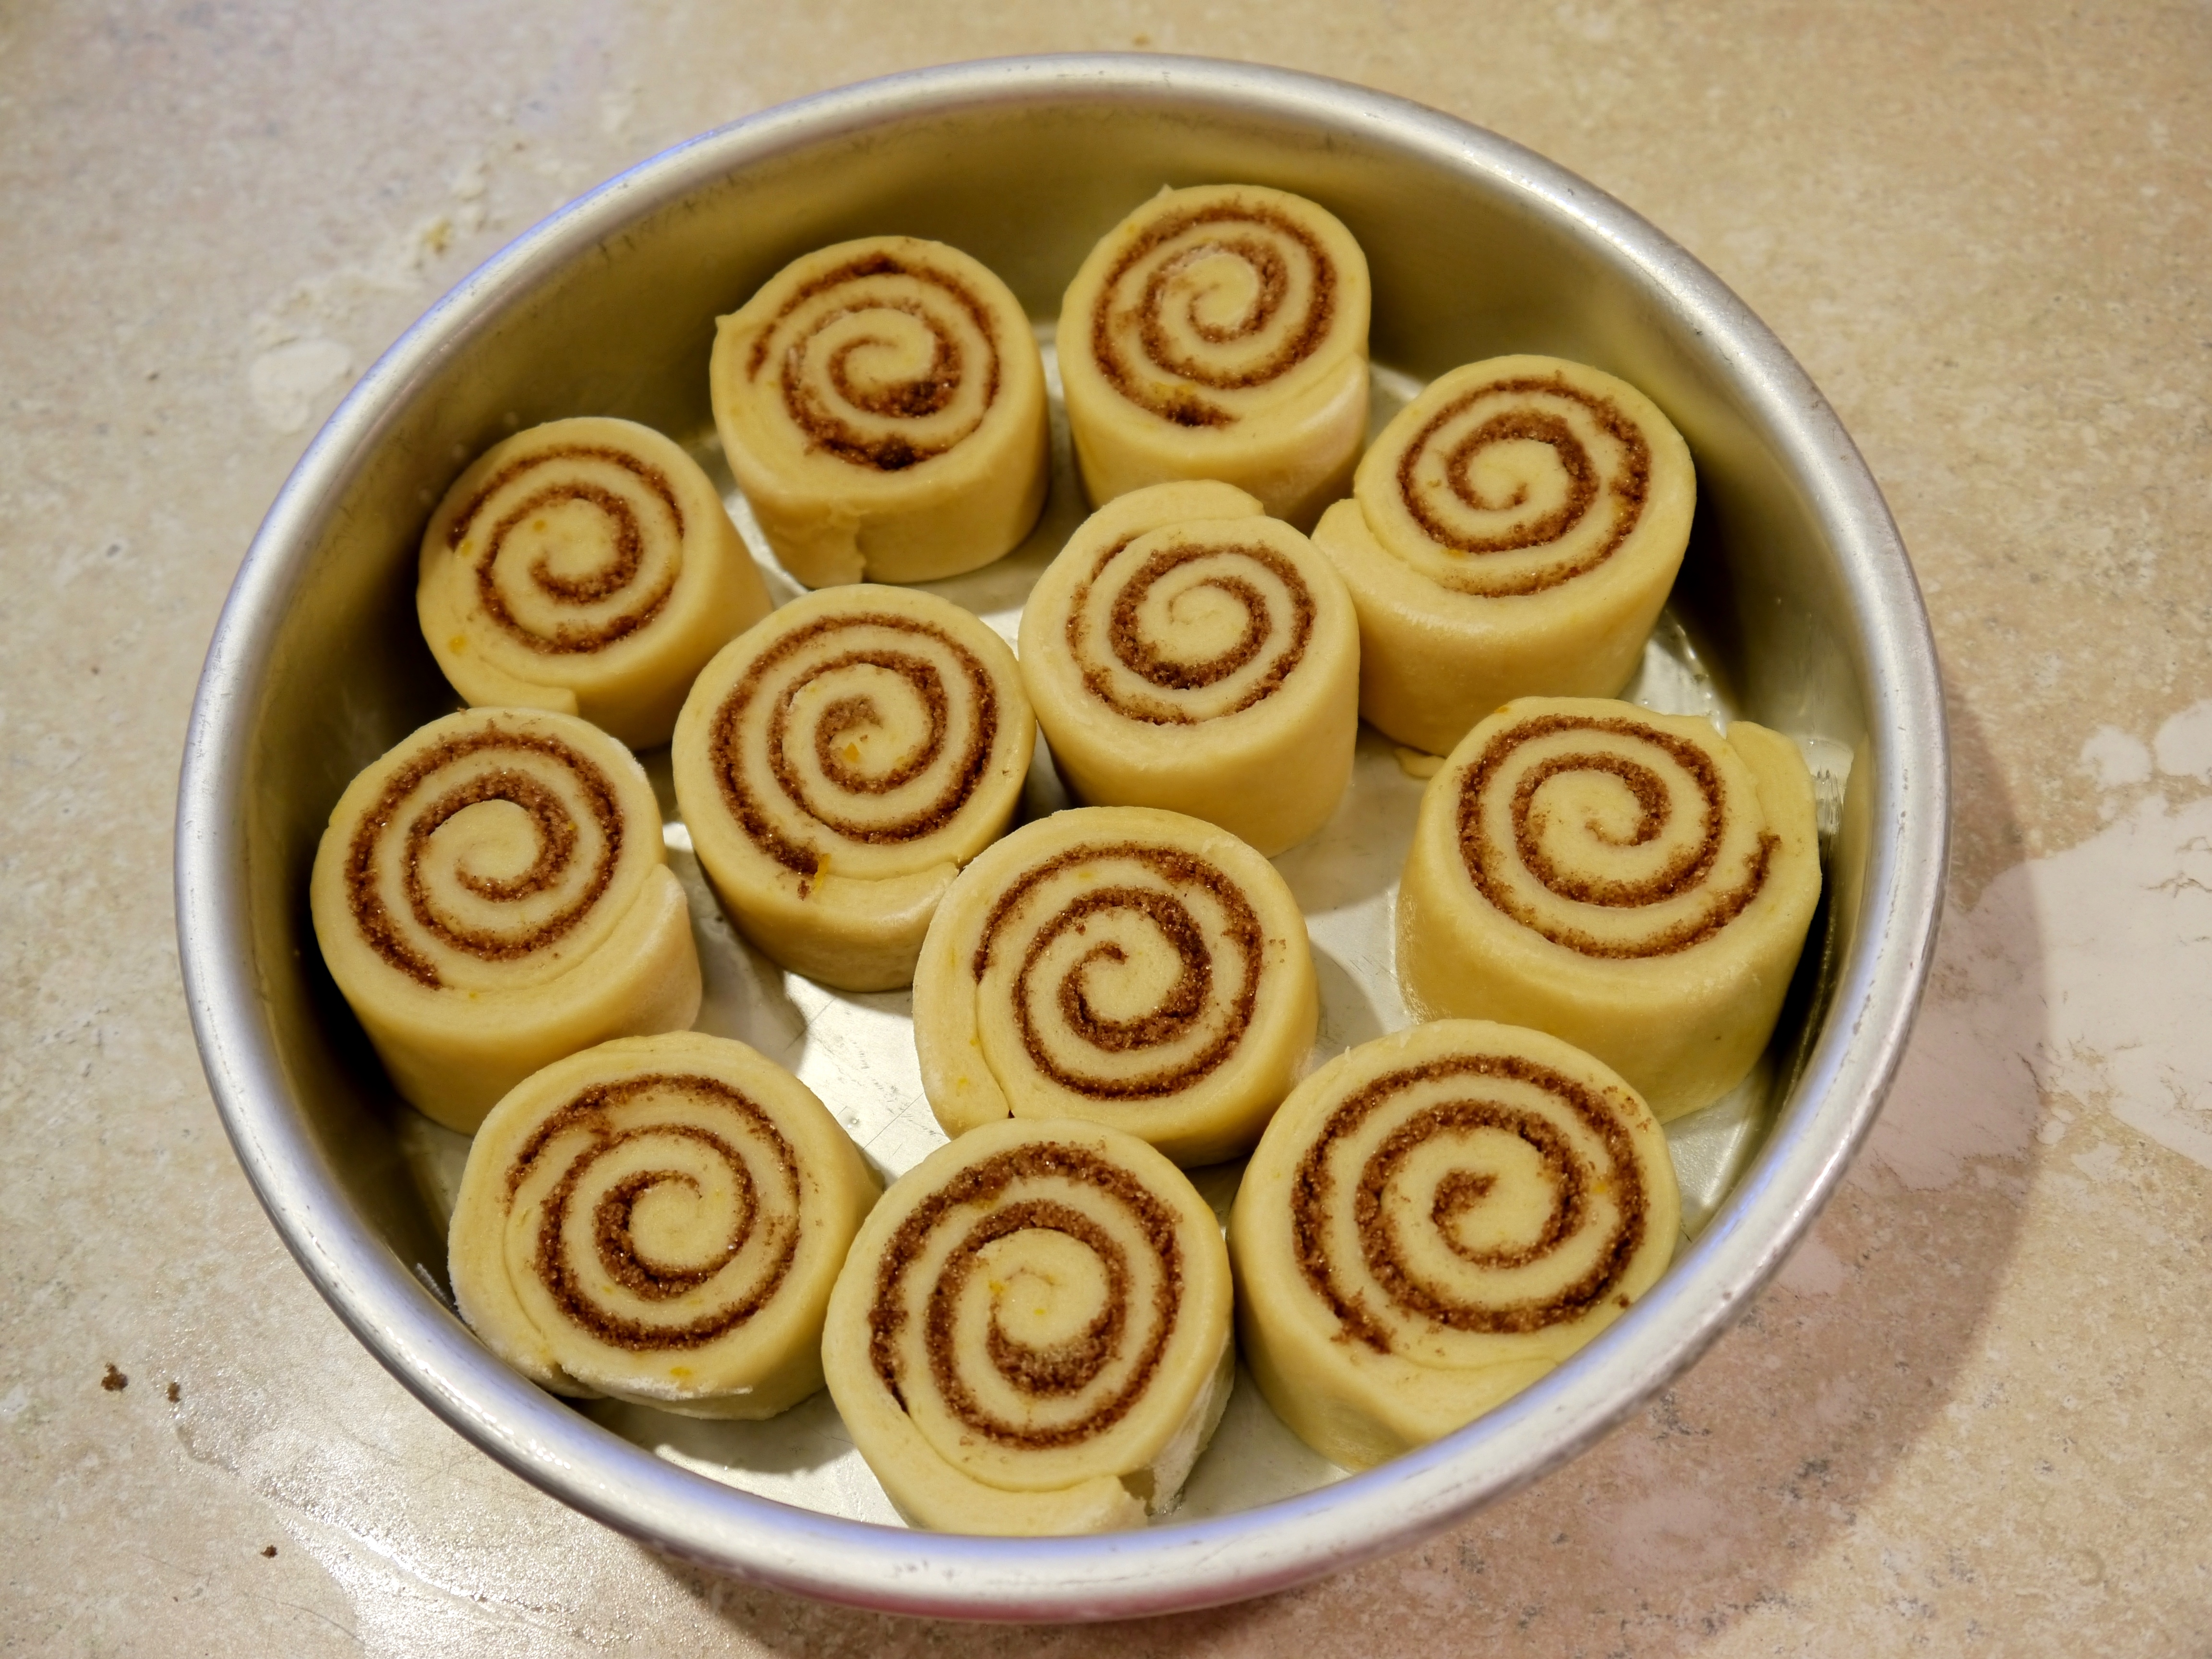
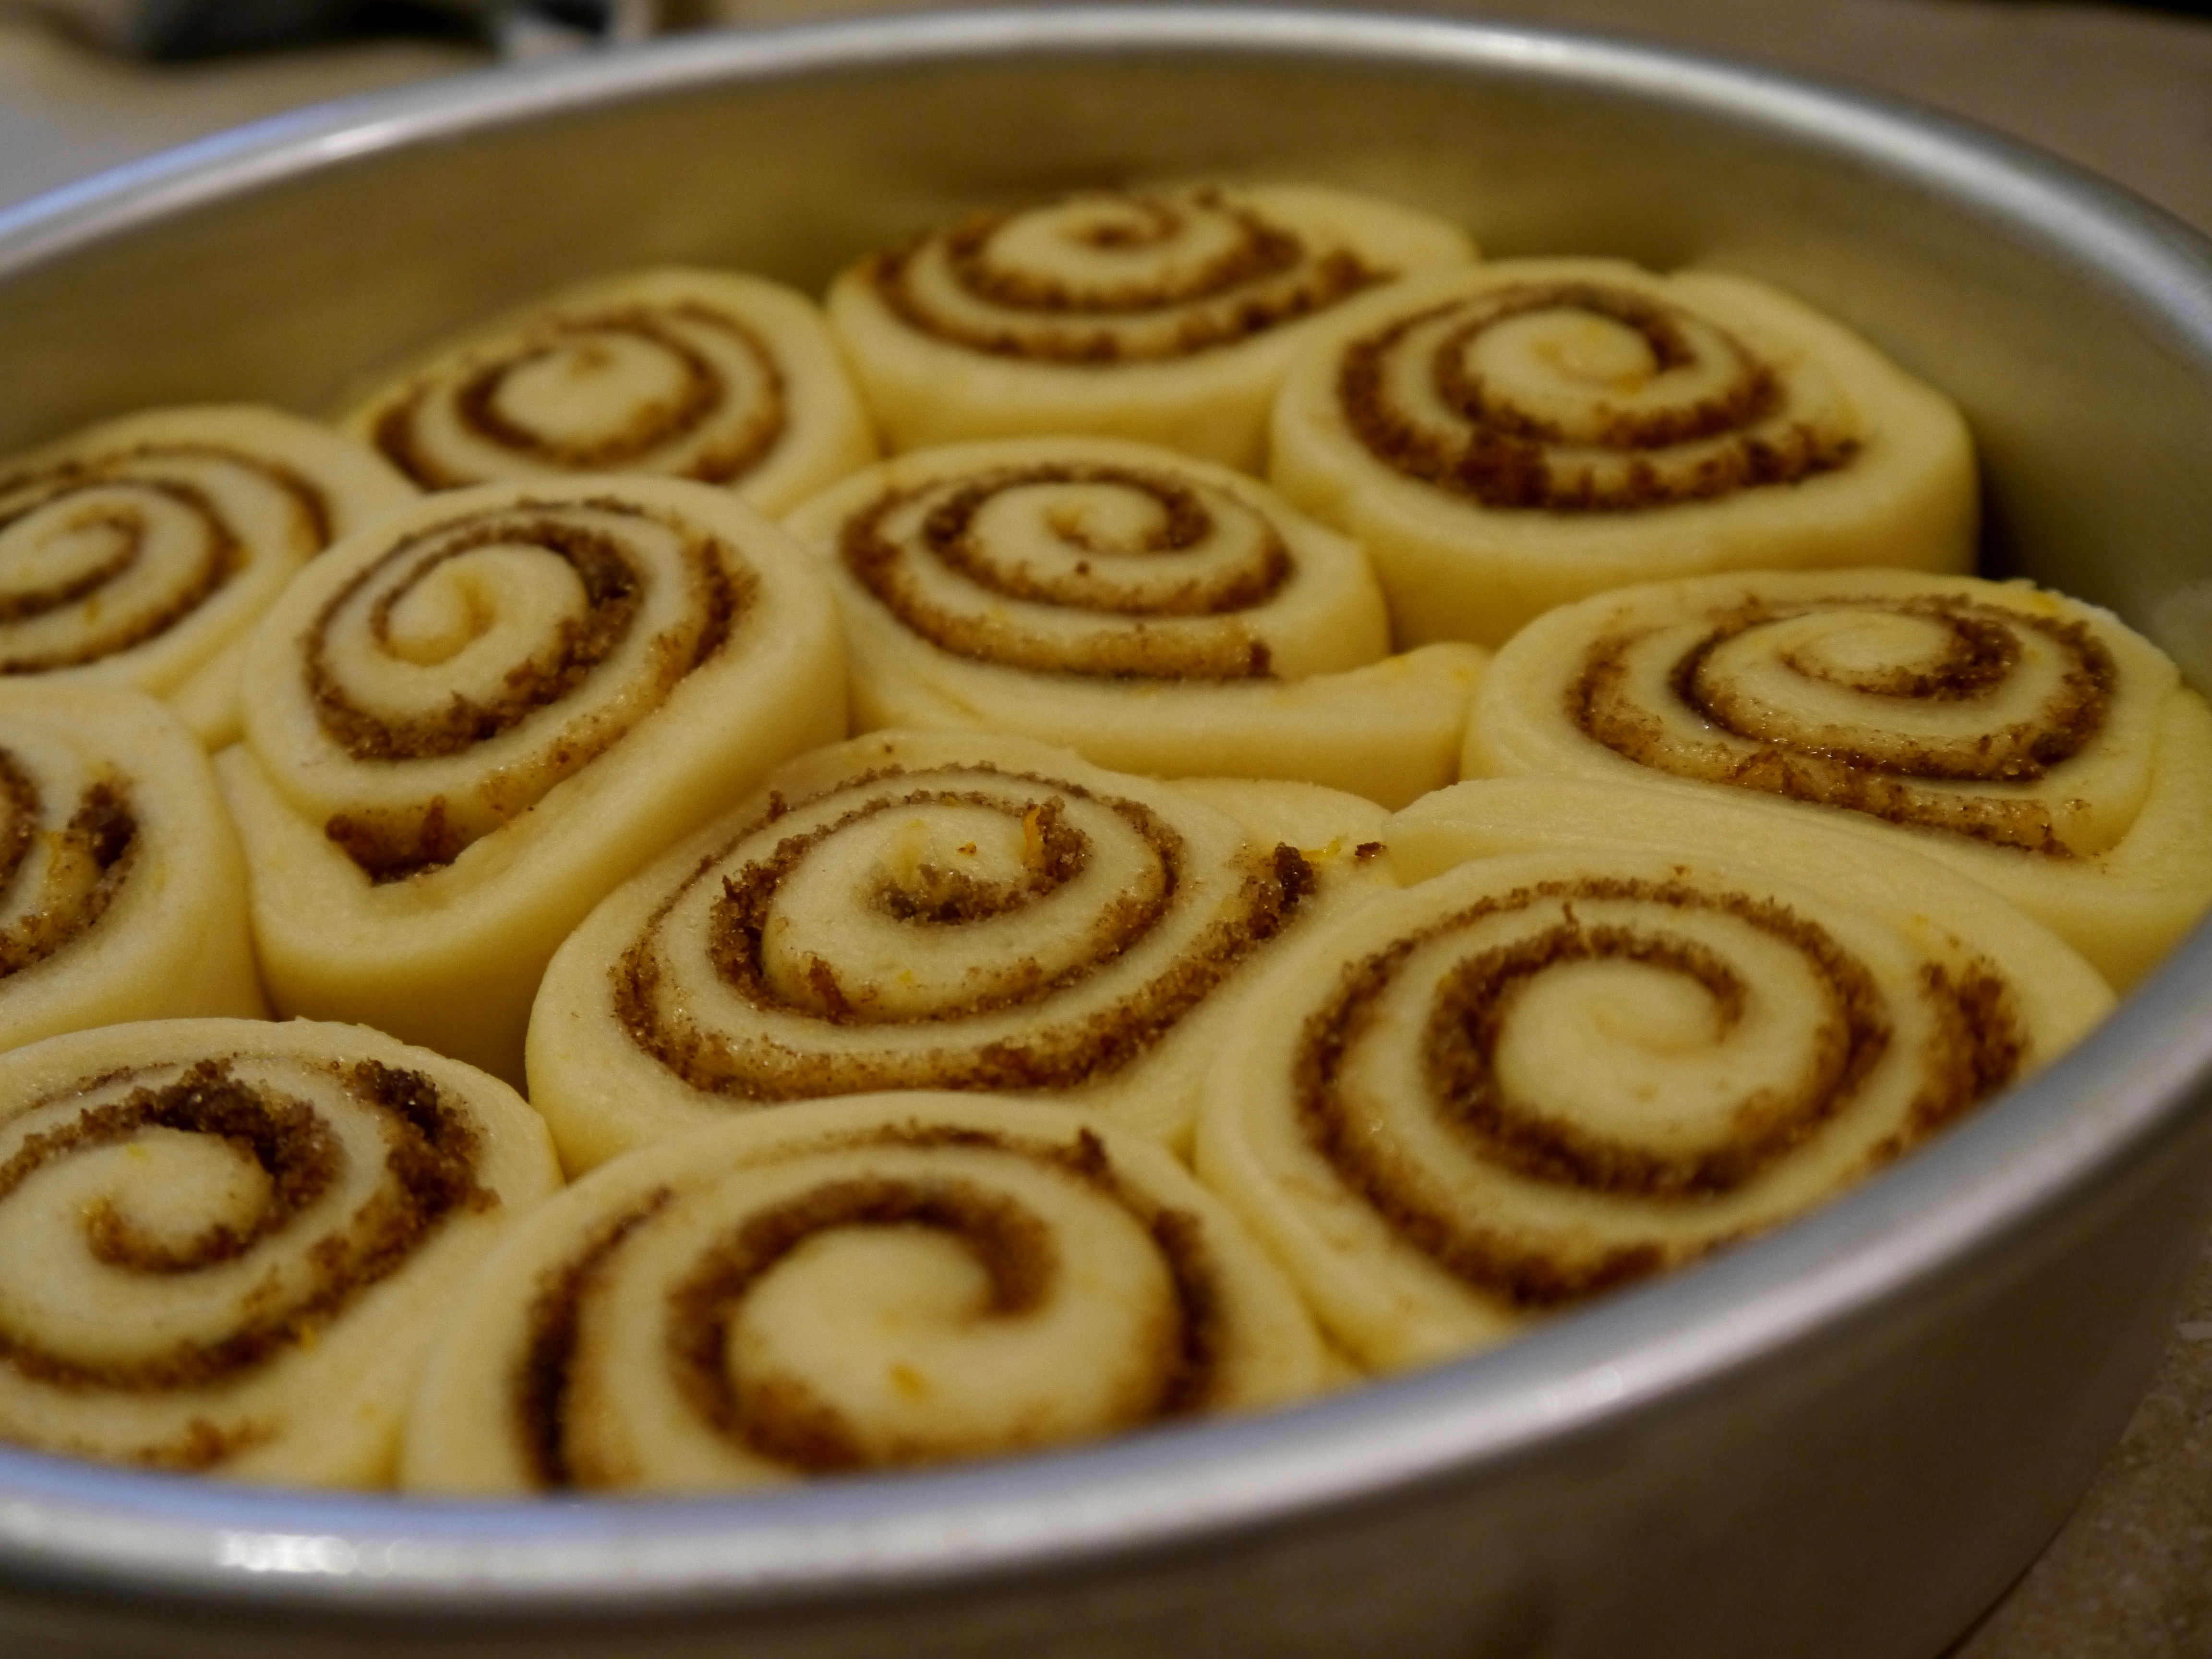
Put your slices into a greased round pan.  (I used a 9″ pan here.)  Leave some room around each one because you are going to let them rise again and they will get big this time!  Cover the pan and let them rise for about 30 minutes or until they are all touching each other.

P1030136   P1030139

This is what my pan looked like after the second rise.  This took about 40 minutes.  Nice and cozy.  (Now, if you wanted to make these the night before and bake them the next morning, you would cover them and put them in the refrigerator after this second rise.  In the morning, take them out and let them sit on the counter for around an hour before baking them.  They need to be at room temperature when you put them in the oven.)

P1030149   P1030151

Bake in a 350-degree oven for around 20 minutes.  Check them.  Mine actually baked for 22 minutes.  When all the filling looks melted and bubbly, they are done!

P1030154

They need to set for around 5 minutes before you glaze them, so mix up the glaze as soon as you take them out of the oven.  Mix your orange juice (use the orange you zested for the first part of the recipe) and powdered sugar.  I added some vanilla bean as well.  I just love seeing all those little black specks in there.

P1030144

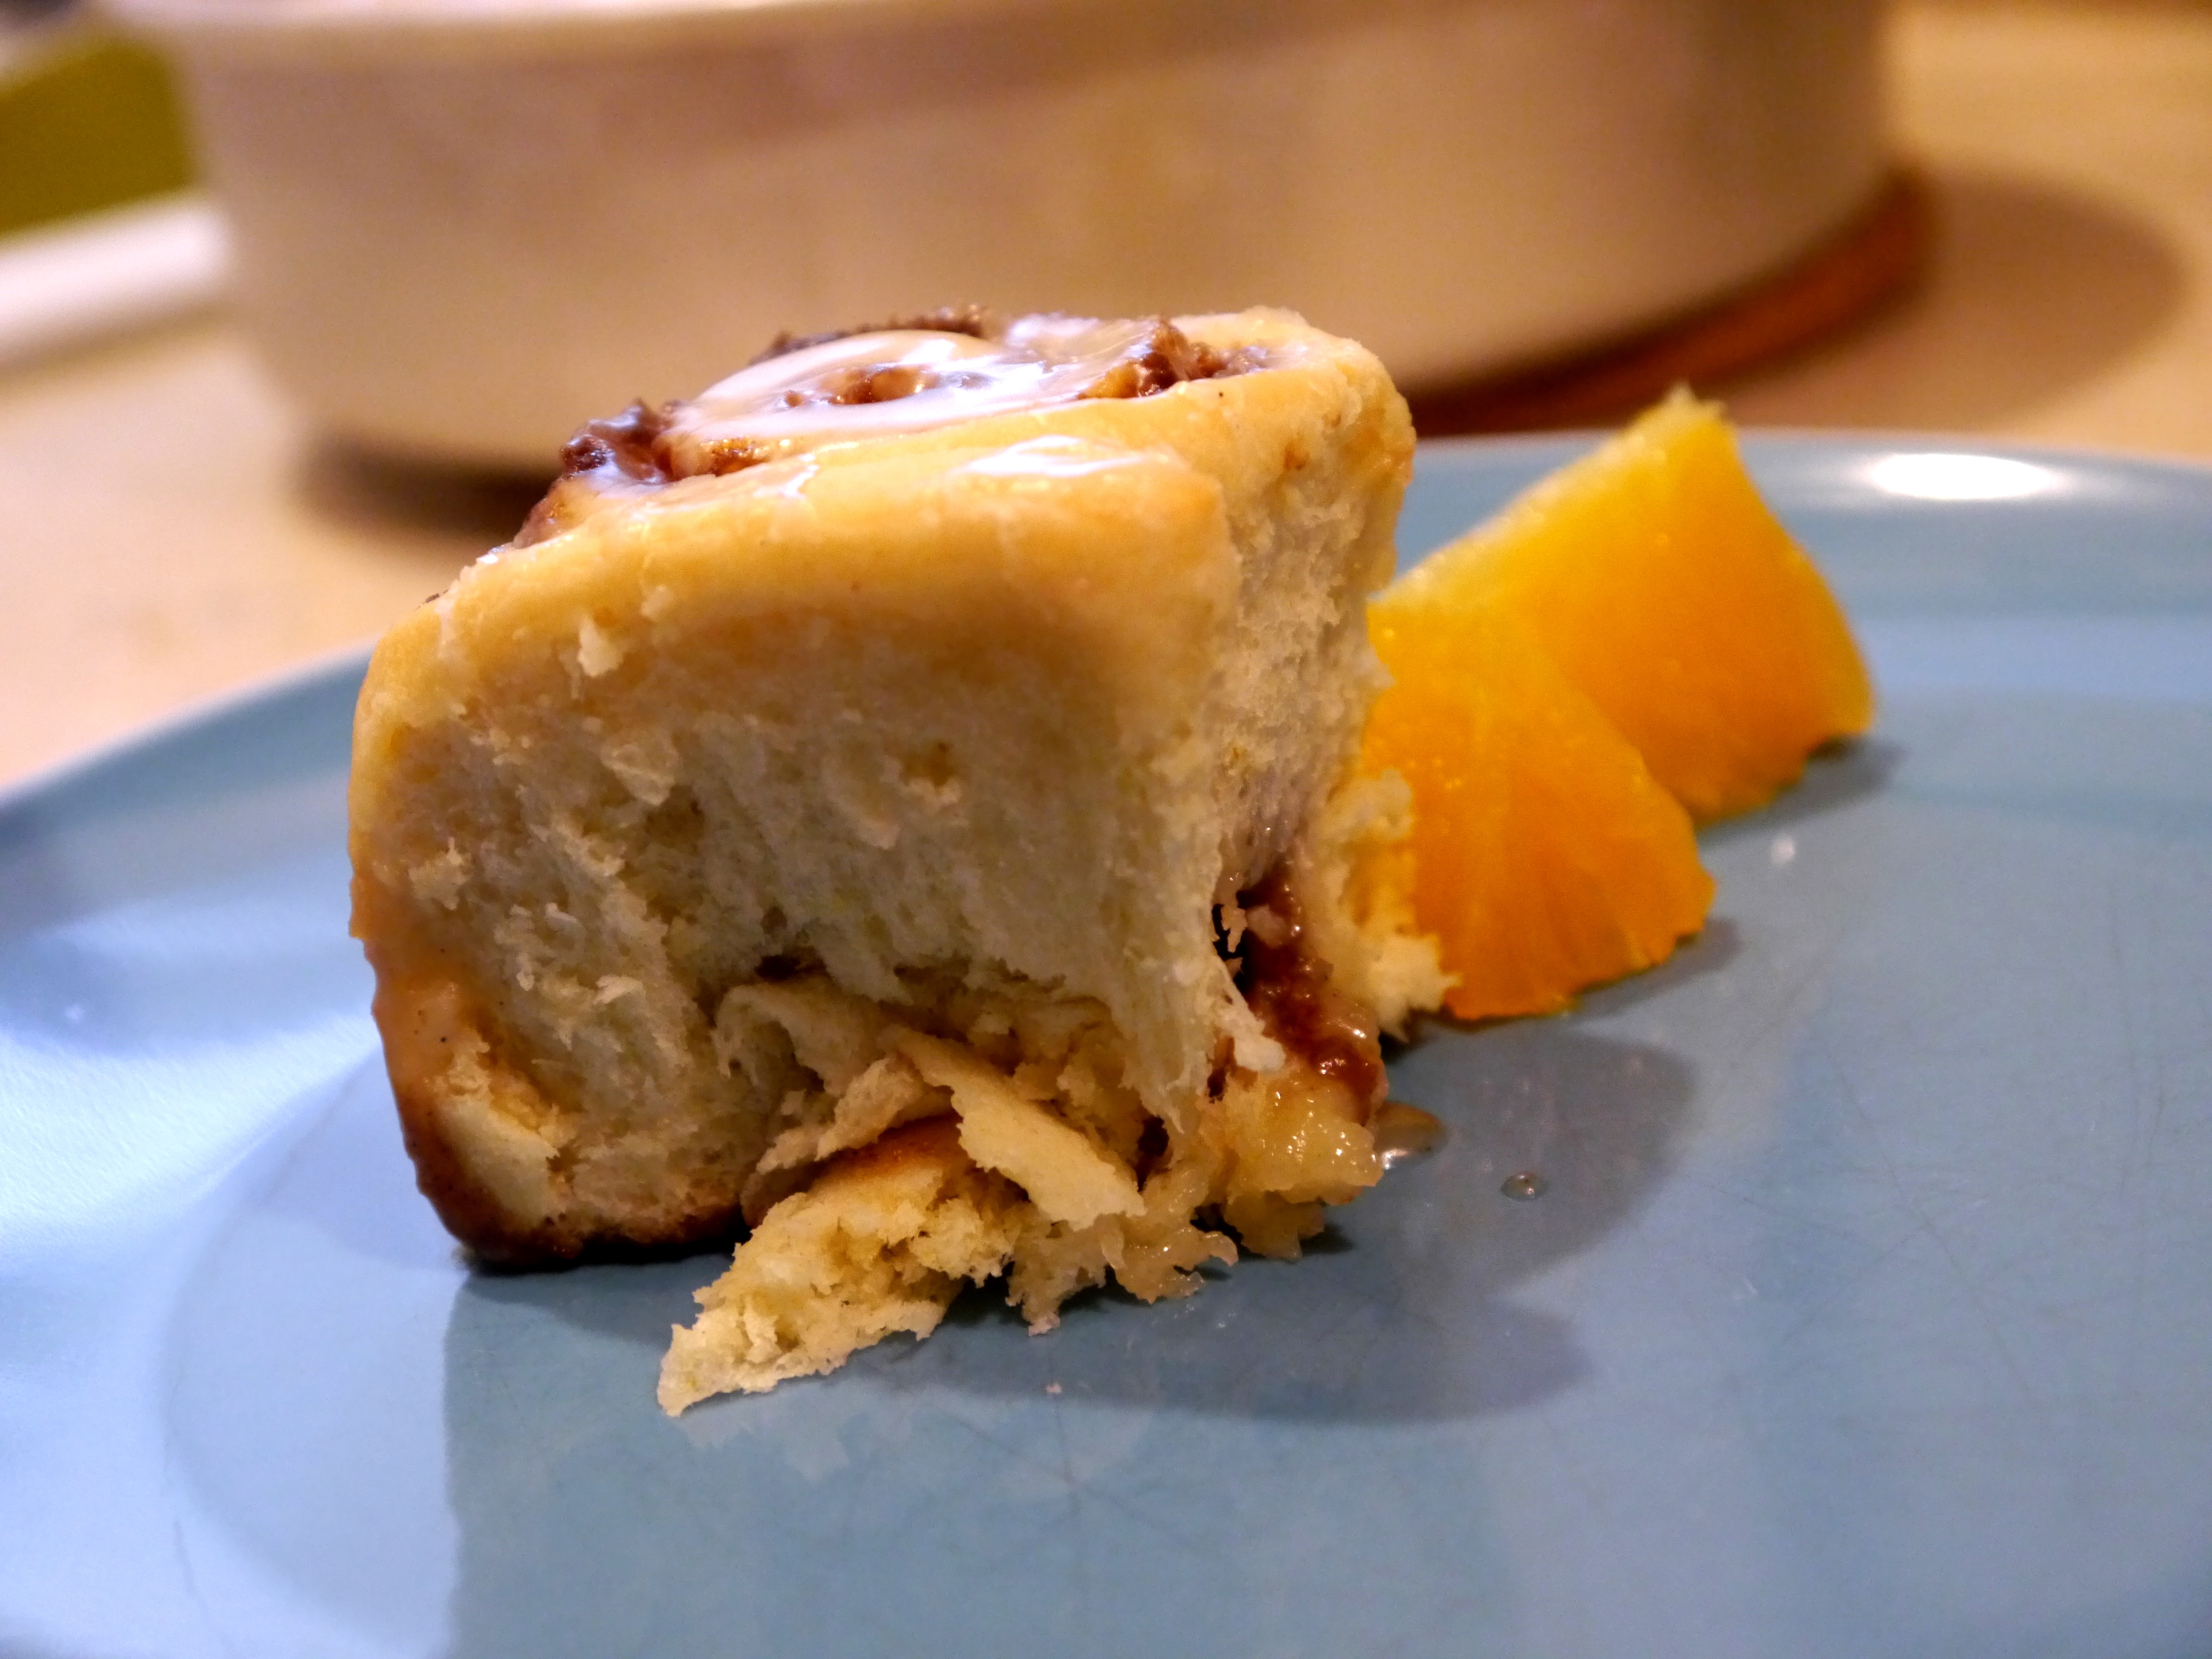
Drizzle the glaze over the hot cinnamon rolls.

P1030157

These will literally fly out of the pan.  They smell amazing.  There will not be leftovers!

P1030163


One-Pot Pasta. Too good to be true?

I keep seeing multiple versions of this recipe circulating around the internet.  I have seen it on Facebook, Pinterest, and even in the main feed of major new websites.  I glanced at it and immediately thought it was too good to be true.  It basically goes against everything we have been taught about cooking pasta.

The idea is that you put everything in a huge pot, bring it to a boil, and allow it to simmer for a bit.  The result is supposed to be perfectly-cooked pasta in a thick, velvety sauce.  All in under 15 minutes.  Curiosity got the best of me and I had to try it for myself.

The first thing I had to figure out was which recipe to use.  They all looked very similar.  I ended up using Martha Stewart’s version.  The only thing I did differently is that I used low-sodium vegetable broth instead of water.

I put everything in a big cast iron pot and turned it on high.  This is what my pot looked like when I started.

P1030092

After it came to a boil, I reduced the heat to low and allowed it to simmer for around ten minutes.

The result was a VERY tasty, perfectly-cooked pasta in a light summery sauce.  I could taste the fresh basil and fresh garlic.  It wasn’t overly acidic like jarred sauces can be.  I was extremely surprised!  This would be perfect with some grilled shrimp or a gorgeous piece of fish nestled right on top of it.

IMG_20130630_181325_175[1]

Only one dish to wash… nothing unhealthy went into it.  It definitely has my vote!


Oven-Roasted Halibut & Salmon

Weeknights are hard for so many of us.  How many people do you know who think they don’t have time to prepare a healthy meal at home on a weeknight?  Probably a lot.  This is one reason I love fish!  There are few things that cook as quickly as fish.  Salmon is one of my favorite types of fish.  Sadly, my husband really doesn’t care for it.  I am always working to find ways to prepare fish that are versatile enough to be used at the SAME TIME on two different types of fish.  If variety is the spice of life, why should anyone have to compromise?

I started with two 8-ounce pieces of fish (and one small one for the kids to share).  I chose Organic Salmon for myself and Halibut for the rest of the family.

P1030066

The first thing I did was chop up some garlic and grate some fresh Parmesan cheese.  My end goal here was to combine these ingredients with mayonnaise.  I happen to be very fond of a certain lemon-flavored mayonnaise so that is what I used here.  You could use any kind of mayonnaise though… just add your own lemon juice.  The sky is the limit here.  You could add fresh herbs, bacon, pancetta, sun-dried tomatoes… anything.

P1030069

After everything is combined, get your fish ready!  It shouldn’t need to be rinsed off but if there are any stray scales on the flesh, go ahead and rinse those away and pat it dry with a paper towel.  Dry fish is easier to spread the topping on.

I like all salmon, but I really find myself always going back to the Organic Salmon.  It is farm-raised in ocean pens in very cold, clean water.  The feed contains no animal byproducts and they are not treated with hormones or antibiotics.  It is certified Organic by the E.U. (European Union) because the U.S.D.A. does not have a program for such labeling just yet.  I just find that the flavor is good, it has a lot of fat, and it stays very moist during cooking.  (While it is true that wild salmon have more of certain antioxidants than farmed salmon, farmed salmon actually have more Omega-3’s… so you can feel great about choosing either one!)

P1030070   P1030072

I like to put my fish in the baking dish or on the baking sheet before proceeding to the next step.  I used a big glass baking dish and lightly sprayed it with Coconut Oil spray and placed the fish in it.  Make sure you leave some breathing room around each piece of fish.  I spread some of the mayonnaise mixture on each piece of fish.  Into the oven it goes.

Next up… the question everyone asks.  How long do you cook fish for?  Try the 10-minute rule.  Measure the fish at its thickest point and cook it for 10 minutes per inch.  One thing you will either love or hate about me… I don’t use timers.  I have to say I don’t measure or time many things in the kitchen.  Measuring is for baking.  Cooking is an art.  Don’t be afraid.  For fish, I can usually tell when it is done by touching it.  Like a cake.  If it springs back at you and is firm to the touch, you’re there.  With practice, you will know when it’s ready.  Err on the side of caution.  You can always put it back in for a minute or two, but overcooked fish can be dry.

I cooked these at 400 degrees for about 7 minutes and turned on the broiler for a minute at the last second.

P1030081

I served this with Saffron Risotto and Caesar Salad.

P1030083

One plate with Salmon.  One plate with Halibut.  Everyone is happy.  This entire meal was prepared in around thirty minutes!

P1030085


‘American Tuna’ Salad (Weekend Lunch)

Canned tuna seems to be a staple in nearly every household.  While we are all aware of the benefits of eating fish, I constantly hear people voice concerns about mercury when addressing fish that are larger and higher on the food chain (such as tuna).  A product that we have absolutely fallen in love with is American Tuna.  What could be so special about canned tuna?  I could go on forever… but I will give you the abbreviated rundown.

P1030020

It is pole-caught by American fishing families IN America.  It is processed in America.  (And speaking of the processing, it is minimal… another thing we love.)  It is cooked only once and it is cooked after it is canned.  There is no added water or oil.  The only things inside these cans are tuna and natural juices from the cooking process.  All this means that there is no by-catch to get trapped in nets.  It is certified sustainable by the Marine Stewardship Council.  And the size and type of tuna used is nearly mercury-free.  The mercury in this product is almost undetectable, which makes it completely safe for pregnant and nursing women or other people who have health concerns related to mercury.

P1030023

If you have never used this tuna before, you might be surprised when you open it.  It is NOT white, but it is a true albacore tuna.  Did you know that some commercial canned tuna can actually be bleached to the shade of white we are all accustomed to associating with higher quality?  And in some cases, the can is only required to contain a certain percentage of tuna.  What is the other stuff in there?  It remains a mystery to me.

DO NOT DRAIN THIS TUNA.  The natural juices are simply mixed back into the tuna.  The result is that no nutrients are lost down the drain.  None of the weight you paid for is going down the drain.  And you will use less mayonnaise.  A win-win all around, if you ask me.   The tuna soaks it right up.

P1030024

Next up, add your mix-ins.  The possibilities here are endless.  I went the more traditional route.  One thing we really like in tuna is tarragon.  They just go so well together.  I only added about two tablespoons of mayonnaise for both cans.  A little chopped onion.  Some celery seed.

P1030025

One thing about passionate food people is that, well, we are passionate.  I LOVE what I love and have equally strong feelings about the things I don’t.  I do not like pickles.  The rest of my family loves them, especially in tuna salad.  Not to worry, a little gets set aside for myself and the rest of it gets chopped pickles (relish in the jar works, too!).

P1030028

At this point, the world is your oyster.  Salad with a scoop of tuna on top, tuna sandwich, tuna melt, tuna on crackers.  Totally up to you.  We had some whole wheat buns leftover from the night before.  Waste not, want not.  I toasted the buns (after all, this is a weekend lunch) and topped them with the tuna.

P1030030

This is really something you can feel good about serving to your family.  It’s quick and easy, delicious, and healthy.  If you haven’t tried American Tuna yet… you are missing out.  I will warn you that you will never look at another can of tuna the same way again.

P1030032  P1030033

Homemade Fettuccine Alfredo with Blackened Key West Pink Shrimp

Following a long vacation, I missed my kitchen.  My motto is “Go Big or Go Home” so I decided to go big.  We have a new Alfredo Sauce I wanted to try and I was really in the mood for some comforting pasta.

I clipped a little bit of thyme and rosemary from our herb garden at the store.  I used it to make Herb Breadsticks.  I let them rise while I was preparing the rest of the meal and baked them right at the last minute.

P1030008

Next, I tackled the pasta.  Making pasta from scratch is not something I often do.  Since I was using a prepared sauce, it seemed like a fitting time to take that extra step.  (Save time on one thing, spend time on another.)  I made a very simple dough using 1-1/2 cups Unbleached All-Purpose Flour, 1/2 cup Semolina Flour, 2 eggs, and 2 Tablespoons of water.

P1030001

I turned it all out onto the counter and kneaded it by hand for about ten minutes. It doesn’t get elastic like yeast dough, but it gets smooth.  You can tell when it’s ready.  I covered it in plastic wrap and moved it to the back of the counter to rest for about a half hour while I tackled the shrimp.

P1030002

Now the real work began.  I brought home one pound of Large Key West Pink Shrimp.  This is about 31-35 shrimp.  For some reason, I really prefer smaller shrimp when they are going in a pasta dish.  For grilling or other applications, I tend to gravitate toward the Extra Large.  (We peel and devein Extra Large and larger shrimp for free at the store.  Just call ahead.  You can save yourself some time.)

P1030004

I removed the shells and tails first.  I am not a big fan of chasing tails around in a pasta dish.  You can throw the shells in a plastic bag and freeze them to make stock at a later date or just discard them.  (Word to the wise… don’t forget to take out your trash!)

P1030005

Next, I used a sharp paring knife to cut down the back of each shrimp and rinsed the vein out under cold running water.

P1030006

When sautéeing, broiling, or grilling smaller shrimp, I like to put them on a skewer so I can ensure that each shrimp is only cooked for a certain amount of time on each side.  This helps you brown them without overcooking them.  I seasoned them with Paul Prudhomme’s Blackened Redfish Magic.  If I could only ever have ONE seasoning for seafood, it would be this one.  It’s not overly salty and it’s so versatile.  It’s probably one of my favorite items we sell in the store.  (I left one skewer plainly seasoned for the kids.)

P1030007

I returned the shrimp to the fridge while I went back to the pasta.  I divided the pasta dough into two pieces and started rolling it out on a lightly floured surface (use cornmeal or the Semonlina flour for this because it is less messy).

P1030009

I don’t have space for a lot of little kitchen appliances and I really like doing things by hand.  That being said, a pasta machine is not something I have in my kitchen.  I recently read about a method of making pasta by rolling out the sheets and slicing them.  Brilliant.

P1030011

After I sliced them, I unrolled each strand and tossed it with additional Semolina flour.  I set the pasta strands toward the back of the counter and left them to dry out.  It takes at least ten minutes, but you can leave it until you finish whatever else you are doing.  It’s forgiving.  Cooking the pasta was pretty much the LAST thing I wanted to do since it takes under five minutes to cook.

P1030010

I prepared all my garnishes and heated the sauce.  The whole inspiration for this meal was a new product we have from a company called La Pasta.  They make delicious refrigerated pasta sauces.  They are all natural and so tasty.  I heated it in a saucepan over low heat.  I will warn you that it DID take quite a bit of whisking to reincorporate it all together but once it was warm, it came together all at once.  I would not recommend doing this in the harsh heat of a microwave.  It might break the sauce.  I chopped some parsley and grated some Parmesan cheese.

P1030015  P1030014

Time to cook the shrimp.  Big heavy skillet on very high heat with just a touch of oil in the pan.  I cooked them for about one minute on each side.  I left them in the pan, removed the pan from the heat, and covered it with foil.  This allows the shrimp to finish cooking without applying direct heat AND it keeps them warm until everything else is ready.

P1030013

I brought a big pot of salted water to a rolling boil.  I boiled my pasta for just under five minutes (this is a good time to assemble a salad – I made a simple Caesar salad) and immediately drained it and returned it to the pot, where I combined it with the heated Alfredo sauce.

P1030017  P1030016

All that was left to do was assemble the meal!  Pasta and sauce in the bottom… shrimp on top!  I prefer to leave them on the skewer just for the sake of presentation.  I garnished each bowl with fresh parsley and Parmesan cheese and served it with the salad and the warm breadsticks.  Delicious restaurant-quality meal at home for four people for around $30!   My thoughts on the sauce:  this was by far the best prepared Alfredo sauce I have ever had.  My husband commented that he would never have believed it was not homemade.  It was not overly salty and it was so thick and creamy!  And then came the food coma.

P1030018  P1030019

Whole Snapper For Two!

So many people are afraid of tackling whole fish.  Not only can it be an easy way to cut down on dishes but it can also be extremely flavorful!

So many people are afraid of tackling whole fish. Not only can it be an easy way to cut down on dishes but it can also be extremely flavorful!

Whole Yellow Eye Snapper

Start with one snapper around the two pound range and have it scaled, gutted, gilled and scored. Next I mixed a little fish tikka masala powder with a little olive oil so that it would spread over the fish well yet not overpower the delicate flavor of the fish. The snapper then went into a 350 degree oven for about 20-25 minutes. I also look for the lens to pop out of the eye (its almost like a built in timer!) The last couple minutes of cooking I like to turn on the broiler to get the skin nice and crispy! Garnish the fish with limes, add your sides and your ready to dig in!